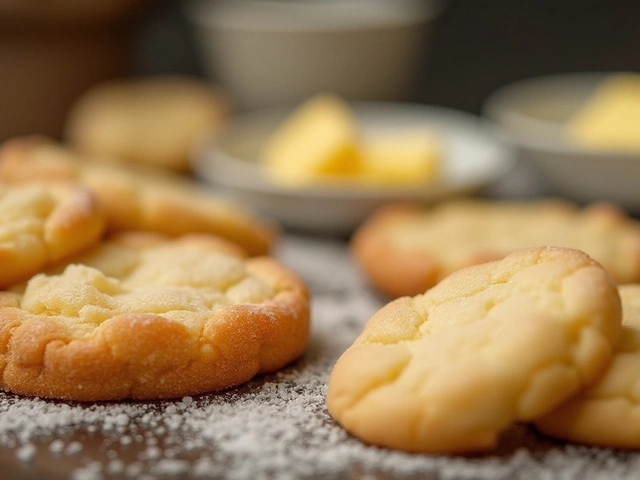
Baking cookies might seem straightforward, but a few key tips can turn an average batch into something special. Let's keep it simple. First up, always pay attention to the ingredients you use. Want to know a secret? The quality of your butter can actually change the game. Real butter gives cookies a rich flavor, so it's worth the extra pennies.
Next, don't rush the mixing process. It's tempting to throw everything in and call it a day, but getting the texture right is crucial. Creaming the butter and sugar until light and fluffy gives your cookies that perfect soft center. Give it the love it deserves!
- Choose the Right Ingredients
- Master the Mixing
- Chill the Dough
- Pay Attention to Baking Time
- Storage and Freshness Tips
Choose the Right Ingredients
Getting the ingredients spot-on is where it all kicks off. You might not think the little details matter, but trust me, they do. Let's start with the basics: butter. Using real butter instead of margarine can make your cookies richer and tastier. Unsalted butter helps you control salt levels, so you can tweak to your liking.
Flour Matters
Now, flour may seem boring, but it’s kind of a big deal when it comes to cookies. All-purpose flour usually does the trick. If you’re looking for a chewier cookie, experiment with bread flour—it has more protein, which can make your cookies have more chew. Sounds fancy, but it’s simple! Just substitute some of the all-purpose for bread flour and see how it goes.Secret to Sweetness
Sugar is another key player. The right mix of white and brown sugar can make or break your cookies. Brown sugar adds moisture and gives that chewy texture everyone loves. But if you overdo it, your cookies could end up too soft. Balance is everything!Add-Ins: Go Wild!
Chocolate chips, nuts, dried fruit—whatever tickles your fancy. But there's a tip: gently toss your add-ins in a little flour before mixing. This helps keep them from sinking to the bottom. Who doesn't want an even spread of chocolaty goodness?In short, every ingredient plays a role in creating the perfect batch of homemade cookies. Get to know each one, and you'll see how they work together to make something delicious.
Master the Mixing
Mixing might seem like a no-brainer, but it's where a lot of us trip up when making homemade cookies. The goal here is to get the right balance between combined and overworked.
Why Mixing Matters
When you cream your butter and sugar, you’re doing more than just blending ingredients. This process helps to trap air in, which leads to those dreamy, fluffy cookies. Don't rush this step—aim for about 3 to 5 minutes on medium speed, and you’ll notice the mixture going from yellow and grainy to light and creamy.
"Mixing is like a dance; too slow or too fast and you lose the rhythm," says Mary Berry, Baker's Guide Author.
The Role of the Egg
Add your eggs one at a time. This helps them incorporate better into the batter, keeping it smooth. Believe it or not, room temperature eggs blend more easily than cold ones, so plan ahead and take them out of the fridge about 30 minutes before baking.
Dough Consistency
Now for the dry ingredients. It's best to incorporate them gradually. And don’t overwork. Just mix until you see no more flour. Overmixing can lead to tough cookies, and nobody wants that!
- Cream butter and sugar for 3-5 minutes.
- Add eggs one by one, at room temperature.
- Mix in dry ingredients slowly.
Quick Mixing Facts
| Step | Time |
|---|---|
| Cream butter & sugar | 3-5 minutes |
| Add eggs | 30-second intervals |
| Mix in flour | Until just combined |
So, there you have it! Take a bit of extra care during the mixing stage, and your cookie game will be top-notch. These tips will ensure your baking sessions aren't just fun, but also incredibly rewarding. Ready to wow everyone with the perfect cookies?
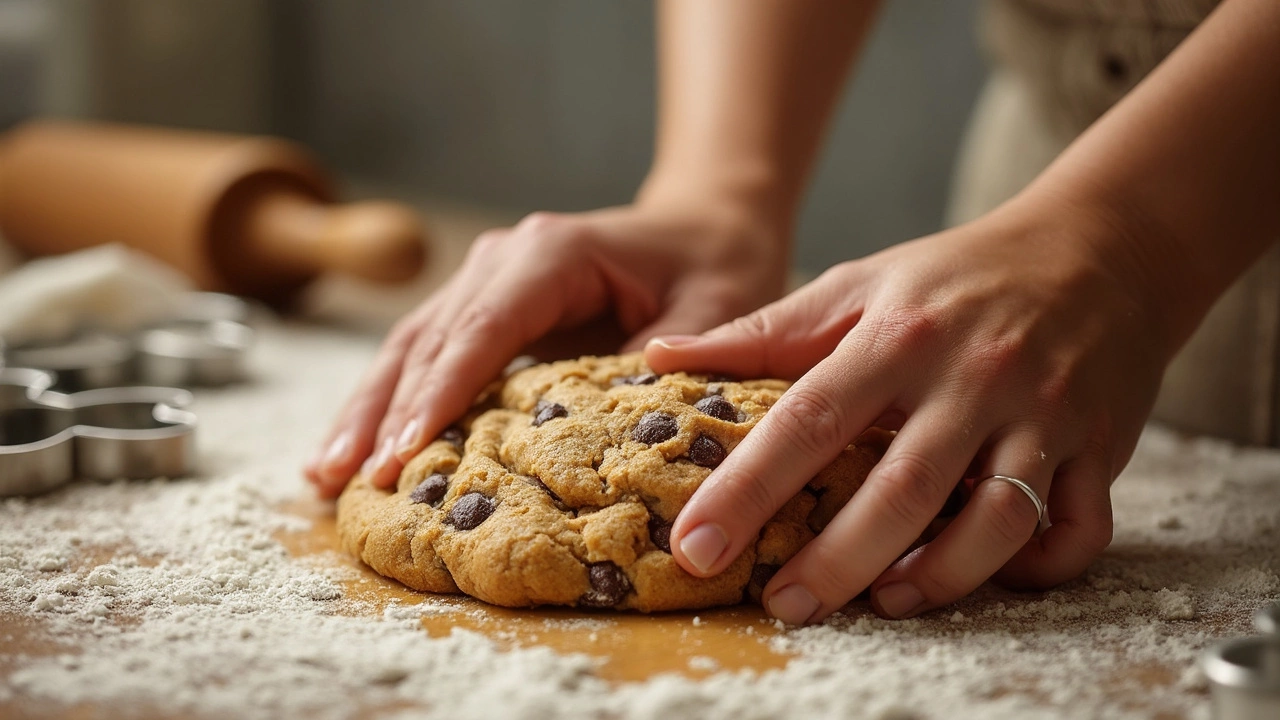
Chill the Dough
Ever wondered why some cookie recipes call for chilling the dough? It’s not just to test your patience but to make your homemade cookies way better. Chilling isn't just a step; it can be the secret to great cookies.
Chilling the dough helps in two major ways: it solidifies the fat and allows the flour to absorb more moisture. When the fat is cold and firm, cookies spread less in the oven, which means they’re thicker and have that lovely chewy center.
Why Chilling Matters
By letting the dough rest in the fridge, it gives time for the flavors to meld together. Yep, it's like marinating meat! Flavors really pop when they’ve had time to develop.
How Long to Chill?
The standard chilling time is about 30 minutes to an hour. But if you’re truly committed, chilling overnight can yield much tastier results. Can't wait? If you’re tight on time, even 15 minutes can make a difference!
Tips for Chilling Success
- Wrap your dough tightly in plastic wrap or store it in an airtight container. This keeps it from drying out and picking up fridge smells.
- If the dough is too hard to work with after chilling, let it sit at room temp for a few minutes before baking.
Remember, just a little patience with chilling can transform ordinary cookie recipes into extraordinary homemade treats.
Pay Attention to Baking Time
Here's a crucial tip: baking time can make or break your cookies. It's not just about setting a timer and walking away. You need to know your oven well. If it runs hot or cold, it can affect how those cookies turn out. Ever heard of an oven thermometer? It might be your new best friend to keep the temperature in check.
When it comes to homemade cookies, the size and thickness of your dough also matter. Thicker cookies take longer to bake, while smaller ones might need only a few minutes. Keep an eye on those edges. When they turn golden, you're in the sweet spot for removing them. The centers can be slightly underbaked when they hit the cooling rack; they'll firm up perfectly.
Want a ballpark guide? Check out this simple table for standard cookie types:
| Type of Cookie | Baking Time (minutes) | Temperature (°C) |
|---|---|---|
| Chocolate Chip | 10-12 | 175 |
| Sugar Cookies | 8-10 | 180 |
| Oatmeal Raisin | 10-12 | 175 |
Remember, the baking sheet matters too! Darker sheets bake hotter than lighter ones, so if you've swapped out trays, don’t forget to adjust either your time or temperature accordingly.
Finally, resist the urge to open the oven door constantly. Every time you do, the temperature drops, prolonging the bake time. Peek through the oven window instead if you can. Those few extra minutes can work wonders for your cookie recipes!

Storage and Freshness Tips
So, you've baked a fresh batch of cookies, and they're delicious. But how do you keep them that way? Storing them properly is crucial to maintaining their taste and texture. First, make sure your cookies are completely cooled before storing them. Warm cookies release steam, which can make them lose their crispness.
Choosing the Right Container
The best way to store homemade cookies is in an airtight container. This prevents them from getting stale or absorbing unwanted odors. If you’re thinking about freezing your cookies, make sure to put a piece of parchment paper between each cookie to keep them from sticking together.
Perfect Room Temperature
Keeping cookies at room temperature is usually fine if you plan to eat them within a week. Just remember to keep them away from direct sunlight and heat sources, which can make them go bad quicker.
"Proper storage is the key to keeping homemade cookies as delightful as the day they were baked," says Mary Berry, renowned baking expert.
Extended Freshness Tips
If you want to keep your cookies fresh for more than a week, freezing is your best bet. Believe it or not, they can maintain their taste and texture for up to three months in the freezer.
- Cookies with baked-in moisture, like chocolate chip or gooey centers, freeze wonderfully.
- Always use a freezer-safe bag or container, and remove as much air as possible before sealing.
- Thaw baked cookies at room temperature, and they’ll taste as fresh as the day you baked them.
There you go! Proper storage and a little attention go a long way in keeping your homemade cookies delightful and ready to enjoy any time.
Popular Posts
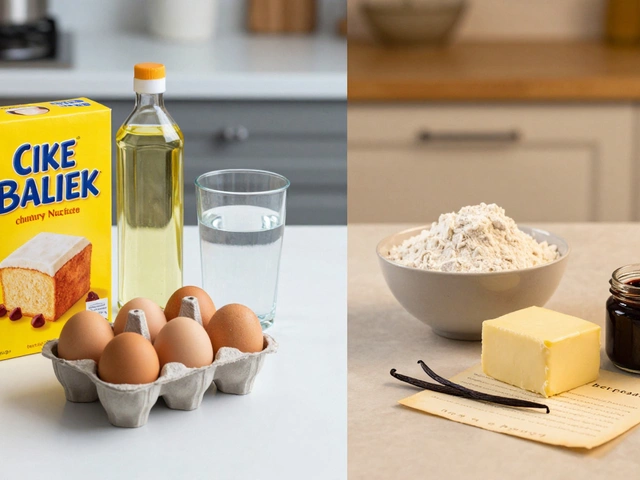
Homemade vs Box Cake: Which Actually Tastes Better?
Jul, 12 2026

Macaron Price Guide 2025: How Much Do They Cost?
Oct, 15 2025