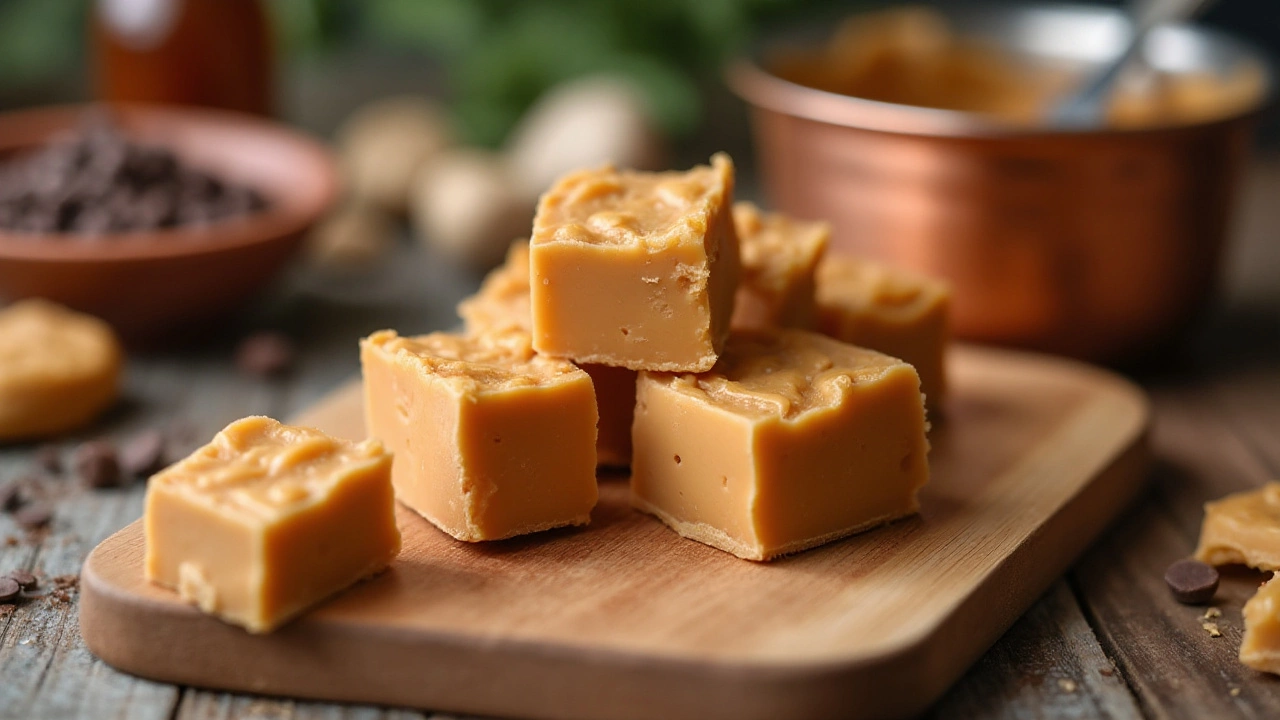
There's a special kind of joy in crafting a batch of perfect, velvety fudge. But alas, anyone who's had their heart set on making this treat knows that the mischievous formation of sugar crystals can quickly turn your dream confection into a gritty disappointment. Understanding how sugar behaves in different conditions can be your greatest ally in this fudge-making journey.
At its core, preventing sugar crystals in fudge comes down to grasping a mix of science and technique. It’s about getting the sugar to dissolve properly and managing the heat and stirring just right. But don't worry, it's all about practice and a pinch of patience.
Let’s dive into some effective strategies and handy tips that will help you banish those pesky sugar crystals and achieve that desired smoothness every single time. Armed with this knowledge, your homemade fudge will not only feel like a triumph but taste like one too.
- Understanding Sugar Crystallization
- Importance of Temperature Control
- Preventive Techniques for Smooth Fudge
- Storing Your Fudge Properly
Understanding Sugar Crystallization
At the heart of making smooth fudge lies the ability to harness and control sugar crystallization. Sugar is a wondrous substance with a delightful knack for forming crystals, something that isn’t usually welcome when you are striving for that creamy fudge texture. The chemistry behind this rests on the fact that sugar is a crystallizing agent, meaning it naturally tends to form solid crystals from a solution. This is exactly what you don't want when aiming for a soft, homogeneous treat.
When sugar is heated, it dissolves in water, creating what's known as a saturated solution. As you cook your fudge, bringing this solution to the right temperature is crucial. If the solution is disturbed too early—let’s say by stirring or if there's a sudden drop in temperature—it can trigger a chain reaction that causes the sugar to crystallize prematurely. This premature crystallization is what leads to a grainy texture in the final product. Navigating these conditions requires a keen eye and a methodical approach.
According to renowned baking expert Shirley Corriher, "The secret to smooth fudge lies in controlling how sugar crystallizes."
She emphasizes that minimizing agitation as the fudge cools is key, as even the tiniest sugar crystal can act as a seed that rapidly promotes further crystallization.This suggests that patience during cooling is just as vital as precision in other stages of the process. Moreover, humbly acknowledging that there’s a delicate dance between heat, time, and movement is a step towards mastering fudge.
A fascinating fact here is the solubility behavior of sugar, which actually decreases with decreasing temperature, hence, temperature control becomes vital. A well-calibrated candy thermometer is often an invaluable friend to prevent missteps, allowing you to accurately judge when to stop heating. An interesting statistic to note: around 80% of fudge failures are a direct result of improper temperature management, either by undercooking or overcooking the candy.
Next time you're standing over that bubbling pot, remember how sugar loves to go rogue and crystallize when unattended. By understanding this process and taking informed, careful steps, you can effectively keep those sugar crystals at bay, ensuring your fudge recipes result in that smooth delight you anticipated. Armed with this knowledge, each stir, and every degree of heat you apply, acts as your little nudge towards fudge perfection.
Importance of Temperature Control
Mastering the art of fudge-making requires an intricate dance with temperature. Control it, and you've cracked the code to that perfect, creamy texture everyone dreams about. When you cook fudge, the goal is to dissolve the sugar completely in the liquid mixture, creating a stable solution. The cooking temperature becomes crucial because reaching the right stage ensures that sugars are dissolved and will not recrystallize as your fudge cools. The boiling point of the fudge mixture plays a pivotal role here. Typically, you aim for a temperature between 234°F and 237°F. This is often referred to as the 'soft-ball stage' and it's where that creamy magic truly begins.
Using a candy thermometer is a good practice if you are serious about making perfect fudge. It takes the guesswork out of the process, enabling you to track the temperature accurately. Remember, homemade fudge is delicate. Too low, and you won't achieve proper set; too high, and you'll end up with a brittle texture. Many seasoned fudge makers suggest testing your thermometer's calibration, especially if heating sugar isn't something you do often. To do this, boil water and check if the thermometer reads 212°F at boiling. If not, adjust your cooking accordingly. Temperature control affects the very dynamics of sugar and liquids, and without it, the risk of sugar crystals forming rises significantly.
Patience while cooking your fudge mixture is equally as important. Rushing through the cooking phase can raise the chance of crystallization. A pro tip is to avoid stirring the mixture while it reaches its cooking temperature. By stirring too early, you can inadvertently introduce sugar seeds that promote crystallization. If you must, wait until the sugar is fully dissolved and the fudge begins to boil before stirring with care.
Knowledgeable confectioners vouch for the adage: 'Patience and temperature are your best friends in the kitchen.' It's common to get anxious and feel the urge to rush the cooling process, especially when anticipation of tasting the fudge is high. But it’s important to let the mixture cool undisturbed until it reaches around 110°F before beating, which aids in achieving the desired creaminess without grainy texture. The cooling phase is when the sugar wants to begin forming crystals. Letting it cool adequately and then evenly incorporating air aids in breaking up potential grainy structures.
"The secret of all victory lies in the organization of the non-obvious," once said Marcus Aurelius, and in our case, the non-obvious is most certainly how that cooking temp holds the power over sugar solutions.Listen to your fudge, it’s telling you through changing bubbling intensity and texture when it’s just right. Adjusting for your environment, including altitude and humidity, will often hold sway over your results. High altitudes can alter boiling points, so understanding how your environment influences cooking is crucial. That vigilance will keep sugar crystals at bay and bring your fudge game to delicious new levels.
To piggyback on the idea of precision candy-making, check out this helpful temperature guide commonly used by enthusiasts and professionals alike:
| Stage | Temperature (°F) | Properties |
|---|---|---|
| Soft-Ball | 234°F–237°F | Forms a soft, flexible ball when dropped into cold water. |
| Firm-Ball | 244°F–248°F | Forms a firm ball that holds its shape but remains malleable. |
Preventive Techniques for Smooth Fudge
In the world of fudge making, achieving a smooth, creamy texture is often the ultimate goal for many confectionery enthusiasts. The secret lies in paying close attention to the stages of preparation and knowing a few tricks of the trade. One of the core concepts is to ensure that your sugar is properly dissolved before bringing it to a boil. It's important to stir the mixture continuously over low heat until no granules are visible, which might take a little patience, but the results are truly worth it. As the mixture reaches the boil, resist the urge to stir constantly, as this can promote crystallization and those unwanted sugar crystals.
Timing and temperature are the guardians of a silky batch of fudge. To prevent the sugar in your fudge from crystallizing, it's crucial to control the temperature with precision. A candy thermometer becomes indispensable here; you’re aiming for the sweet spot – usually around 235°F to 240°F, which is the soft-ball stage. This ensures the mixture is cooked enough without promoting unwanted texture changes. Removing the pan from the heat source immediately is vital once the temperature is achieved. Let the mixture cool undisturbed to about 110°F, at which point you can start beating it to achieve that desirable creamy texture.
"Fudge remains an art as much as it is a science," suggests chocolate expert Susan G. Thompson. "It's understanding the nature of sugar and how it behaves under heat that separates the mediocre from the divine."
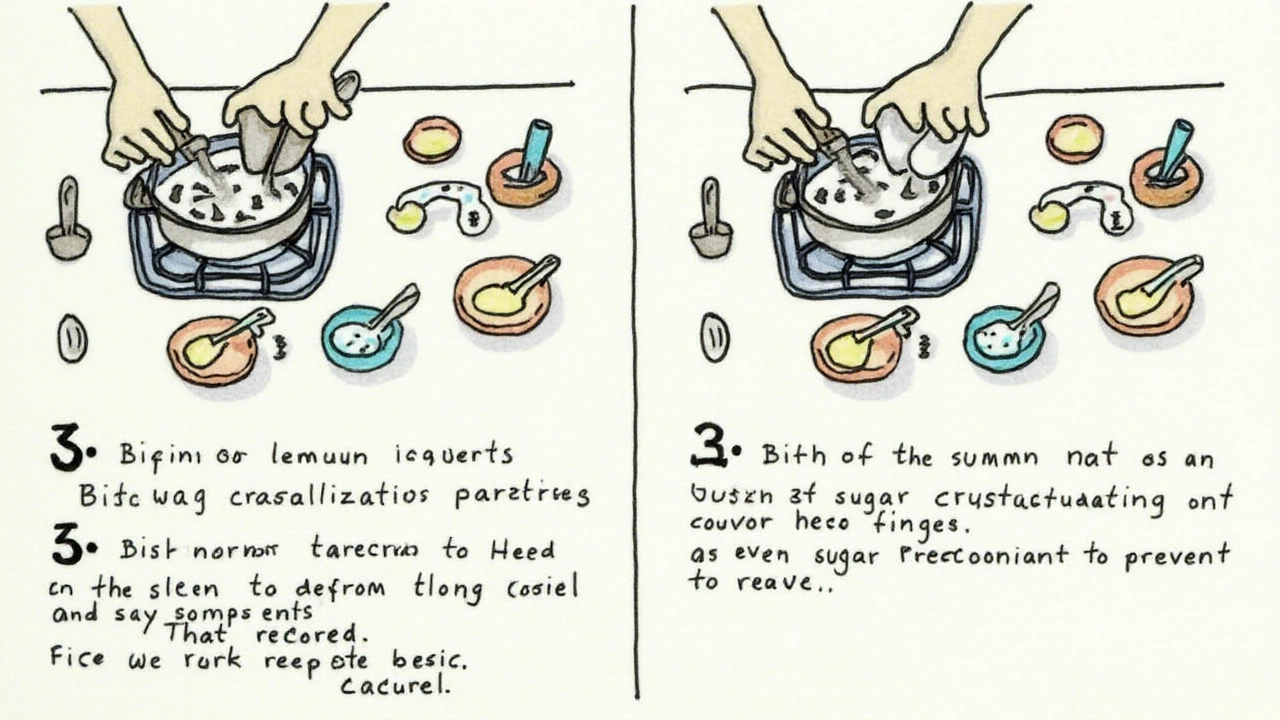
The type of ingredients can make a significant difference in achieving smooth fudge. Using high-quality chocolate can elevate the texture and taste of your treat, while incorporating a small amount of corn syrup or cream of tartar can effectively inhibit crystallization. These additions interfere with the bonding process of sugar molecules, thus, lessening the chance of crystallization. Make sure to avoid disturbing the cooling process. Any movement or stirring can cause premature sugar crystals to form. It's also a good idea to scan the edges of your saucepan with a damp pastry brush to dissolve any sugar that splashes and adheres to the sides.
Simplicity in handling and storage can also keep your fudge smooth. Once made, wrap each piece of fudge separately in wax paper or place it in an airtight container to maintain its moisture and texture. Storing fudge in a cool, dry place extends its creamy bliss for days. Even after perfect preparation, interacting with the air excessively can dry out your sweets. So, while our methods may not guarantee every batch will be flawless (because hey, life isn’t perfect), they do ensure that your chances of crafting divine fudge are significantly improved. Now, when you indulge in a piece, it'll taste like triumph—not just sugar.
Storing Your Fudge Properly
When it comes to preserving the texture and flavor of your homemade fudge, how you store it plays a vital role. Ensuring that your sweet creation remains as delectable and smooth as the day you made it involves more than just tossing it into a container. First things first, consider the environment where you're storing your fudge. Fudge tends to do best in cool, dry places away from direct sunlight. High humidity can disturb the sugar structure in fudge, making it sticky or grainy. So, choose a storage area wisely to maintain its delightful consistency.
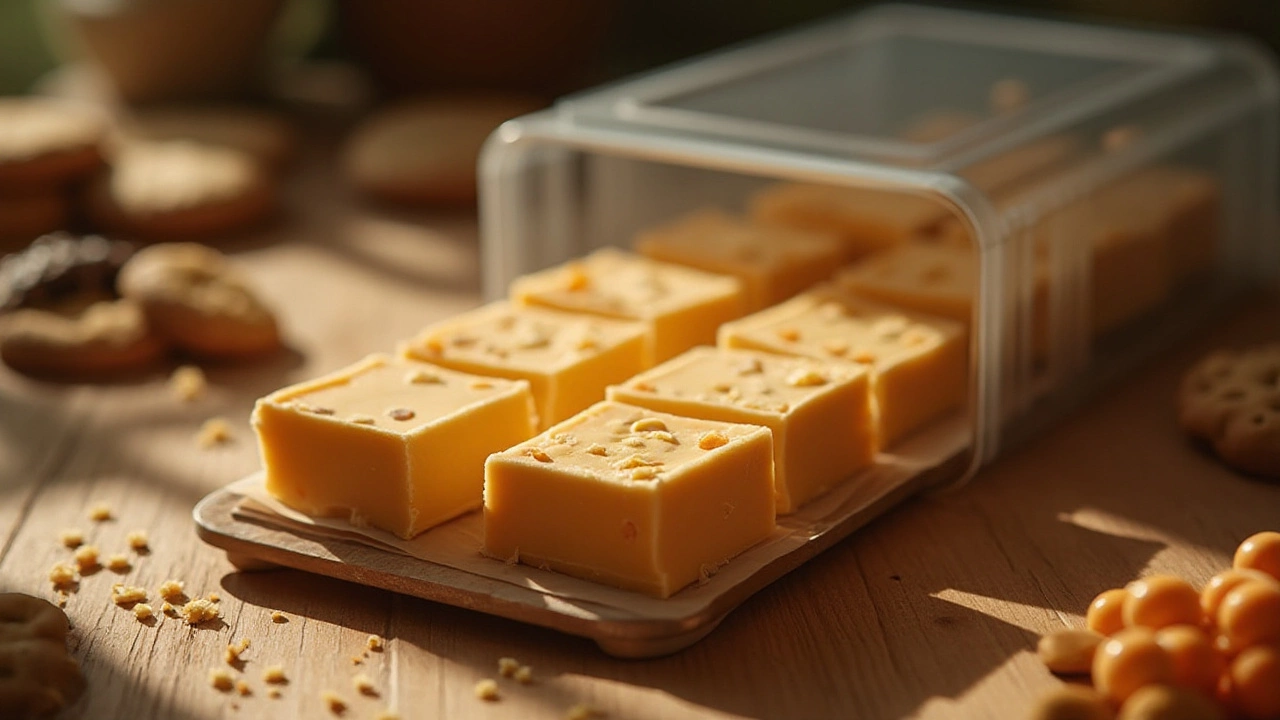
Once you've identified the perfect spot, the choice of container is your next important decision. Use airtight containers for storing fudge; these help in preventing any exposure to air that could lead to drying out and the formation of sugar crystals. Line the container with wax paper both on the bottom and between layers of fudge to further insulate it from changes in humidity. If you're considering plastic wrap, tightly securing each piece individually before placing them in the container can also be effective in sealing in freshness.
A question often arises about refrigeration. While refrigeration is useful for longer storage periods, it can sometimes make fudge lose its creamy silkiness. If you do refrigerate, let the fudge return to room temperature before serving to regain its optimal texture. For serious fudge enthusiasts, freezing can be a viable option, especially if you've made a large batch. Double-wrap the fudge first in plastic wrap, then in aluminum foil or a freezer bag. This dual-layer protection guards against freezer burn and preserves the fudge for up to three months.
"Storing something with such rich texture and flavor as fudge requires a bit of care, but the payoff is more than worth it," says a well-known confectioner in the dessert industry.
Finally, remember to label your containers with the date of storage. This way, you can easily keep track of how long your fudge has been preserved, ensuring you enjoy it at its freshest. Just like any treasured recipe, a little extra attention makes all the difference in preserving the genuine indulgence of each piece. With these methods, savoring homemade fudge becomes an enduring delight rather than a fleeting pleasure, allowing you to enjoy the fruits of your labor long after the initial creation.

