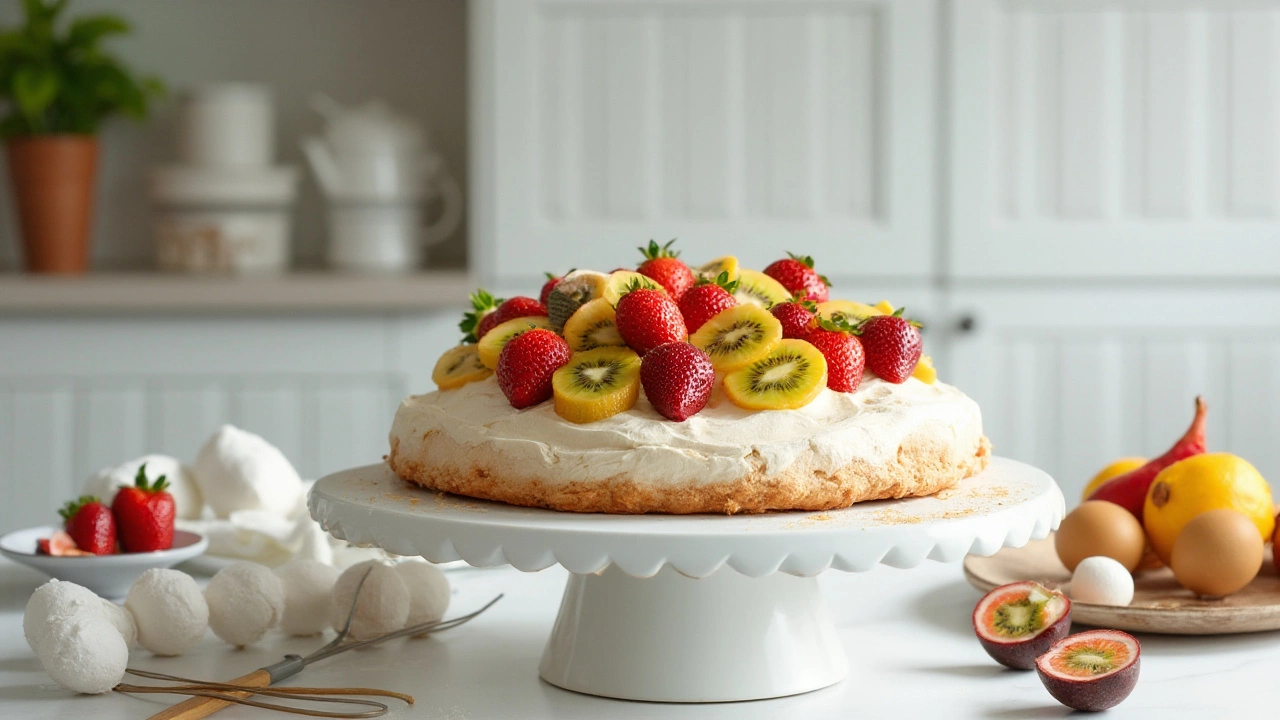
Pavlova, that delightful dessert with its crisp outer shell and soft, marshmallow-like interior, is a showstopper perfect for any occasion. Yet, far too often, this sweet dream turns soggy before it's time to serve. Don't fret! With a little know-how and some helpful tips, you can master the art of making pavlova that stays deliciously dry and crunchy.
Keeping your pavlova from becoming soggy starts with understanding the science behind its meringue base. From sugar to egg whites, each ingredient plays an essential role. Then, with the right baking techniques, smart topping choices, and proper storage methods, you can preserve your pavlova’s texture and flavor until your guests are ready to marvel at your culinary wizardry.
- Understanding Meringue Basics
- Perfect Baking Techniques
- Smart Topping Selection
- Storage Tips and Tricks
- Creative Serving Suggestions
Understanding Meringue Basics
Creating the perfect pavlova begins with mastering the essentials of meringue. At its heart, meringue is a fragile yet robust blend of egg whites and sugar. Sounds simple, doesn’t it? But, there's a little more science involved. The sugar not only sweetens the meringue but plays a crucial role in stabilizing the egg whites once they've been whipped to peaks. The process of whipping incorporates air, expanding the egg proteins into a matrix that can capture and hold tiny bubbles. It’s this structural integrity that gives meringue its characteristic height and texture.
When diving into meringue-making, think of whites and sugar as dance partners—where one leads, the other follows. Begin by ensuring the egg whites are spotless and devoid of any yolk traces, as even the slightest presence of fat can inhibit whipping. It's intriguing to note that age can be a friend here; older eggs whip up more readily than fresh ones due to their slightly increased pH. As you whisk, gradually fold in sugar, allowing it to dissolve perfectly. This is where patience is key! Rushing the process might lead to a gritty texture, as the sugar particles remain undissolved.
To delve deeper into sugar’s characteristics, consider its granulation. Finely granulated or caster sugar readily dissolves into the egg whites, stabilizing the mixture without weighing it down. When achieving stiff peaks, you’re looking at those standing proudly upright when the beaters are lifted from the mix. Remember, humidity is meringue's worst enemy. On particularly damp days, your meringue mixture might stay tacky, resisting being whipped into submission. You might hear culinary experts often say,
“Humidity is the silent saboteur in the baker’s kitchen.”
Once you’ve got your meringue ready, spread it gently on a parchment-lined baking sheet to avoid sticking. Baking the meringue might be likened to a delicate balance act. It requires the right heat that dries the surface without coloring it too much. Often, a low and slow method works wonders, allowing the meringue to dry out evenly. While baking and afterwards, keeping the meringue in the oven until completely cooled can prevent it from collapsing due to rapid temperature changes. With these tactics in hand, crafting meringue isn’t simply adhering to a recipe—it’s about developing an understanding and feel for the ingredients working their symphonic magic together.
Perfect Baking Techniques
Creating the ideal pavlova starts in the kitchen with meticulous baking techniques. Meringue, as our foundation, demands respect and careful attention. The crisp shell and tender heart depend on how you treat it in the oven. Begin with the basics: ensure both your bowl and mixing whisk are spotlessly clean and free of any grease, because even a trace of fat can deflate your egg whites, detracting from the frothy volume we strive to achieve. Fresh eggs are your best allies here. They whip up faster into stiff peaks, lending more stability to your meringue.
Preheat the oven early and aim for a low, steady temperature, generally around 130°C (266°F). This allows the meringue to gradually dry out without scorching. Place your pavlova in the center of the oven to ensure even heat distribution. If your oven has a window, resist the urge to open the door frequently, as any change in heat can lead to cracks or cause the pavlova to collapse. As renowned pastry chef Claire Ptak advises, “Be patient and let it cool completely in the oven after baking. It allows the structure to set.”
Avoid overbaking, which can result in a brown, overly tough crust—often, it is mistaken for underbaking when, in fact, it’s about gradual, patient drying. Upon completion, turn the oven off, leaving the door slightly ajar, allowing your masterpiece to cool slowly. This gentle finish prevents sudden temperature shifts and possible weeping. Consider making use of a probe thermometer if precision is paramount; the meringue should reach an internal temperature of around 71°C (160°F).
Crafting a perfect pavlova also benefits from subtle tweaks like adding cornflour and a splash of vinegar or lemon juice. These ingredients help stabilize the egg whites, ensuring the perfect texture. Cornflour absorbs excess moisture and the acid gives fragility to the whipped structure, so it shatters delightfully on impact, revealing the chewy interior. Bear in mind, sugar doesn’t just sweeten, it interacts uniquely with proteins in the egg whites. Gradually sift this sugar into your whites to avoid deflation, whisking until it’s completely dissolved and the mixture is glossy.
Utilizing a silicone baking mat can offer significant advantages over parchment paper. The mat’s non-stick surface creates even retention and prevent darkening too quickly. Lastly, don’t forget to properly store your pavlova in low-humidity settings, away from direct sunlight or warmth. Meringue-like all sugar-based treats is infamous for absorbing moisture, so cover it loosely with a paper towel before wrapping in an airtight container.
To consolidate this knowledge, a small table can help highlight the key steps and temperatures:
| Step | Detail | Temperature |
|---|---|---|
| Preheat Oven | Center position, low heat | 130°C/266°F |
| Complete Baking | Gradual cooling, door ajar | 71°C/160°F internal |
Embracing these baking tips not only enhances the texture but ensures a standout dessert that remains irresistible beyond the first bite. With these techniques, achieving a pavlova free of sogginess becomes as simple as following through on each detail. And remember, in the baking world, precision is your best friend.
Smart Topping Selection
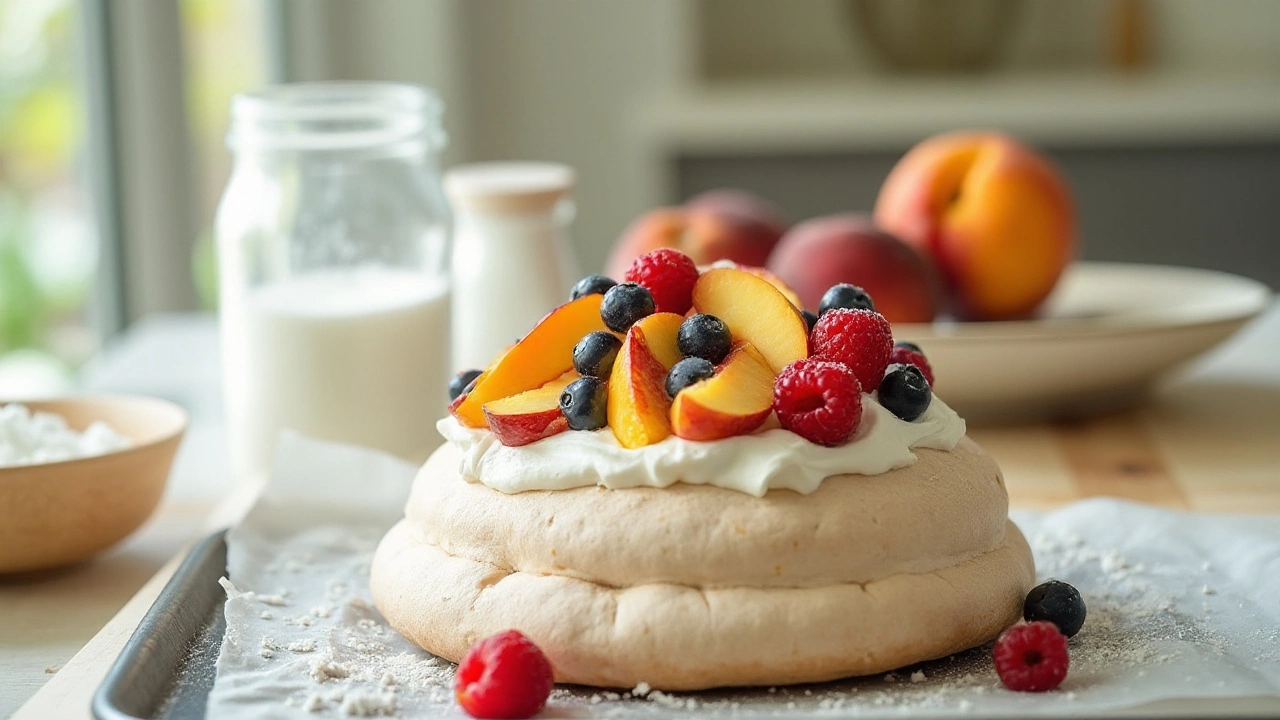
Crafting the perfect pavlova isn’t just about getting the meringue right; the choice of toppings can make or break your dessert, too. When selecting toppings, you'll want to strike a balance between sweetness and texture. Fresh fruits are classic choices that pair beautifully with the sweet, crisp meringue. Berries such as strawberries, blueberries, and raspberries are popular picks because of their natural tartness, which complements the sugary base. Adding a mix of tropical fruits like passion fruit pulp or kiwi can introduce vibrant colors and flavors that delight the senses. It's important to remember that the fruits you choose will release moisture over time, which can hasten the sogginess of the meringue, so consider adding them just before serving.
Avoid wet or syrupy toppings unless you have time to drain or dry them properly. For example, if using canned fruits, take the extra step of straining them thoroughly to prevent excess moisture from seeping into your pavlova. You can also experiment with toppings that provide a different texture or flavor profile. Adding a crunchy element, such as toasted nuts or a sprinkling of coconut flakes, can give your pavlova an exciting contrast and add another layer of intrigue. Chocolate lovers might enjoy a drizzle of melted chocolate or a shaving of rich dark chocolate over the top for that indulgent touch.
Using whipped cream as a base topping for your pavlova is almost universal. However, consider flavoring it with vanilla, citrus zest, or even a hint of liqueur for an added dimension. It's vital to whip the cream to a firm peak, ensuring it holds its shape and doesn’t collapse under the weight of fruit or chocolate. As an alternative, try mascarpone or Greek yogurt for a slightly tangier taste and thicker texture.
"The secret to a sensational pavlova is often found in the delicate balance of textures and flavors," notes renowned pastry chef Mary Berry in her cookbook on meringue masterpieces.
Lastly, if you're hosting an event where the pavlova might sit for a while, consider placing a barrier between the meringue and your topping. A thin layer of melted white chocolate brushed on top of the meringue can create a moisture-resistant layer, protecting the crispy exterior. Or, use a fruit-only jam or jelly to serve as a barrier while providing an extra burst of flavor.
Storage Tips and Tricks
Mastering pavlova is one thing, but storing it without losing its dreamy texture is an art in itself. The heart of a perfect pavlova lies in its crisp, light meringue, and keeping it that way takes a bit of know-how. First and foremost, it's crucial to ensure your pavlova is completely cool before attempting to store it. Any residual warmth can trap moisture inside, leading to that dreaded sogginess we want to avoid at all costs. Once it’s thoroughly cooled, place it in an airtight container. Allowing air to circulate can quickly turn the meringue soft by absorbing moisture from the environment. If you’re without a container large enough, wrap it tightly in plastic wrap, ensuring no gaps that might let in air.
Imagine it's a humid day in Brighton, moisture lurking around every corner, ready to sabotage your hard work. You might consider adding a few silica gel packets—you know, those handy little packages that come in shoeboxes—to your storage container. These packets safely absorb excess moisture and keep humidity at bay. Another handy tip is using a paper towel inside the container. Layer it between the pavlova base and any topping during storage, as this helps absorb moisture that may creep in during storage. Honestly, becoming a pavlova perfectionist means making peace with the unpredictability of nature and employing these little tricks.
When it comes to toppings, you'll want to wait until just before serving to pile on your favorite fruits and cream. Once topped, the meringue’s shelf life decreases dramatically, as the juicy goodness begins its evil plan to soften your crispy masterpiece. If you must prepare ahead, store the ready-made meringue separate from its toppings, and only unite them at the last moment. Lastly, pavlovas don't take well to refrigeration or freezing once topped, due to the inevitable moisture build-up. If storing separate parts is feasible, consider using a small cooler bag lined with ice packs when transporting the meringue if serving it outdoors or at a gathering outside of your Brighton haven.
Need a bit of extra assurance? According to Britain's own baking queen, Mary Berry, “Pre-preparing the components separately and assembling just before eating is the best way to ensure your pavlova remains as heavenly as its inspiration.”
Mary Berry, renowned British television presenter and chef, is famed for her work on 'The Great British Bake Off' and brings decades of baking experience right to her adored audience’s kitchens.Take her insight to heart; she might know her pavlova as well as the swans that skim along the St. Peter's Gardens reflecting pond. These tips ensure you'll never again bite into a sadly soggy pavlova, leaving your guests to marvel at your dessert prowess.
Creative Serving Suggestions
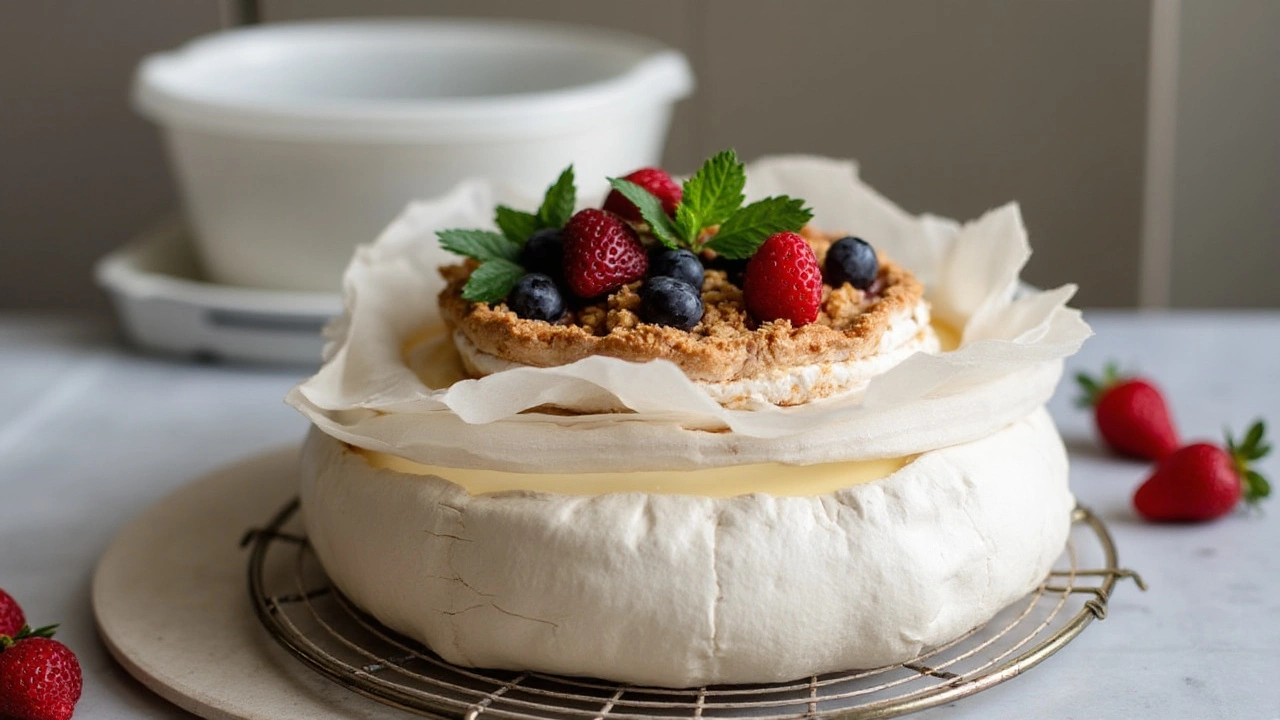
When it comes to presenting a pavlova, the artistry is in the details. Elevate this sensational dessert from a kitchen staple to an exquisite feast for the eyes and taste buds with thoughtful garnishing and plating. Begin by using a large, elegantly-cut plate to set the stage for your creation. Nestling the pavlova amidst a landscape of vibrant colors and textures can captivate your dining companions before they even take a bite. Consider creating a cascade of berries or slices of tropical fruits like mango and passion fruit, which lend a delightful sweetness and visual allure. Fruits not only add a tantalizing aesthetic but also harmonize beautifully with the pavlova’s airy meringue.
Layering Flavors and Textures
To make each slice of pavlova a discovery of flavors, think beyond the traditional. Introduce a layered approach. For instance, accompany the meringue with a dollop of lemon curd or a drizzle of raspberry coulis, both of which offer a tart contrast to the sugary profile of the dessert. A sprinkling of toasted almond flakes or crushed pistachios can add a textural crunch that delights as you dig in. Aromatic elements like a thin cut of vanilla bean or a dash of cardamom powder can impart intriguing subtle cues to the palate. As you orchestrate these flavor symphonies, balance becomes paramount—as every component should complement, not dominate.Elegance in Presentation
Presentation isn't solely about aesthetics; it's a conduit for engaging guests in a multi-sensory experience. Consider adding edible flowers—such as violets or pansies—that can transform your pavlova into a botanical wonder. Imagine organizing an intimate garden theme where lavender or rose petals encircle the edge of the plate, offering a touch of whimsy. Elevate the sophistication by plating sauces in artistic swirls or graceful dots that encourage curiosity and exploration. For an added touch of elegance, consider table setting embellishments like a crisp linen tablecloth and fine china, which can turn a simple dessert into a gala affair."A pavlova without its vivid fruits and decorative flourishes is akin to a masterpiece without its frame," quotes culinary expert Nigella Lawson, underscoring the significance of creative enhancement.

