Dessert Art: Fresh Ideas to Make Your Sweets Stand Out
Ever look at a cake and think, "That could be cooler?" You’re not alone. Dessert art is all about turning ordinary sweets into eye‑catching treats without hours of extra work. Below you’ll find simple ways to add flair to fudge, brownies, tiramisu, and more, so your desserts look as good as they taste.
Easy Ways to Upgrade Your Desserts
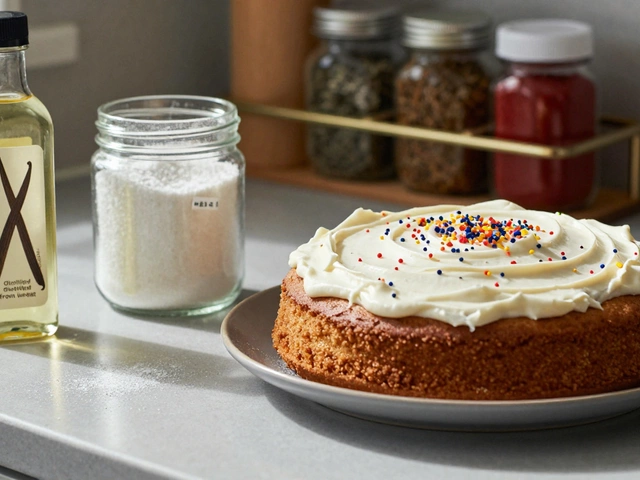
Start with color. A dash of cocoa powder, a sprinkle of powdered sugar, or a quick drizzle of melted chocolate can change a plain bite into a visual hit. For brownies, dust the top with sea salt or cocoa nibs right after they come out of the oven. It adds texture and a pop of flavor.
Next, think about shape. Instead of a round fudge slab, press the mixture into a silicone mold shaped like stars or hearts. The same trick works for tiramisu layers—use a shallow cake tin and press the mascarpone mixture to create clean edges. Clean lines make the dessert look restaurant‑grade.
Finish with a garnish that matches the flavor. A few fresh berries on a cheesecake, toasted almond slivers on a caramel fudge, or a sprinkle of crushed pistachios on a chocolate mousse will lift the whole plate. Choose garnishes that contrast in color or texture for the biggest impact.
Tools and Tricks for Stunning Sweet Creations
You don’t need a professional pastry kit. A small offset spatula, a set of pastry brushes, and a couple of plain silicone molds are enough to get started. Use the spatula to smooth frosting or melt chocolate into even layers. A brush helps you apply a thin glaze without drips.
Temperature matters, especially for fudge. Keep the candy thermometer handy and aim for the soft‑ball stage (around 235‑240°F). Hitting that range gives you a smooth, creamy texture that sets nicely, making it easier to cut clean shapes.
For layered desserts like tiramisu, chill each layer for at least 15 minutes before adding the next. This prevents the layers from sliding and gives you neat, defined sections when you finally slice it. The same cooling trick works for cake crumbs used as a base for cheesecakes – let them set before layering.
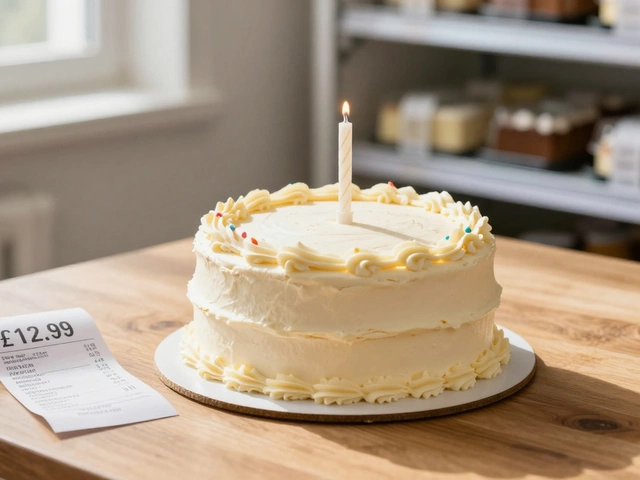
Practice makes perfect, but you can speed up learning by copying a simple design you love. Look at a picture of a decorated cake, then break it down: base coat, texture, color, and finishing touches. Replicate each step on a small batch first, then scale up once you’re comfortable.
When you finish, take a quick photo in natural light. Good lighting shows the true colors and textures you worked hard to create. Share the picture with friends or on social media – you’ll get feedback that helps you improve and new ideas to try next time.
With these easy tips, you can turn everyday sweets into standout dessert art. Grab your tools, pick a recipe from our collection, and start adding a splash of creativity. Your friends will be amazed, and you’ll have a lot more fun in the kitchen.
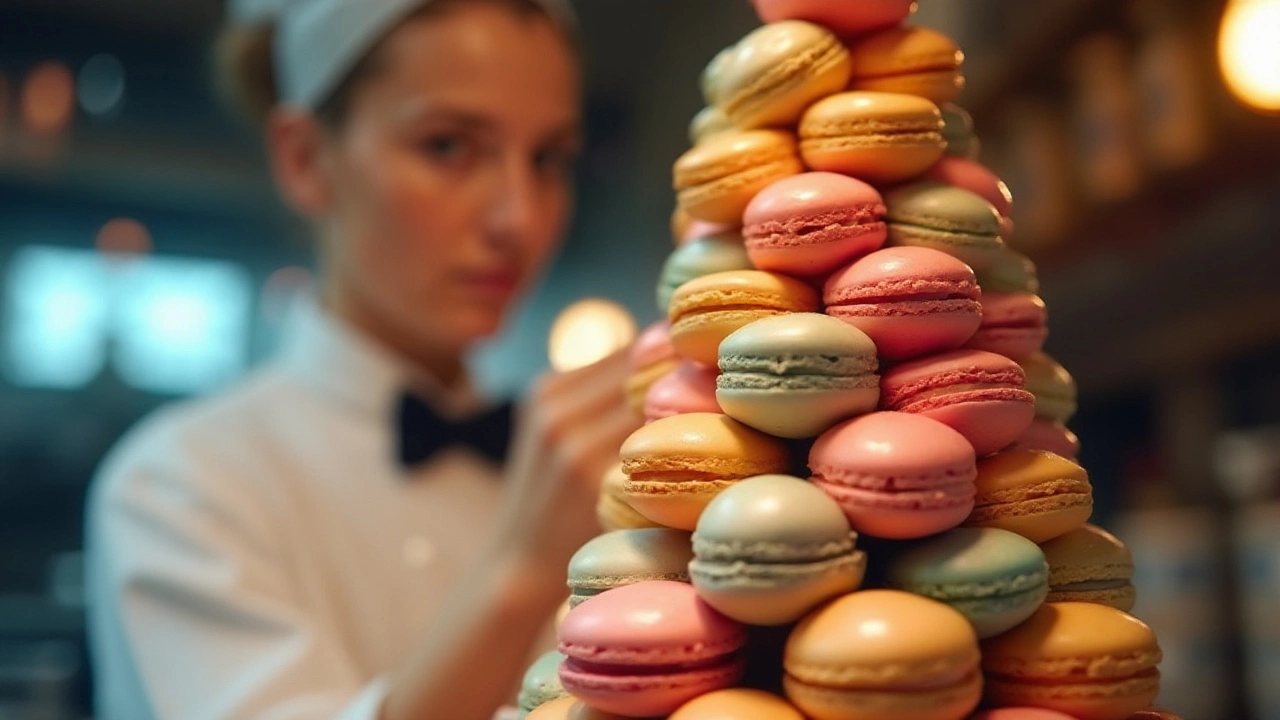
Building the Perfect Macaron Tower: A Guide to Precision and Beauty
Creating a macaron tower, or croquembouche, is a delightful culinary endeavor that combines artistic skill with delicious baking. This article provides a step-by-step guide to building your tower, including the number of macarons needed, tips for maintaining structure, and creative decoration ideas. Whether you're planning a wedding or a birthday, this guide will ensure your tower stands out as a centerpiece to remember.
View MorePopular Posts
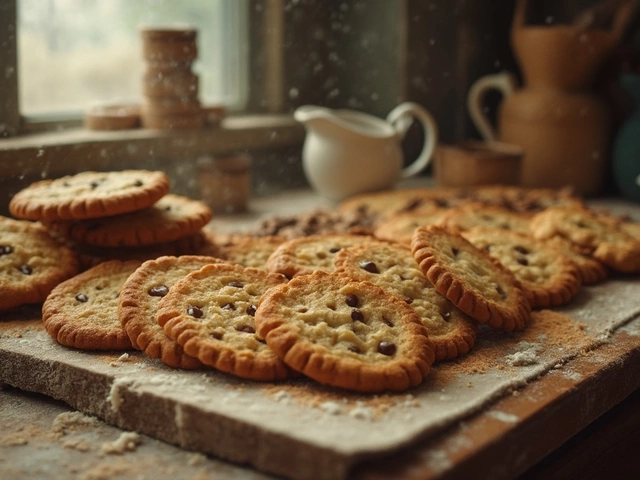
What Makes a Cookie Legendary?
Feb, 11 2025