Gluten‑Free Flour: How to Choose, Use, and Succeed Every Time
If you’ve ever wondered why your gluten‑free cakes sink or feel dense, the answer often starts with the flour you pick. Unlike regular wheat flour, gluten‑free blends don’t have the stretchy protein that holds batter together, so you need to think a bit differently. Below you’ll get the basics on picking the right flour, mixing the perfect blend, and troubleshooting common problems – all in plain language.
Picking the Right Gluten‑Free Flour
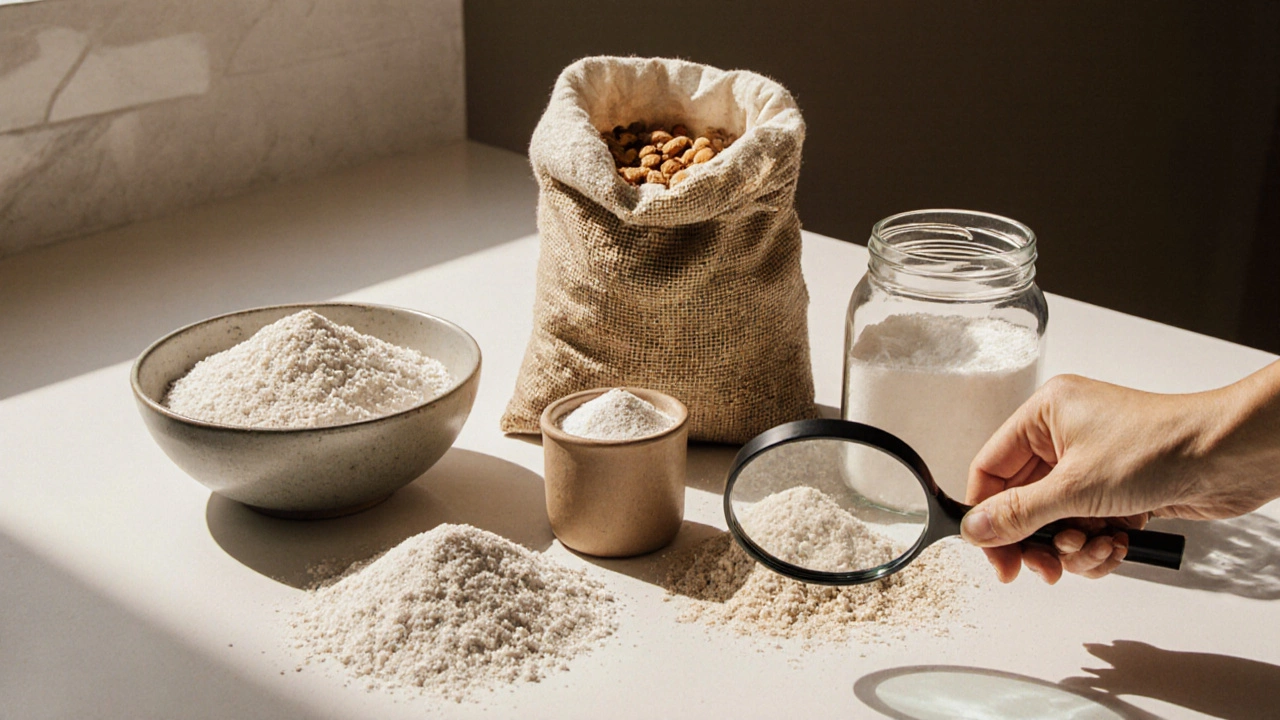
First off, don’t expect a single grain to replace wheat on its own. Most bakers use a mix of rice, tapioca, potato starch, sorghum, millet or almond flour. Rice flour gives you a neutral base, while tapioca or potato starch adds chew and helps trap moisture. If you want a nutty flavor, almond flour works great but it can make baked goods a bit heavy if you use too much.
Read the label for any added gums – xanthan or guar gum act like gluten by giving structure. If the blend already has a gum, you can skip adding more. For celiac‑safe baking, stick to certified gluten‑free flours, because cross‑contamination can happen during processing.
Tips for Perfect Gluten‑Free Baking
1. Use a blend, not a single flour. A typical 1‑to‑1 substitution for wheat calls for a mix of 40% starch, 30% whole‑grain flour, and 30% protein‑rich flour (like chickpea or sorghum). This ratio mimics the texture of wheat flour and keeps cakes from falling flat.
2. Add a binder. If your blend lacks xanthan or guar, whisk in ½ teaspoon per cup of flour. It helps the batter hold together and prevents crumbly results – the same trick explained in our "Why Are Gluten‑Free Cakes So Dense?" post.
3. Don’t over‑mix. Gluten‑free batters become gummy if you stir too long. Mix just enough to combine the wet and dry ingredients, then let the batter rest for 10‑15 minutes. The rest allows the starches to hydrate, leading to a smoother crumb.
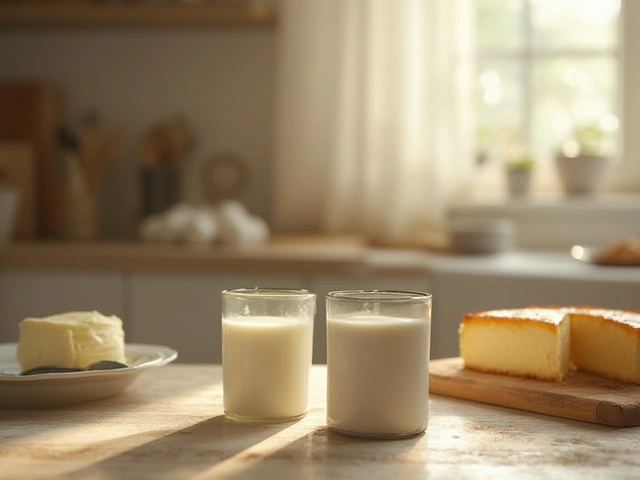
4. Watch the liquid. Gluten‑free flours absorb more moisture than wheat. If a recipe looks dry, add a splash of milk, water, or fruit juice. Conversely, if it’s too runny, sprinkle in a bit more flour. Small adjustments make a big difference.
5. Raise the oven temperature slightly. Baking at 25°F higher than the recipe calls for helps set the crust faster, giving the interior time to rise without collapsing – a tip we also mention in "Gluten‑Free Cakes Sink: Why It Happens & How to Prevent It".
6. Use the right leavening. Baking powder and soda work fine, but double‑acting powder gives a little extra lift in the second half of baking, which compensates for the lack of gluten.
7. Store flour properly. Keep it in an airtight container in a cool, dark spot or the fridge. Fresh flour tastes better and lasts longer, and it prevents a stale, off‑flavor that can ruin delicate desserts.
By following these steps, you’ll turn a confusing gluten‑free pantry into a reliable baking toolbox. Whether you’re whipping up a batch of fudge, a birthday cake alternative, or a simple cookie, the right flour blend—and a few smart tricks—will make the difference between a flop and a fluffy win.
Best Gluten‑Free Flour for Cake Baking
Discover the top gluten‑free flours for cakes, learn how to blend them for perfect texture, and avoid common pitfalls with a handy cheat‑sheet.
View More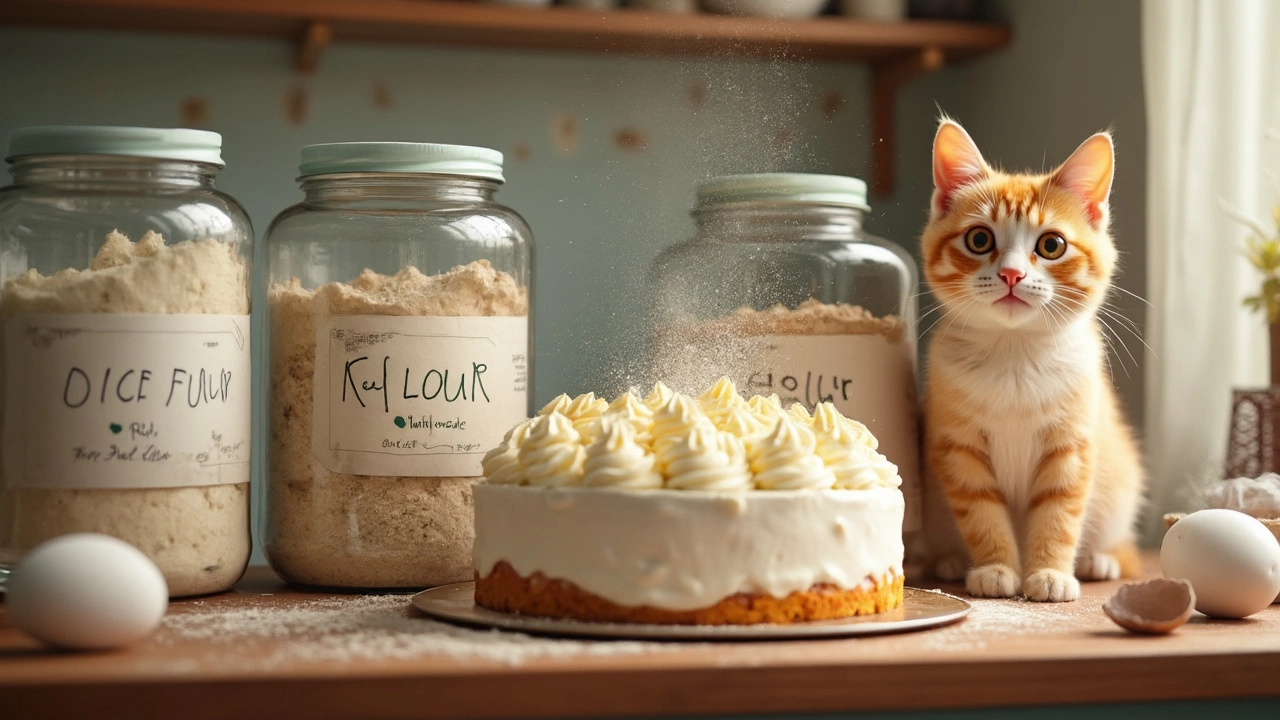
Gluten-Free Flour: What to Use for Cakes
Confused about which flours are actually gluten-free for your cakes? This guide breaks down the best gluten-free flours, how they behave in cake recipes, and what swaps really work. From rice flour basics to almond flour hacks, learn which options keep your baking safe and tasty. Plus, smart tips for better texture and flavor in gluten-free cakes. Even Whiskers the cat can't mess this up for you!
View MorePopular Posts

Are Oreos Vegan? Let's Crack Open the Truth!
Apr, 4 2025


How Long Does a Brownie's Effect Last?
May, 27 2025