Photo Cake Ideas & Simple Tips for Stunning Sweet Shots
Ever wished your cake looked as good on Instagram as it does on the plate? You’re not alone. A photo‑ready cake doesn’t need a professional studio – just a few smart choices and a dash of creativity. Below you’ll find easy steps to pick the right base, add eye‑catching details, and snap pictures that make people say "Wow!" before they even take a bite.
Choosing the Right Cake Base
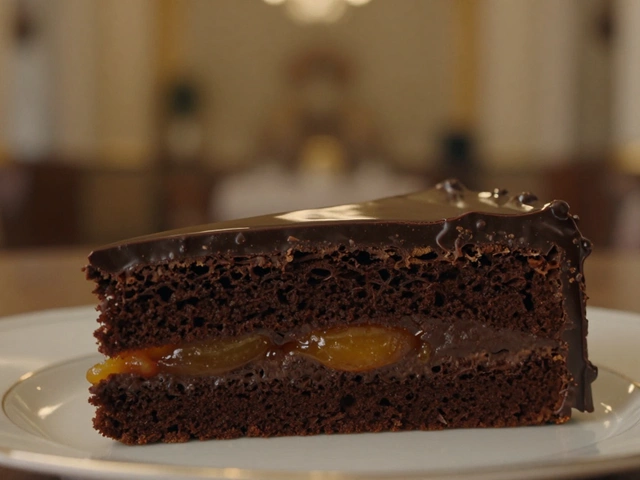
The first step is picking a cake that will hold its shape and show off your design. A sturdy sponge or a buttery pound cake works best because they stay flat and don’t crumble when you add frosting. If you’re going for a layered look, make sure each layer is level – a quick turn of the plate and a flat knife are all you need.
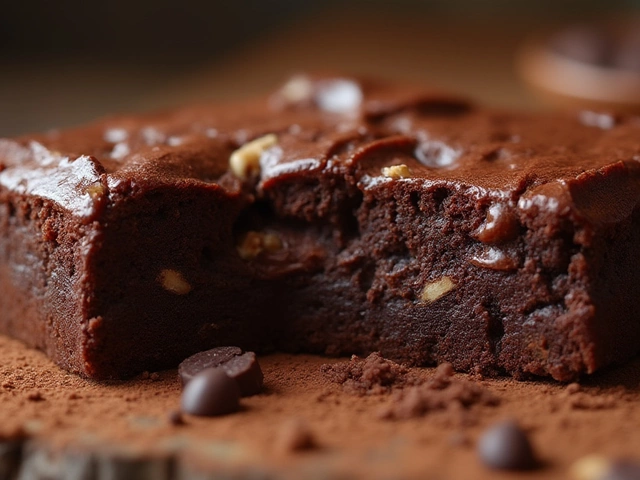
Flavor matters, but so does color. Light‑colored cakes like vanilla or almond let bright decorations pop, while darker cakes such as chocolate can create a classy contrast for gold or white accents. Think about the theme of your party and match the cake color to your décor for a cohesive look.
Don’t forget about baking size. A 9‑inch round is a safe bet for most gatherings and gives you plenty of surface to work with. If you need a bigger crowd, a sheet cake spreads the frosting evenly and makes slicing easier. Whatever shape you choose, let it cool completely before you start frosting – a warm cake will melt the buttercream and ruin the finish.
Styling & Shooting Your Photo Cake
Now that your cake is ready, it’s time to dress it up. Simple tricks like adding fresh berries, edible flowers, or a drizzle of chocolate can turn a plain cake into a visual treat. Use a piping bag with a star tip for rosettes, or grab a spoon for rustic dollops – you don’t need fancy tools to look pro.
Lighting is the secret sauce for great photos. Natural light from a window gives the cake a soft, even glow. Position the cake near the light source, but avoid direct sunshine that creates harsh shadows. If you’re indoors after dark, a white lamp with a soft bulb works well – just make sure the background stays clean and uncluttered.
When you’re ready to snap, try different angles. A straight‑on shot shows the full top design, while a 45‑degree angle reveals the side layers and height. Use your phone’s grid to keep the cake centered, and tap the screen to focus on the frosting details. A quick edit to boost brightness or crop excess space can make the final image pop.
Putting everything together doesn’t have to be a marathon. Choose a stable base, add a few bright toppings, find good light, and click a few angles. You’ll end up with a photo cake that looks as amazing as it tastes, and your friends will be asking for the recipe before they even see the first slice.

Does Costco Put Pictures On Cakes? Custom Photo Cake Ordering Guide
Curious if Costco puts pictures on cakes? Here's the real scoop on ordering photo cakes, plus tips and facts from Costco's bakery insiders and regular shoppers.
View More