Cookie Disaster Diagnostic Tool
How did your cookies turn out?
You put the tray in the oven. You smell the vanilla and butter. You wait with anticipation. Then you pull them out, and they look nothing like the picture on the recipe card. They might be flat puddles of dough, rocks that could crack a tooth, or burnt discs of regret. It happens to everyone, even professional bakers. But usually, it comes down to three specific culprits: temperature, ingredient ratios, and timing.
Baking is chemistry. When you mix flour, sugar, fat, and eggs, you are setting off a series of reactions that need precise conditions to succeed. If one variable goes off track, the whole batch suffers. Let’s break down the three most common disasters and exactly how to fix them so your next batch is perfect.
Problem 1: The Flat Cookie Puddle
This is arguably the most frustrating issue. You scoop a nice round ball of dough, but when it emerges from the oven, it has spread into a thin, lacy sheet. You wanted a soft, chewy center; you got a cracker. Why does this happen?
The primary reason is butter temperature. Butter is the structural backbone of many cookie recipes. If your butter is too warm-meaning it’s melted or just barely solid-it will melt instantly in the oven before the structure of the egg and flour can set. This causes the dough to spread rapidly outward rather than rising up.
Another major factor is the type of sugar you use. Brown sugar contains molasses, which adds moisture and acidity. This acidity reacts with baking soda to create lift and chewiness. If you substitute white granulated sugar for brown sugar, or vice versa, without adjusting other ingredients, you change the texture and spread rate significantly. White sugar encourages spreading; brown sugar encourages puffing and chew.
Finally, check your leavening agents. Baking powder and baking soda have expiration dates. Old baking soda loses its potency. If it doesn’t release carbon dioxide bubbles effectively, the cookie won’t rise. Instead, gravity takes over, and the cookie flattens under its own weight.
| Cause | Effect on Dough | How to Fix |
|---|---|---|
| Butter too warm | Melts instantly, spreads wide | Chill dough for 30-60 mins |
| Old baking soda | No lift, flat result | Replace baking soda |
| Too much sugar | Sugar liquefies, pulls dough out | Measure by weight, not volume |
| Wrong pan color | Dark pans absorb heat, melt butter faster | Use light-colored aluminum pans |
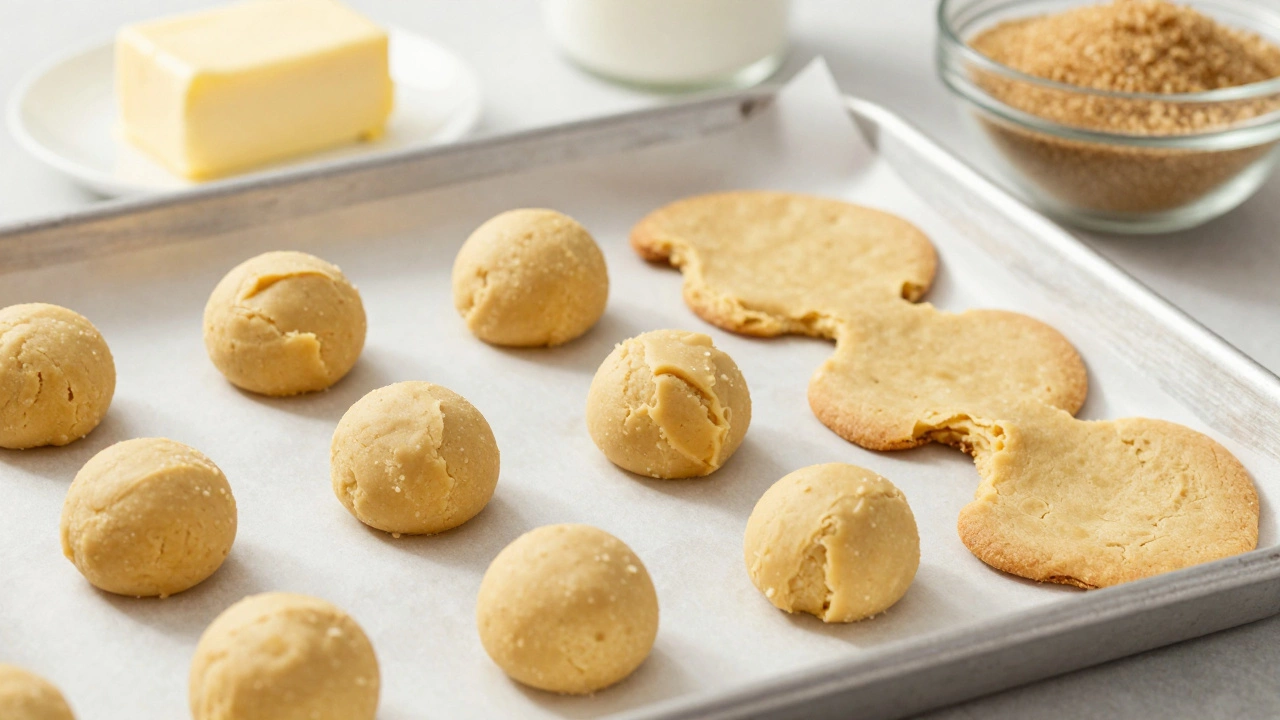
To prevent flat cookies, chill your dough. It sounds simple, but it works. Putting your scooped dough balls in the fridge for at least 30 minutes firms up the fat. When the cold dough hits the hot oven, the outside sets before the inside melts completely, giving you height and shape. Also, always measure your flour correctly. Scooping flour directly from the bag packs it down, leading to too much flour in some cases, but often people add extra liquid to compensate, throwing off the balance. Weighing your ingredients is the only way to be sure.
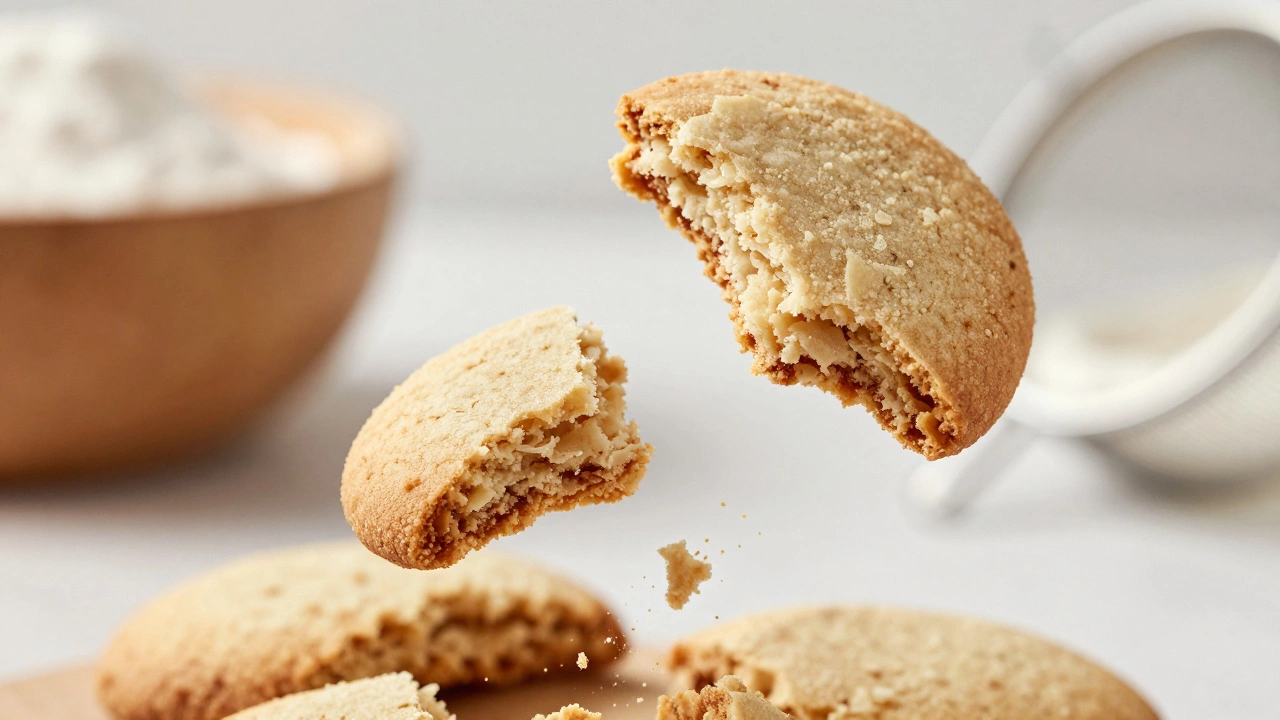
Problem 2: Hard, Dry, or Crumbly Textures
On the flip side, you might end up with cookies that are dry as dust or crumble apart when you try to pick them up. These aren’t just unpleasant to eat; they signal that the chemical balance was off. Usually, this points to two issues: overmixing and over-baking.
Flour contains gluten proteins (gliadin and glutenin). When you mix flour with water (or wet ingredients like eggs and milk), these proteins form strands. A little gluten is good-it gives structure. Too much gluten makes the cookie tough and hard. Overmixing develops this gluten network excessively. Once you add the flour to your wet mixture, mix only until no dry streaks remain. Stop there. Do not knead the dough like bread.
Over-baking is the other silent killer. Cookies continue to cook on the hot baking sheet after you remove them from the oven. This is called carryover cooking. If you leave them in the oven until they look fully set and golden brown, they will be hard by the time they cool. For soft cookies, you want to pull them out when they still look slightly underdone in the center. They should be puffy and pale, not deeply browned. As they sit on the tray, they will firm up to perfection.
Ingredient freshness also plays a role here. Eggs provide moisture and emulsification. Older eggs have thinner whites and larger yolks, which can alter the hydration level of your dough. While not always noticeable, using fresh eggs ensures consistent results. Similarly, stale baking powder can lead to dense textures because the air pockets needed for a tender crumb never form.
Problem 3: Burnt Edges with Raw Centers
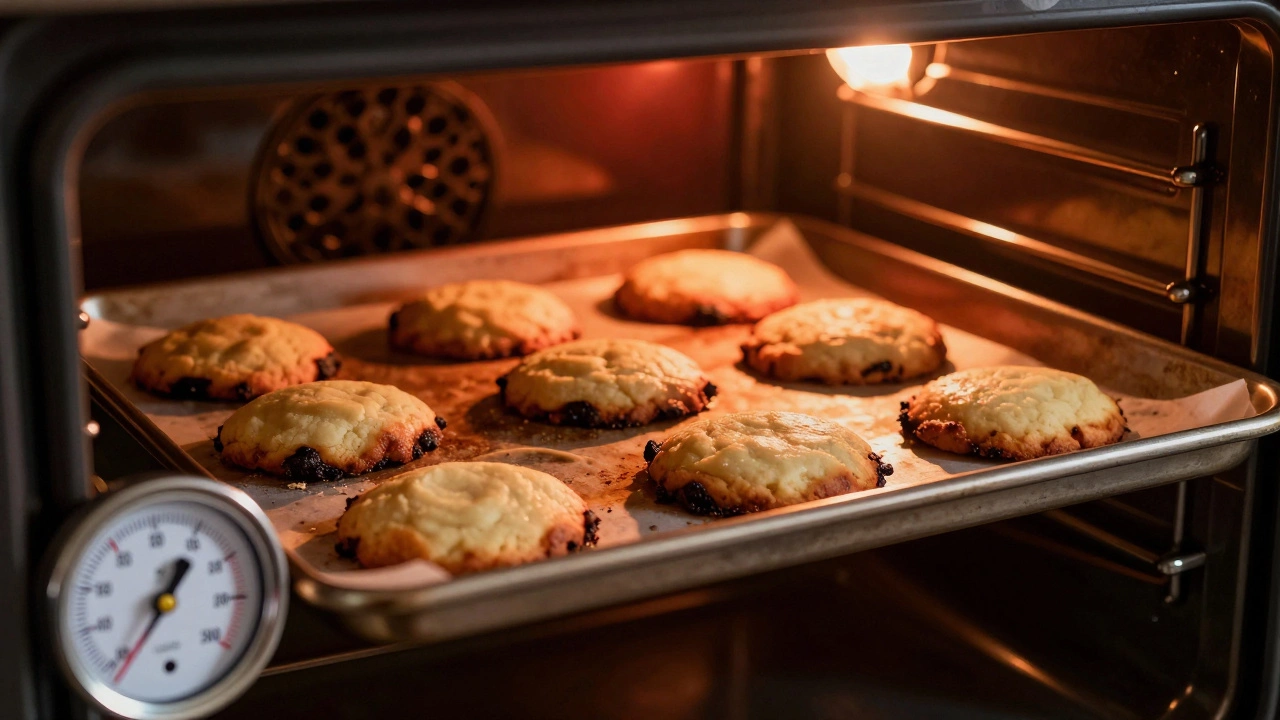
Have you ever taken a tray out where the edges are black charcoal, but the middle is still gooey dough? This uneven cooking is a classic sign of incorrect oven temperature or poor airflow. Ovens lie. The dial says 350°F (175°C), but the actual temperature inside might be swinging wildly between 320°F and 380°F.
If your oven runs hot, the outside of the cookie bakes faster than the heat can penetrate to the center. The result is a burnt exterior and a raw interior. To combat this, invest in an inexpensive oven thermometer. Place it in the center of your oven and check if the actual temperature matches the setting. If it’s off by more than 25 degrees, adjust your baking time or temperature accordingly.
Rack position matters too. If your rack is too close to the top heating element, the tops and edges will burn before the bottom cooks. Center rack placement is almost always best for cookies. It allows for even air circulation around the entire tray. Additionally, make sure you aren’t overcrowding the pan. If cookies are touching, steam gets trapped between them. This prevents the bottoms from crisping and leads to soggy centers while the exposed edges burn.
Using the right baking sheet helps immensely. Dark, non-stick pans absorb heat and conduct it aggressively, leading to burnt bottoms. Light-colored aluminum sheets reflect heat and provide a gentler bake. If you only have dark pans, reduce your oven temperature by 25°F (about 15°C) to compensate.
Quick Fixes for Common Mistakes
Sometimes, despite your best efforts, things go wrong. Here are some emergency fixes:
- Dough is too sticky: Don’t add more flour immediately. Chill the dough for 15 minutes first. Cold fat is easier to handle. If it’s still sticky, dust your hands with a tiny amount of flour.
- Cookies are too sweet: Next time, reduce the sugar by 1-2 tablespoons per cup. Or, add a pinch of salt to balance the sweetness. Salt enhances flavor complexity.
- Uneven shapes: Use a cookie scoop. It ensures every portion is the same size, so they bake evenly. Hand-scooping often leads to irregular sizes that bake at different rates.
Understanding Your Ingredients
To truly master cookies, you need to understand what each ingredient does. It’s not just about following steps; it’s about knowing the 'why'.
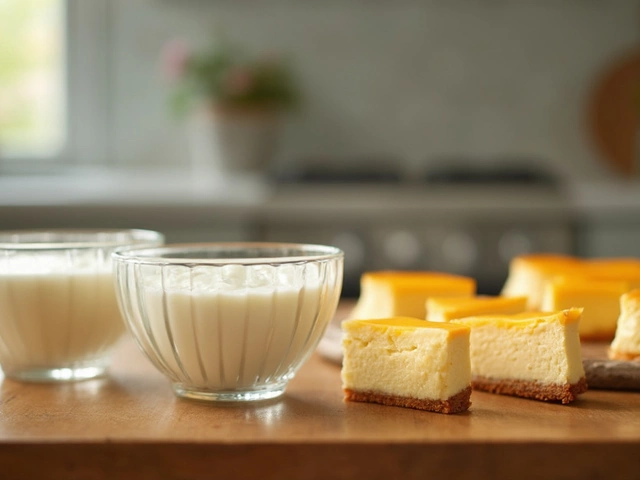
Butter is a dairy product made by churning cream, providing fat, flavor, and tenderness to cookies. The water content in butter turns to steam during baking, helping the cookie rise. Unsalted butter is preferred because it lets you control the salt level precisely.
All-Purpose Flour is a wheat-based powder containing gluten-forming proteins, providing structure to baked goods. In cookies, we want moderate gluten development. Too little, and they fall apart; too much, and they become tough.
Brown Sugar is granulated sugar coated with molasses, adding moisture, acidity, and a chewy texture. The molasses makes the dough more acidic, which activates baking soda and contributes to a darker color and richer flavor.
Eggs are a binding agent that provides moisture, richness, and structure through protein coagulation. The yolk adds fat and emulsifiers, while the white adds water and protein. One large egg is standard for most chocolate chip cookie recipes.
Baking Soda is a leavening agent that requires acid to activate, creating carbon dioxide bubbles for lift. It also raises the pH of the dough, which helps caramelize sugars for a deeper brown color.
Pro Tips for Consistent Results
Consistency is key. Here are a few habits that will transform your baking:
- Weigh your ingredients. Cups are inaccurate. A cup of flour can vary by 20% depending on how you pack it. A digital scale removes this guesswork. Aim for 120-125 grams per cup of all-purpose flour.
- Room temperature matters. Unless specified, bring eggs and dairy to room temperature before mixing. Cold ingredients don’t emulsify well with butter, leading to a grainy texture.
- Preheat properly. Give your oven at least 15-20 minutes to reach the target temperature. An oven that isn’t fully preheated will cause cookies to spread too much before setting.
- Rotate the pan. Halfway through baking, rotate the baking sheet 180 degrees. This compensates for hot spots in your oven, ensuring even browning.
Why did my cookies turn out flat and crispy instead of chewy?
Flat, crispy cookies usually result from butter that was too warm when mixed, causing the dough to spread too quickly in the oven. Another cause is using too much white sugar relative to brown sugar. White sugar promotes spreading and crispness, while brown sugar retains moisture for chewiness. Finally, old baking soda fails to provide lift, resulting in flat cookies. To fix this, chill your dough for at least 30 minutes before baking and ensure your baking soda is fresh.
How do I stop my cookies from burning on the bottom?
Burnt bottoms often occur when using dark-colored baking sheets, which absorb heat more aggressively than light-colored ones. Switch to light aluminum pans if possible. If you must use dark pans, lower your oven temperature by 25°F (15°C). Also, place your rack in the center of the oven, not near the bottom element. Lining your pan with parchment paper can also help insulate the bottom slightly.
Can I use margarine instead of butter for cookies?
Technically yes, but the results will differ. Margarine has a higher water content and less fat than butter. This extra water turns to steam, which can make cookies spread more and taste less rich. Butter provides superior flavor and texture due to its milk solids and fat composition. For the best results, stick to unsalted butter and add salt separately to control the seasoning.
Why are my cookies dry and crumbly?
Dry, crumbly cookies are typically caused by over-baking or over-mixing. Over-mixing develops too much gluten, making the texture tough and dry. Mix only until the flour is incorporated. Over-baking removes too much moisture. Pull cookies from the oven when they still look slightly underdone in the center; they will finish cooking on the hot tray. Using too much flour can also dry out cookies, so weigh your ingredients for accuracy.
Do I really need to chill cookie dough?
Yes, chilling is highly recommended. It solidifies the fat, preventing the cookies from spreading too fast in the oven. This results in thicker, chewier cookies with better structure. Chilling also allows the flour to fully hydrate and the flavors to meld together, often improving the taste. Most recipes benefit from at least 30 minutes in the fridge, though overnight chilling can yield even deeper flavors.
Popular Posts
Exploring the Diverse Flavors of Brownies
Dec, 19 2024


Gluten-Free Baking: What to Avoid for Perfect Cakes
Jun, 20 2025