Smooth, rich, and that perfect melt-in-your-mouth feeling—that's what we all want from fudge. Ever wonder why some fudge is silky and luscious, while other times it’s gritty or too sticky? It's not just luck. There’s real chemistry happening with your saucepan, and the tiniest change can make or break your batch. If you’ve ever stared at a pan of failed fudge, you know the pain.
Here's the wild part: the texture of fudge comes down to sugar crystals. Get them too big, and your fudge feels sandy. But hit that sweet spot with tiny, well-formed crystals and suddenly you’re tasting perfection like those old-fashioned sweets from a proper candy shop. Most homemade fudge disasters are just sugar behaving badly. The cool thing? Once you know what causes it, you can actually control it—and it’s way easier than most recipes make it sound.
If you’re looking for a foolproof start to better fudge, pay attention to the boiling point of your mixture and don’t rush the cooling. Those two things alone can turn you from a fudge flunkie into a fudge hero. Ready to get to the good stuff? Let's talk about making every batch a keeper.
- The Science Behind Creamy Fudge
- Choosing Ingredients That Matter
- Mastering the Cooking and Cooling Process
- Fun Twists and Troubleshooting
The Science Behind Creamy Fudge
Here's the lowdown: great fudge is a science experiment in a pot. The most important thing? Sugar crystals. Getting the right size sugar crystals makes all the difference between creamy fudge and fudge that tastes like you bit into a bag of sand. When you boil your homemade fudge mixture, sugar dissolves, but, as it cools, sugar wants to turn back into crystals. If it does this too soon or too wildly, the texture’s ruined.
That’s why recipes ask you to boil the mixture to a specific temperature. The magic number is usually around 234°F (112°C). If you don't use a thermometer, your fudge might end up too soft or rock hard. After the mixture hits “soft ball stage,” everything’s about getting that smoothness. Stirring at the wrong time creates clumps and big sugar crystals, which means gritty fudge. Wait until the fudge cools (about 110°F or when the pan feels just warm to the touch), then stir. It takes patience—but you’ll see the texture change right before your eyes.
- Never stir while it’s boiling. Sugar crystals form on the sides and can fall in, messing up texture.
- Clean down sides of the pan using a wet pastry brush while boiling. This helps prevent rogue crystals.
- Be patient. Let the mixture cool after boiling before beating it—this step is often rushed, leading to grainy results.
One fun fact: professional candy makers sometimes add a drizzle of corn syrup or a squeeze of lemon juice. These act as crystal blockers, keeping your homemade fudge silky. You don’t need much—just a tablespoon for a whole batch makes a real difference.
| Stage | Temp (°F) | Effect on Fudge |
|---|---|---|
| Undercooked | <232°F | Too soft, sticky |
| Perfect (Soft Ball) | 234-236°F | Creamy and smooth |
| Overcooked | >240°F | Dry, crumbly |
Mastering the science behind fudge is honestly more about timing and temperature than anything fancy. Once you get those right, you’ll be surprised how reliable—and delicious—your fudge recipes can be.
Choosing Ingredients That Matter
If you want fudge that really stands out, what you put in matters just as much as how you cook it. Not all ingredients are created equal when it comes to fudge recipes, and cutting corners usually shows up in the taste and texture. Here’s what you should know before you grab whatever’s handy from the pantry.
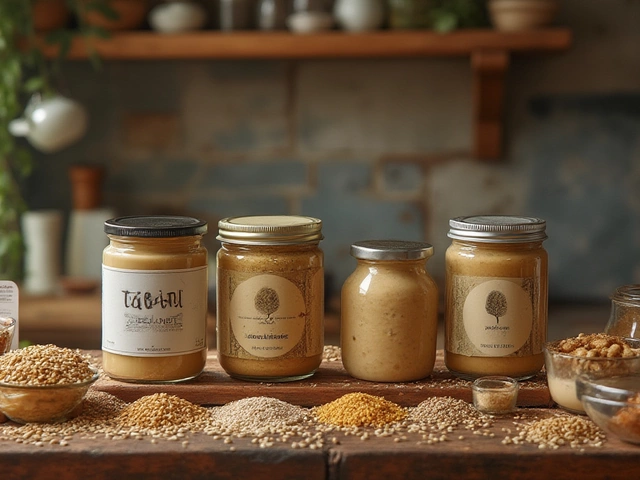
Sugar is the game changer. Granulated white sugar is the classic, and for good reason—it dissolves evenly and helps give fudge that signature creamy finish. Avoid raw or coarse sugars, as they make it way too easy to end up with a gritty mess.
Butter isn’t just for richness. Real butter (not margarine or spreads) gives your homemade fudge its smooth mouthfeel and adds depth you just can’t fake with alternatives. Salted or unsalted both work, but if you want total flavor control, grab the unsalted and add your own pinch of salt at the end.
Milk or Cream? This one’s big: whole milk works, but heavy cream takes your fudge to the next level. Cream has more fat, so the fudge comes out richer and creamier. Some people even mix milk and cream for a best-of-both-worlds vibe.
- Evaporated milk is the go-to for old-school recipes. It won’t curdle when boiled, which means less risk of weird texture issues.
- Do not swap in sweetened condensed milk unless your recipe is built for it. It’s already got a lot of sugar and can throw off the whole balance.
Chocolate is obviously key in chocolate fudge, and this isn’t the time for sketchy chips or "baking squares" that have been in the cupboard since last Easter. Use a good-quality chocolate bar or high-cocoa chips. Most pro bakers go for chocolate that's 60% cacao or higher for that deep, real flavor—not just sweetness.
Add-ins and Flavors can take you from basic to unforgettable. Real vanilla extract is way better than the imitation stuff. Nuts, sea salt, a swirl of caramel, or even chopped cookies stay fresh and crunchy if you stir them in right at the end.
| Ingredient | Best Choices | Common Pitfalls |
|---|---|---|
| Sugar | Granulated white sugar | Raw or large-crystal sugars |
| Butter | Unsalted, real butter | Margarine, spreads |
| Milk/Cream | Heavy cream, evaporated milk | Skim milk, sweetened condensed (unless recipe is for it) |
| Chocolate | High-quality bars (60%+ cacao) | Poor-quality chips, old chocolate |
| Flavors/Add-ins | Pure vanilla, fresh nuts | Imitation vanilla, stale nuts |
The truth is, you don’t have to go fancy or expensive, but using the right stuff—fresh, good quality, and appropriate for making fudge—keeps everything on track. If you want fudge that tastes like those perfect squares you remember from childhood, start with the good stuff. Your taste buds will notice.
Mastering the Cooking and Cooling Process
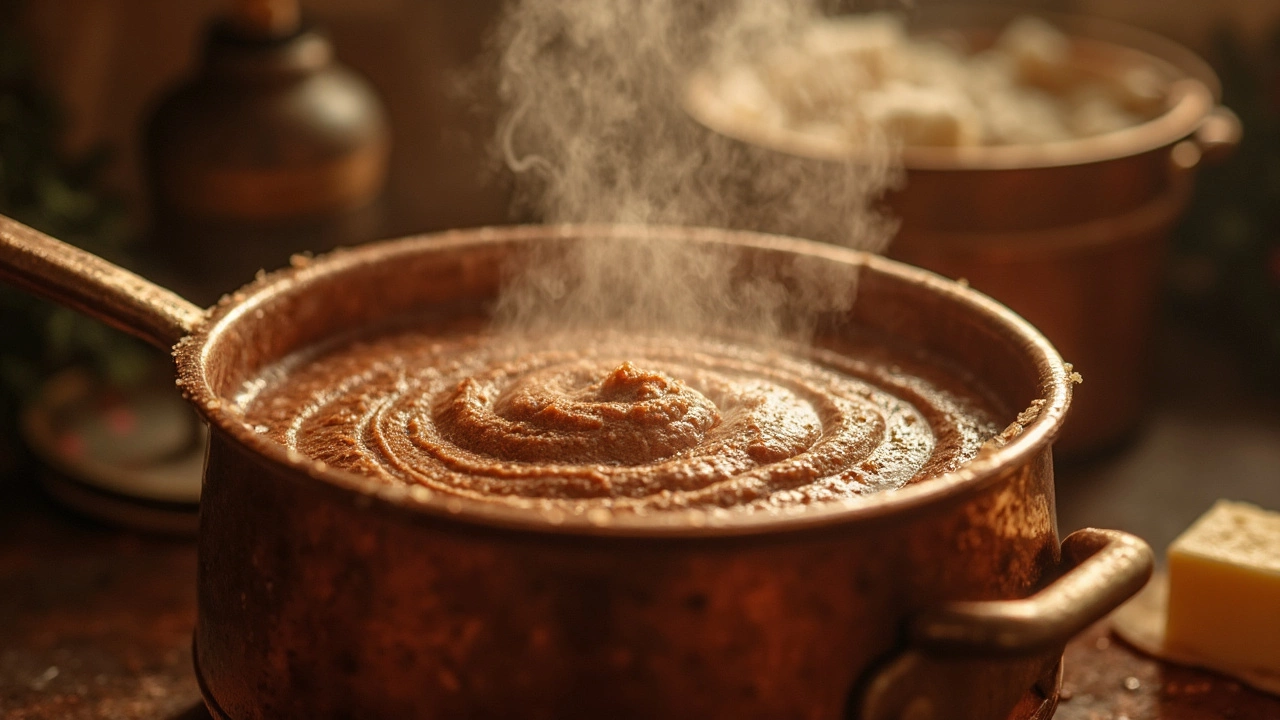
Nailing the cooking and cooling steps turns average fudge into perfect, creamy homemade fudge, every single time. If you don’t get these right, even the fanciest ingredients can’t save your batch. Sugar science is boss here. So, what does that actually mean for your kitchen?
Start with a heavy-bottomed saucepan. This stops hot spots that can burn your mix. Use a candy thermometer—seriously, it’s worth it—to manage the exact temperature. For most classic fudge recipes, you’re shooting for 234°F–238°F (112°C–114°C). Anything above that and your fudge goes dry and crumbly. Below that? You risk a sticky mess. The sweet spot matters.
Stirring is a balancing act. You want to stir steadily as your mixture comes to a boil (to keep everything even), but once it starts boiling, hands off the spoon. If you stir while the sugar is boiling, big crystals form and you get gritty fudge, not that lux texture you’re after. Once temp hits the target, take it off the heat—don’t cool it right away. Let it sit, undisturbed, until it drops to about 110°F (43°C).
- Don’t rush the cooling. Set your pan (mixture and all) aside and let it chill out, uncovered. It usually takes about 30 mins to get to the right temp.
- Only after it’s cooled a bit do you beat the mixture, either by hand or with an electric mixer. This is the magic step! You want to stop beating just as the fudge loses its shine and starts to thicken.
- Pour it into your prepared pan—quickly! If you wait too long, it’ll set in the bowl and good luck scraping it out.
If you like nerdy details, here’s a quick look at how sugar crystals and cooking temperature change your fudge:
| Temperature (°F) | Result |
|---|---|
| Under 234 | Too soft, won’t set |
| 234-238 | Creamy, smooth, just right |
| 239+ | Dry, crumbly, grainy |
That’s why a thermometer basically pays for itself—in ruined batches saved alone. Stick to these steps, and watch your homemade fudge win over picky eaters (and you can skip the store-bought stuff for good).
Fun Twists and Troubleshooting
Once you nail classic fudge, things get really fun. You can turn basic homemade fudge into something unforgettable with just a few add-ins. Chocolate is a crowd favorite, but why stop there? Try swirling in a scoop of peanut butter, folding in crushed Oreos, or mixing in chopped nuts. Marshmallows give it that rocky road vibe, while a bit of sea salt or cayenne can surprise your taste buds in the best way. There’s even a trend for cookie dough bites inside fudge (it’s as good as it sounds).
Now, let’s tackle the classic headaches of making fudge. Gritty texture? That’s usually because the sugar crystallized too soon. The trick is to let the mixture cool untouched (don’t stir!) until it hits around 110°F, then beat it. Fudge refuses to set? A common mistake is not boiling long enough or missing the right temperature—aim for 234–238°F on your candy thermometer. Forgot to use a thermometer? Big risk. Even pros keep one handy because it removes the guesswork.
Here’s a quick cheat sheet for common fudge issues:
- Fudge won’t harden: Mixture wasn’t boiled to high enough temp; reheat with a splash of water and try again.
- Fudge is grainy: Sugar crystals formed early; next time, don’t stir after boiling and use a clean pan.
- Too soft or sticky: Didn’t cook long enough or humidity was high; cool in the fridge and adjust next batch.
- Burnt taste: Pan was too thin or heat too high; use heavy-bottomed pans and medium heat.
Curious about how some flavors stack up? Check out this small table from a 2024 sweets survey that ranks popular fudge mix-ins in the U.S.:
| Mix-In | Popularity (%) |
|---|---|
| Walnuts | 32 |
| Marshmallow | 21 |
| Peanut Butter | 18 |
| Sea Salt | 12 |
| Oreo/Chocolate Cookie | 9 |
Experimenting with fudge recipes is half the fun. Start simple and get creative once you’re comfortable. Pay attention to the details, and soon those “oops” batches will be a thing of the past.
Popular Posts


Freezing Cream Cheese: What Happens Next?
Mar, 7 2025