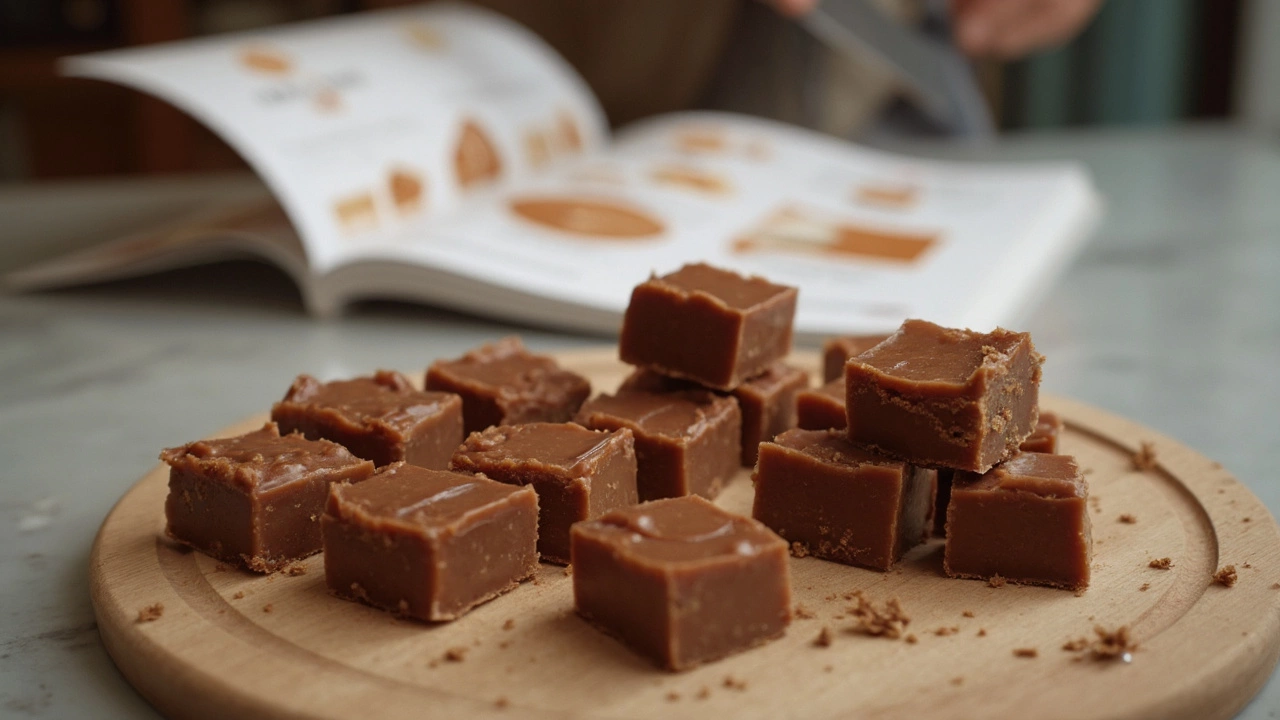
Ever tried making fudge only to end up with a solid block that tastes more like sugary sandpaper than the creamy delight you envisioned? You're definitely not alone. Fudge making seems easy, but it's kind of like walking a tightrope between success and crumble, especially if you're missing the important details. Let's break down some common fudge-making mistakes so you can avoid those sweet missteps.
One big no-no is ending up with grainy fudge. It typically happens when sugar crystals form during cooking. To prevent this, be sure to dissolve the sugar completely before boiling. Use a wet pastry brush to wipe down sugar crystals from the pot's sides. You'd be surprised how this small step can make a huge difference.
- Avoiding Grainy Texture
- Watch the Temperature
- Mixing and Stirring Secrets
- Choosing the Right Ingredients
- Storage and Freshness Tips
Avoiding Grainy Texture
No one wants fudge that feels like chewing on gritty sand, right? A grainy texture is a typical rookie error in fudge recipes, often caused by sugar crystallization. But fear not, you can steer clear of this pitfall with a few simple hacks.
The first step? Dissolve all your sugar. As you're heating the mixture, make sure all those granules are completely mixed in before the boil begins. No half-melted stragglers allowed! This is your foundation for smoothness.
When your mixture starts to bubble, the temptation to mix can be strong. Resist it! Stirring while the syrup is boiling invites those sneaky crystals to form. Instead, stir only at low temperatures and let it boil untouched.
Here's a pro tip: Once cooking ends, let it cool undisturbed to about 110°F (43°C) before you touch it again. This cool-down period is crucial. It helps settle any potential spark of crystallization before you start the final mixing.
It's also wise to use a fudge making specific thermometer. A consistent temperature keeps everything right where you want it, so you're not guessing when to start or stop stirring.
And don't forget the humble pastry brush! Dip it in water and run it around the edges of the pot as it boils. This washes down any sugar crystals clinging to the sides, preventing them from ruining your smooth finish.
Here's a quick glance at what you should remember:
- Ensure complete sugar dissolution before boiling.
- Avoid stirring too much while boiling.
- Let fudge cool undisturbed to about 110°F (43°C).
- Use a candy thermometer for precision.
- Keep pot sides clean with a wet pastry brush.
Nail these steps, and your chocolate fudge texture will stay smooth as silk, like it was always meant to be.
Watch the Temperature
If there's one thing that can turn your perfect batch of fudge into a sticky mess or a crumbly disaster, it's messing up the temperature. Believe it or not, the right temperature is the key to achieving that luscious, melt-in-your-mouth texture we all crave in our fudge recipes.
The ideal temperature range, often called the 'soft ball stage,' is between 234°F and 240°F. Yep, you need a candy thermometer for this! Skipping the thermometer and going by guesswork? That's a gamble you don't want to take. Invest in a good candy thermometer to keep things precise.
Okay, so you've got your thermometer. Now, remember to take into account the altitude and humidity of your location. Both can mess with boiling temperatures. If you're at a high altitude, for every 500 feet above sea level, you should lower the cooking temperature by about 1°F. It’s nifty little details like this that really make a difference.
Once you hit the right temperature, remove the pan from the heat quickly. Letting it cook for too long can burn the mixture, giving it a funky taste that even loads of chocolate can't cover. Did you know burnt fudge happens to about 15% of first-timers? Keeping an eye on that number can save you a heartbreak.
Also, patience is key when you wait for the mixture to cool before beating it. If you get too eager and start stirring before it drops to about 110°F, you're likely going to end up with that grainy texture because the fudge hasn't had time to set properly.
In summary, keep a close watch on the temperature. Use a candy thermometer, adjust for altitude, and resist the urge to rush the cooling process. Do all that, and you'll be well on your way to creating the perfect chocolate fudge every time.

Mixing and Stirring Secrets
When it comes to fudge recipes, how you mix and stir your ingredients can make or break your batch. This isn't just about throwing things in a pot and hoping for the best. There's an art to it, and following these tips can put you on the right path to delicious, velvety fudge.
First up, don't stir your fudge once it starts boiling. Sounds strange, right? But it's essential. Stirring during boiling can cause sugar crystals to form, resulting in that dreaded grainy texture nobody wants. Instead, leave it alone until it reaches the right temperature.
Once your fudge mixture hits the target temperature—usually between 234°F and 240°F, known as the soft-ball stage—it's time to take it off the heat. Let it cool down untouched to around 110°F before you do any further mixing. This cooling period is crucial because it allows your fudge to set up properly before you stir it again.
After the right cooling time, you can start stirring, but do it carefully. Stir it slowly with a wooden spoon, as this texture helps control the crystallization process. Stirring too quickly can invite premature sugar crystals, leading to gritty fudge.
If you’re planning to add anything extra like nuts or dried fruits, do it after the cooling period but before the final mix. Stir these additions in gently to avoid altering the fudge's texture.
So, patience and timing are your best friends in the world of fudge making. By respecting these caramelly chemistry rules, you’ll turn out a smooth and creamy fudge, making everyone think you're a master candy maker.
Choosing the Right Ingredients
Diving into fudge making starts with picking the right ingredients. It might seem obvious, but the quality of what you put in can make or break your fudge recipes. Let's lay it out.
When it comes to chocolate, always go for the good stuff. Using high-quality chocolate gives your fudge that smooth, rich taste. Cheap chocolate often has too many fillers and artificial flavors that ruin the texture and flavor. Aim for at least 60% cocoa content—this means you're getting real chocolate, not just sugar.
Now, sugar. Stick with granulated sugar as it dissolves evenly and helps in getting that perfect creamy finish. Brown sugar might be tempting for its moist quality, but leave it for cookies. It affects the consistency of fudge too much.
Next up, dairy. Some folks swear by evaporated milk, while others might lean toward heavy cream. Evaporated milk helps in avoiding those annoying sugar crystals, but heavy cream gives it a richer taste. Either way, fresh is best. No one wants spoiled milk vibes in their candy!
Oh, and don't skimp on pure vanilla extract. That fake stuff? Yeah, it's just not the same. Real vanilla gives a depth of flavor that elevates your chocolate fudge from good to unforgettable.
Here's a quick reminder list:
- High-quality chocolate (60% cocoa or more)
- Granulated sugar only
- Evaporated milk or heavy cream
- Pure vanilla extract
Remember, the better your ingredients, the better your fudge. Simple as that.

Storage and Freshness Tips
You've finally nailed the perfect batch of fudge, but what now? How you store your fudge is almost as important as how you make it. First things first, let your fudge cool completely before even thinking about wrapping it up. Locking in moisture while it's still warm can lead to a mushy mess, and nobody wants that.
Once cooled, you can use airtight containers, which are your best bet for keeping fudge fresh. Always layer it with wax paper to prevent sticking. No airtight container? No problem—aluminum foil or plastic wrap works too, just make sure they're tightly sealed to keep out air.
For the fudge fanatics planning on saving some for later, freezing is totally fine. Just make sure to wrap each piece individually in plastic wrap first, and then pop them into a freezer bag or container. This way, they can stay good for up to three months!
| Storage Method | Room Temperature | Refrigerator | Freezer |
|---|---|---|---|
| Airtight Container | 1 to 2 weeks | 2 to 3 weeks | Up to 3 months |
| Plastic Wrap | 1 week | 2 weeks | Up to 3 months |
Never underestimate the role of temperature. Keep your fudge in a cool, dry place if storing at room temperature. Avoid the fridge if you can; it might keep your fudge longer, but the cold could harden it more than you'd like. Of course, if you're in a warm climate, the fridge might be your only option.


