Pavlova Collapse Diagnostic Tool
What happened to your pavlova?
Select all symptoms that apply (you can choose multiple):
Completely Flat
Collapsed into a disc shape
Cracked Surface
Large cracks or splits on top
Soggy Center
Wet or sticky inside
Collapsed Sides
Edges fell inward
Grainy Texture
Feels gritty when touched
Dense & Heavy
Not airy, feels compacted
Let's dig deeper...
Answer these questions to pinpoint the exact cause:
Your Diagnosis
Contributing Factors:
🔧 How to Fix It Next Time:
💡 Pro Tip:
Why Your Pavlova Collapsed: The Science Behind the Soggy Disaster
There is nothing quite as heartbreaking as pulling a beautiful, cloud-like pavlova out of the oven only to watch it deflate into a sad, flat disc within minutes. You spent hours whisking egg whites, carefully folding in sugar, and waiting for that perfect crisp shell to form. Then, disaster strikes. Why did your pavlova go flat?
The answer usually lies in three culprits: moisture, temperature shock, or structural failure during the baking process. A successful pavlova relies on a delicate balance of protein structure and air bubbles. When this balance is disrupted, the meringue collapses. Let’s break down exactly what went wrong and how you can ensure your next attempt stands tall.
Mistake #1: Sugar Not Fully Dissolved (The Grainy Trap)
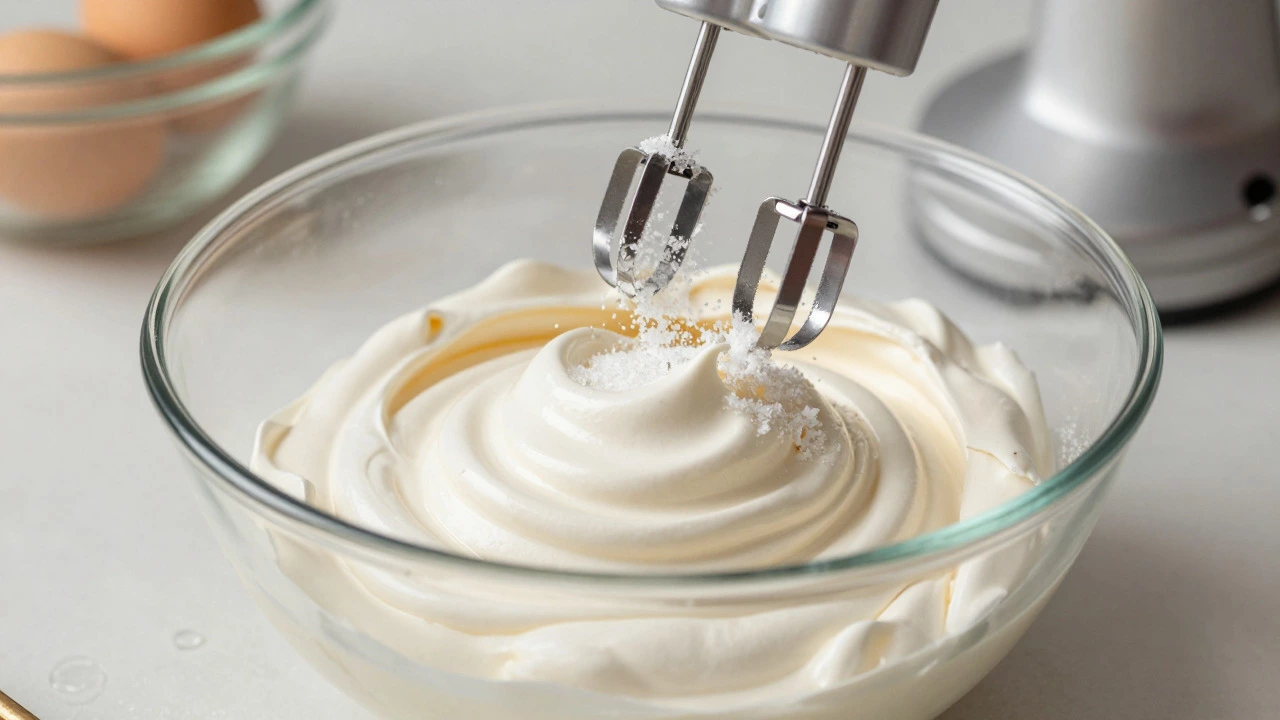
This is the most common reason for a collapsed pavlova. If the sugar crystals haven’t completely dissolved in the egg whites, they act like tiny anchors, weighing down the airy foam. Worse, undissolved sugar creates pockets of liquid syrup inside the meringue. As the pavlova bakes, these pockets steam and expand, but once the heat turns off, they condense and cause the structure to sag.
How do I know if the sugar is fully dissolved?
Take a pinch of the meringue mixture between your thumb and forefinger. Rub it gently. If it feels smooth and creamy, the sugar is dissolved. If you feel any gritty grains, keep whipping until it disappears. This step is non-negotiable for a stable structure.
To fix this, add sugar gradually-one tablespoon at a time-while the mixer is running on medium-high speed. Wait until each addition is fully incorporated before adding more. Some bakers also use caster sugar or superfine sugar because its smaller crystals dissolve faster than standard white granulated sugar.
Mistake #2: Humidity Is Your Enemy
If you live in a humid climate or are baking on a rainy day, your pavlova is fighting an uphill battle. Meringue is essentially hygroscopic, meaning it absorbs moisture from the air. High humidity prevents the outer shell from drying out properly, leaving it soft and unable to support the weight of the filling.
Cornstarch (or cornflour) is your best friend here. Adding one teaspoon of cornstarch per cup of egg whites helps absorb excess moisture within the meringue. It also gives the interior that signature marshmallow-like texture. Without it, the inside might remain too wet, causing the whole thing to slump under its own weight.
Mistake #3: Opening the Oven Door Too Soon
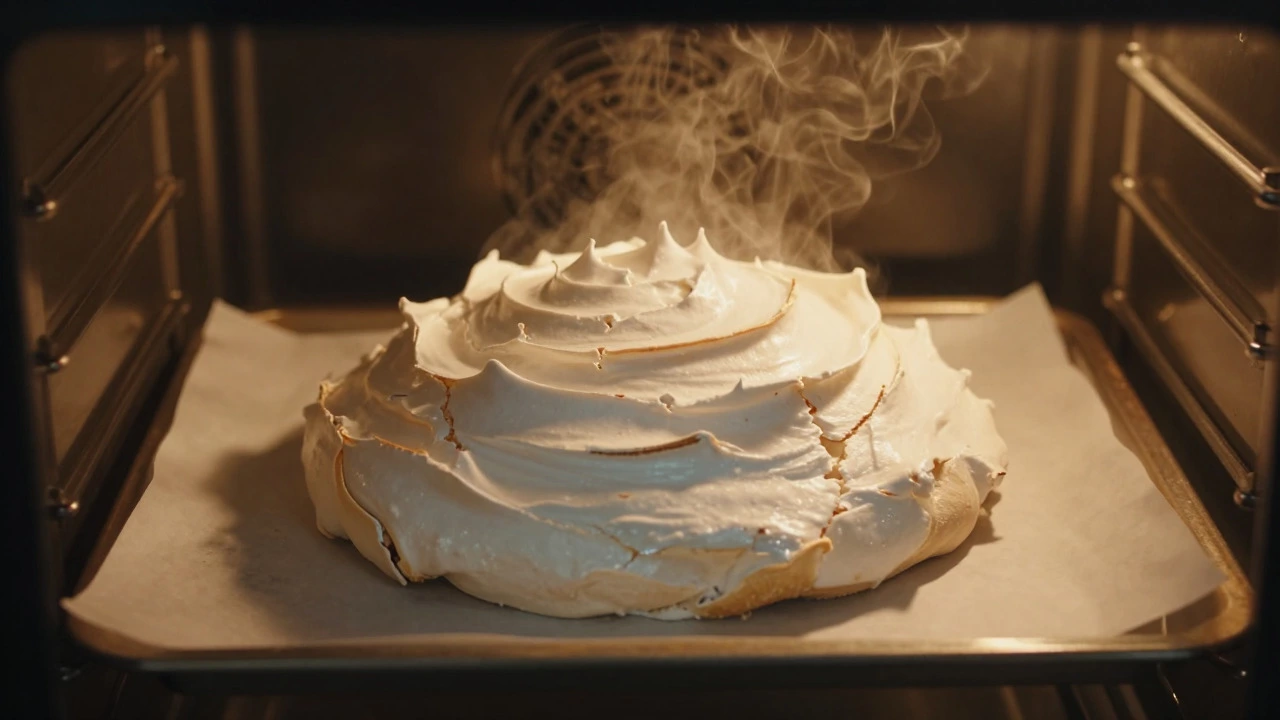
Pavlovas need low and slow heat to dry out gradually. If you open the oven door to check on progress, even for a second, the sudden drop in temperature can cause the meringue to contract rapidly. This thermal shock weakens the protein bonds holding the air bubbles in place, leading to immediate collapse.
Treat your oven like a vault. Do not open it until the timer goes off. Instead, trust the process. A typical pavlova bakes at around 120°C (250°F) for about an hour, then cools slowly inside the turned-off oven with the door slightly ajar. This gradual cooling allows the structure to set firmly without shrinking.
Mistake #4: Under-Whipping or Over-Whipping Egg Whites
The stiffness of your egg white peaks matters immensely. Soft peaks will result in a dense, heavy base that cannot hold up the fruit and cream. Stiff peaks are ideal-they should stand straight up when you lift the beater. However, over-whipping leads to dry, crumbly meringue that cracks easily and lacks elasticity.
- Soft Peaks: Floppy and droopy. Result: Dense, flat pavlova.
- Stiff Peaks: Firm and upright. Result: Stable, airy structure.
- Over-Whipped: Dry and grainy. Result: Cracked surface, potential collapse.
Aim for glossy, stiff peaks. If you’re unsure, turn the bowl upside down-the meringue shouldn’t move. Also, ensure your mixing bowl and beaters are completely grease-free. Even a trace of fat from yolk residue can prevent the proteins from bonding properly.
Mistake #5: Removing From the Pan Too Early
Many bakers make the mistake of trying to unmold their pavlova while it’s still warm. Warm meringue is fragile and prone to breaking. More importantly, it hasn’t finished setting. As it cools, the internal structure tightens. If you pull it off the tray too soon, gravity takes over, and it flattens.
Let your pavlova cool completely in the oven after turning off the heat. Once it reaches room temperature, gently run a palette knife around the edges to loosen it from the parchment paper. Only then should you slide it onto a serving plate.
Mistake #6: Adding Wet Fillings Too Soon
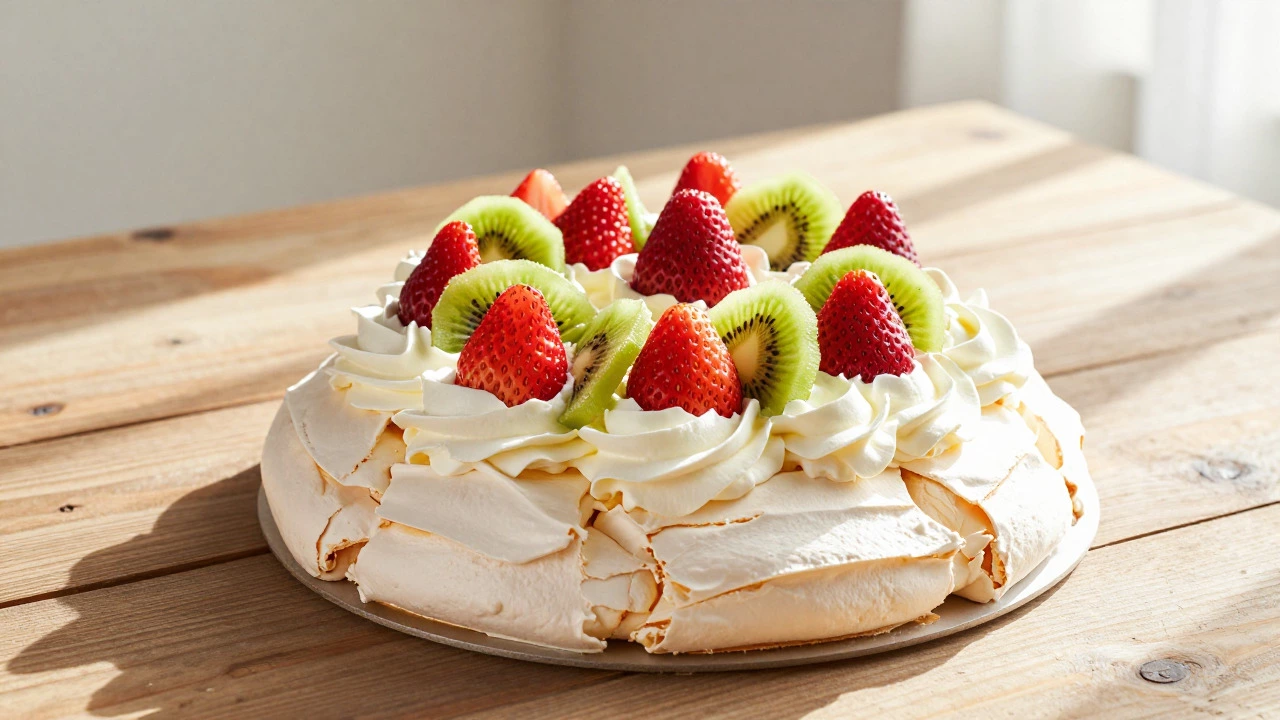
You’ve baked a perfect pavlova, but it collapses right after you add the whipped cream and fresh berries. Why? Because wet ingredients introduce moisture directly into the porous crust. If the pavlova isn’t fully cooled and dried, the acid in fruits like strawberries or kiwi can start breaking down the meringue structure.
Always assemble your pavlova just before serving. Whip the cream thick and stable, and pat dry any sliced fruit to remove excess juice. This small step preserves the integrity of the crisp shell and keeps the center light and fluffy.
Mistake #7: Using Old Eggs
Fresh eggs have thicker egg whites that trap less air, making them harder to whip into stiff peaks. Older eggs (about 7-10 days old) have thinner whites that whip up much more easily and create a larger volume. While fresh eggs taste better, older eggs perform better for meringues.
If you only have fresh eggs, separate them and leave the whites out at room temperature for 30 minutes before whipping. Room-temperature whites whip faster and achieve greater volume than cold ones.
Quick Troubleshooting Checklist
| Problem | Likely Cause | Solution |
|---|---|---|
| Flat bottom | Sugar not dissolved / Humidity | Add sugar slowly; use cornstarch |
| Cracked top | Oven temp too high / Over-whipped | Lower heat; stop at stiff peaks |
| Soggy center | Under-baked / Added wet fillings early | Bake longer; assemble last minute |
| Collapsed sides | Opened oven door / Removed too early | Cool in oven; wait until cold |
Pro Tips for a Perfect Pavlova Every Time
- Use Cream of Tartar: Add ¼ teaspoon of cream of tartar per four egg whites. This acid stabilizes the protein network, preventing collapse and giving a finer texture.
- Shape Matters: Create a slight well in the center of the meringue mound before baking. This helps distribute weight evenly and prevents the center from sinking.
- Parchment Paper is Key: Always line your baking sheet with parchment paper. Greasing the pan causes sticking and uneven heating.
- Patience Pays Off: Don’t rush the cooling process. Letting the pavlova sit in the residual heat of the oven ensures a dry, crisp exterior.
Frequently Asked Questions
Can I save a collapsed pavlova?
Unfortunately, once a pavlova has collapsed due to structural failure, it’s hard to revive. However, if it’s merely soggy from humidity, you can try reheating it in a low oven (100°C) for 10-15 minutes to dry out the crust. For a truly flat mess, consider crumbling it and using it as a topping for yogurt or ice cream instead.
Does altitude affect pavlova baking?
Yes, high-altitude baking requires adjustments. At elevations above 3,000 feet, atmospheric pressure is lower, causing meringues to expand more quickly and potentially collapse. Reduce sugar by 1-2 tablespoons per cup and increase oven temperature by 15-25°F to set the structure faster.
Why is my pavlova sticky underneath?
A sticky bottom usually means the sugar didn’t fully dissolve or the pavlova was removed from the oven too soon. Ensure all sugar is integrated before baking, and let the pavlova cool completely in the oven with the door ajar. This allows the bottom to dry out properly.
Can I make pavlova ahead of time?
Absolutely! Unfilled pavlovas store well in an airtight container at room temperature for up to two days. In fact, some bakers prefer to bake them a day ahead so the crust becomes extra crisp. Just avoid refrigerating them, as condensation will soften the shell.
What temperature should I bake pavlova at?
Most recipes recommend baking at 120°C (250°F). This low temperature dries out the meringue without browning it too quickly. Avoid going above 150°C (300°F), as rapid heating can cause cracking and uneven expansion.