You're not alone if your pavlova isn't turning out as crispy as you'd like. It's a common problem with a few surprisingly straightforward fixes. First up, let's talk about what could be going wrong.
One of the main culprits is moisture in the air. Believe it or not, too much humidity can make your pavlova sad and soggy. Consider checking the weather—a rainy day isn't the best time to bake meringue. If you're baking in less-than-ideal conditions, using a fan-forced oven can help dry things out.
Also, pay attention to the egg whites. They need to be beaten until they form stiff, glossy peaks. If they're too runny, it might be because there's a bit of yolk in your whites or the bowl wasn't perfectly clean. A slight mistake here, and you could be saying goodbye to that crispy texture.
- Understanding the Basics of Meringue
- Common Mistakes That Cause a Soggy Pavlova
- Temperature and Timing: Getting It Just Right
- Humidity: The Invisible Enemy
- Tips and Tricks for a Perfectly Crispy Pavlova
Understanding the Basics of Meringue
Let's start from scratch with meringue, the foundation of any good pavlova. Knowing how to make a solid base is crucial for that dreamy crispy shell you're after.
The Role of Egg Whites
The magic of meringue begins with egg whites. When you beat them, you're adding air, creating a frothy, glossy mix. But there's a catch—they can't have a smidgen of yolk or grease, or they won't whip up properly. Use a glass or metal bowl for best results; plastic tends to hold on to grease.
Sugar Control
Sugar doesn't just sweeten meringue; it stabilizes those fluffy egg whites, helping your meringue to hold its shape. Sift the sugar before adding, and go slow—think of it like a slow dance. Too fast, and you might end up with a gritty texture instead of that smooth, shiny peak.
Beating Technique
Getting to those coveted stiff peaks is a bit of an art. Start on a low speed, gradually increasing as soft peaks form. Patience here pays off in the form of a stable meringue that's ready for baking.
| Meringue Tips | Why It Matters |
|---|---|
| Use room temperature eggs | They whip up more efficiently. |
| Add a pinch of salt or cream of tartar | Helps stabilize the egg whites. |
So, there you have it: the building blocks of a perfect meringue. Nail this, and you're well on your way to a crisp pavlova that'll wow any crowd.
Common Mistakes That Cause a Soggy Pavlova
Baking a pavlova isn't as hard as it sounds, but getting the right texture involves dodging a few common mistakes. Let's break down what could be flattening your dessert dreams.
Egg White Mischief
Your pavlova journey starts with egg whites, and getting them right is key. If there's even a tiny bit of yolk in the mix, it messes with the 'fluff factor.' Greasy bowls or beaters can throw the whole thing off, too. Make sure everything that touches the egg whites is squeaky clean.
The Sugar Shaky Call
Sugar is your friend here, but only if you treat it right. Adding it too quickly or using grainy sugar means trouble. Go slow, and befriend caster sugar if you can. It dissolves better and helps you get that glossy meringue we all adore.
Beating Beyond Limits
Beating the egg whites is a bit like growing a plant—too much or too little, and you've got a problem. You want those stiff, glossy peaks. Over-beating can mean the air bubbles collapse, while under-beating might leave your meringue too loose.
Temperature and Timing Errors
Gotta mention this again—oven temperature and timing are crucial. Too hot, and your pavlova might brown too quickly; too cool, and it won't dry out right. Aim for a slow and steady bake and let it cool in the oven with the door slightly ajar.
Skipping the Rest
Hurrying to enjoy your pavlova? Cooling it too quickly can cause that sogginess you're battling. Let it rest in the oven, switching it off but keeping the door open a crack. That gentle cooling helps maintain that crispiness outside.
Humidity Hang-Ups
Okay, we talked about it before, but it's worth repeating—moisture in the air is a crispy pavlova’s worst enemy. On a humid day, getting a crispy shell is like making toast in a steam room. Use a dehumidifier in your kitchen if you can, or dry the pavlova longer.
Avoid these pitfalls, and you're well on your way to mastering the perfect pavlova. Just remember, practice makes perfect, and each mistake is just another step closer to dessert glory!
Temperature and Timing: Getting It Just Right
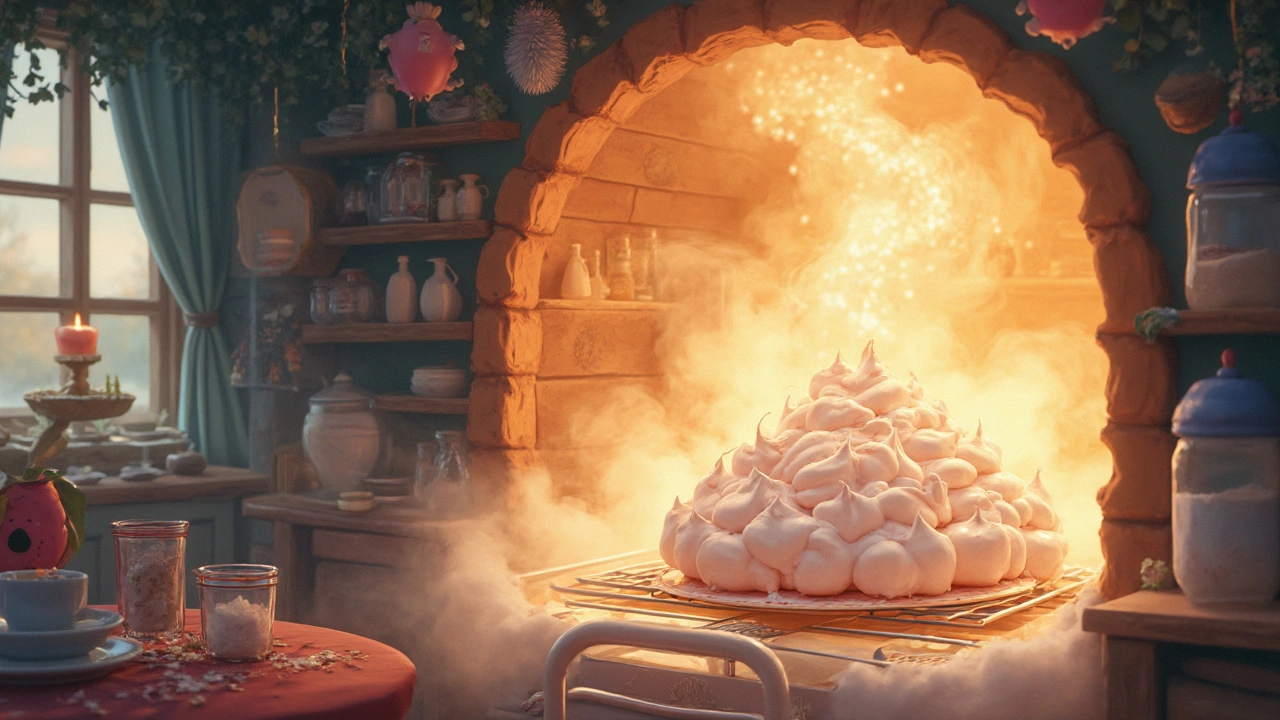
When it comes to making a crispy pavlova, temperature and timing play massive roles. Bake your pavlova at a low temperature—around 110°C or 230°F is usually the sweet spot. This slow bake ensures the outer layer dries out properly, giving that coveted crisp texture.
Why Low and Slow is Key
Baking low and slow allows the meringue to dry without browning too quickly. If you crank up the temperature thinking you’ll speed things up, you might end up with a pavlova that's cooked on the outside but sticky inside.
Timing the Bake
Typically, you should bake your pavlova for about 90 minutes, then turn off the oven and let it cool inside. This technique prevents sudden temperature changes that might cause it to crack. So plan your bake when you've got the time to leave the pavlova for a couple of hours.
Adjusting for Your Oven
Remember, not all ovens are created equal. Older models may run hot or cold, so consider using an oven thermometer to be sure of the temperature. It could be your secret weapon in the quest for a perfect meringue base.
| Temperature (°C) | Temperature (°F) | Recommended Time (Minutes) |
|---|---|---|
| 110 | 230 | 90 |
| 120 | 250 | 75 |
Mastering temperature and timing could be the difference between crispy success and squishy disappointment. So next time, don’t rush it. Let your pavlova slow-cook for the best results.
Humidity: The Invisible Enemy
If you’re wondering why your pavlova isn’t developing that coveted crispy crust, the answer might be simpler than you think: humidity. Yep, your dessert's archenemy can often be the weather itself.
High humidity levels can make your meringue soggy because moisture in the air is absorbed by the meringue during baking. Ideally, pavlova should be baked on dry days. You see, even a well-crafted pavlova can turn into a bit of a mess when the air is too damp.
How Does Humidity Affect Baking?
When the air is full of moisture, your oven has to work harder to dry out the pavlova, and it might not quite get there. The meringue might not achieve the necessary structural crispness, which can leave you with a chewy or overly soft dessert.
What Can You Do to Counteract it?
- First, check the weather. If it’s humid, consider waiting for a better day. If you can’t wait, here’s a trick—use a fan-forced oven setting to help circulate air and reduce moisture.
- Try adding a tiny bit of cream of tartar or lemon juice when beating the egg whites to help stabilize them. These acidifiers make your meringue less prone to soaking up extra moisture.
- Once baked, leave the oven door slightly ajar with the pavlova inside to cool. This helps prevent any sudden changes in temperature but also allows any steam or moisture to escape.
Remember, taking these small steps can help make your pavlova that little bit more resistant to the whims of weather. Don't let a rainy day rain on your dessert parade!
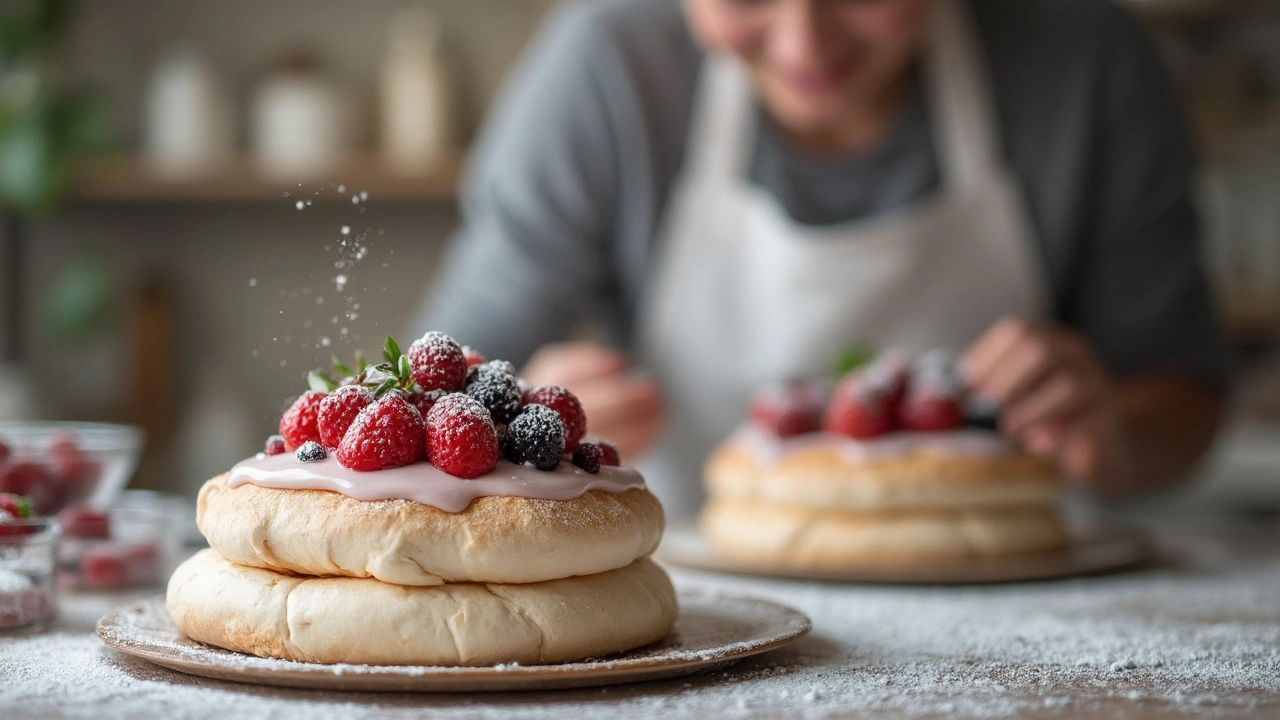
Tips and Tricks for a Perfectly Crispy Pavlova
Nailing that perfectly crispy meringue shell isn't magic—it's science. Here are some handy tips to transform your pavlova into a crispy marvel.
Get the Ingredients Just Right
Precision is key. Ensure your egg whites are at room temperature—this helps them whip up into a greater volume. Use superfine sugar because it dissolves more easily, preventing any gritty texture.
Whipping It Right
Start slow and gradually increase the speed to medium-high. Look for stiff, glossy peaks. Over-beating will make the meringue dry and can collapse during baking. So keep an eye out and stop when it's just right.
Baking the Bottom Line
Temperature and timing matter. Preheat your oven to around 150°C then immediately reduce it to 120°C once the pavlova goes in. This initial high heat helps set the exterior. Bake low and slow for about 1 to 1.5 hours.
The Cooling Conundrum
Once the time's up, leave the oven door ajar and let the pavlova cool in there. This gradual cooling prevents cracking and helps it dry out, maintaining that crispy feel.
Beware the Humidity
Avoid baking on humid days when possible. This is when a fan-forced oven shines as it circulates the air and helps combat moisture. Store any leftovers in an airtight container to keep them crisp.
By tweaking these simple steps, you can consistently bake a pavlova that's as crispy as it is delectable. And hey, even if it doesn't always turn out perfectly crispy, it's still a delicious dessert!


