Cookie Batch Scaling Calculator
Adjust the quantity below to find out exactly how much of each ingredient you need. Based on a standard batch yielding 12–16 cookies (we use 12 as the baseline for precision).
| Ingredient | Amount | Grams (Approx) |
|---|
There is a specific smell that hits you the moment you open the oven door. It’s warm, sweet, and instantly nostalgic. For many people, homemade cookies is a fundamental baking skill that bridges the gap between raw ingredients and a comforting, shareable treat. Unlike store-bought versions, which often rely on preservatives to stay soft for months, fresh-baked cookies offer a texture and flavor profile that simply cannot be replicated in a factory. However, stepping into the kitchen for the first time can feel overwhelming. You have flour, sugar, eggs, and butter, but how do they come together? Do you need expensive equipment? What if your cookies turn out hard as rocks?
This guide breaks down the process of making homemade cookies from scratch. We will look at the science behind the dough, the tools you actually need, and the common mistakes that ruin batches. By the end, you will understand why temperature matters more than you think and how to achieve that perfect balance of crispy edges and chewy centers.
Key Takeaways
- Butter temperature is critical; it must be cool and solid to create structure, not melted or too soft.
- Brown sugar adds moisture and chewiness due to its molasses content, while white sugar creates crispness.
- Do not overmix the dough after adding flour, or your cookies will become tough.
- An oven thermometer is the most valuable tool for beginners because home ovens are rarely accurate.
- Cooling cookies on the pan for five minutes before transferring them prevents breakage.
The Foundation: Understanding Your Ingredients
To bake successfully, you need to know what each ingredient does. It is not just about following a list; it is about understanding the role each component plays in the final texture.
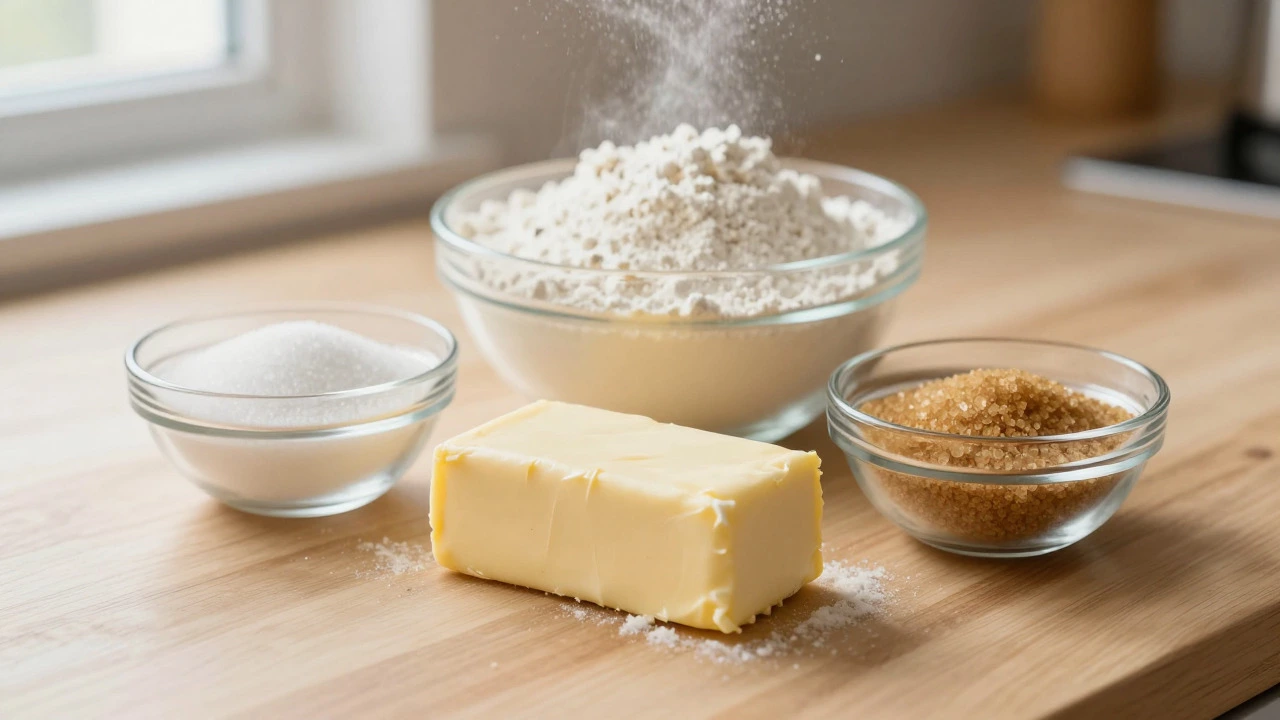
Butter is the primary fat source that provides richness and helps with leavening when creamed with sugar. For standard drop cookies, you want unsalted butter. This allows you to control the exact amount of salt in the recipe. If you use salted butter, you risk ending up with cookies that taste like salty crackers rather than sweet treats. The state of the butter matters immensely. It should be "soft" but still cold to the touch. Think of it as the consistency of room-temperature cheese. If it is too cold, it will not blend with the sugar. If it is too warm, it will melt into the flour too quickly, causing the cookies to spread flat and lose their shape.
Sugar comes in two main forms for cookies: granulated white sugar and brown sugar. White sugar dissolves easily and contributes to browning and crispness. Brown sugar contains molasses, which adds moisture and a deeper caramel flavor. A classic chocolate chip cookie usually uses a mix of both. If you only have one type, you can substitute, but expect a difference in texture. All white sugar makes for a crisper, drier cookie. All brown sugar results in a softer, fudgier, and darker cookie.
Eggs act as emulsifiers, binding the wet and dry ingredients together. They also add structure. One egg per batch of twelve to sixteen cookies is standard. Using too many eggs can make the center soggy, while using too few might make the dough crumble apart.
Finally, there is Flour, specifically all-purpose flour, which provides the gluten network that holds the cookie together. Gluten is a protein that forms when flour meets water (or milk/eggs) and is agitated. In cakes, we want less gluten for tenderness. In cookies, we want just enough gluten for structure. Overmixing develops too much gluten, leading to tough cookies. Undermixing leads to uneven distribution of ingredients.
Essential Tools for Beginner Bakers
You do not need a professional kitchen to make great cookies. In fact, some of the best bakers I know work in small apartments with minimal counter space. However, having the right basic tools saves time and frustration.
- Mixing Bowls: You need at least two medium-sized bowls. One for creaming butter and sugar, and one for mixing dry ingredients. Stainless steel or glass works best because they do not absorb odors.
- Electric Hand Mixer: While you can cream butter by hand, it takes significant effort and time. A hand mixer ensures even aeration, which helps the cookies rise slightly and become fluffy.
- Rubber Spatula: This is non-negotiable. You need it to scrape down the sides of the bowl to ensure all ingredients are incorporated. Silicone is durable and easy to clean.
- Parchment Paper or Silpat: Greasing a sheet pan is okay, but parchment paper prevents sticking without altering the bottom texture of the cookie. Reusable silicone mats (like Silpat) are an excellent long-term investment.
- Oven Thermometer: This is the secret weapon. Most home ovens vary by 10 to 25 degrees Fahrenheit from the dial setting. If your cookies burn on the outside but are raw inside, your oven is likely running hot. An inexpensive clip-on thermometer solves this problem instantly.
Step-by-Step: Making Classic Chocolate Chip Cookies
Let’s walk through the process of making a standard batch of chocolate chip cookies. This method works for vanilla, oatmeal, or plain sugar cookies as well.
1. Prepare the Dry Ingredients
In one bowl, whisk together 2 ¼ cups of all-purpose flour, 1 teaspoon of baking soda, and ½ teaspoon of fine sea salt. Whisking aerates the flour and distributes the leavening agent evenly. If you skip this step, you might find pockets of baking soda that leave a soapy taste.
2. Cream the Butter and Sugars
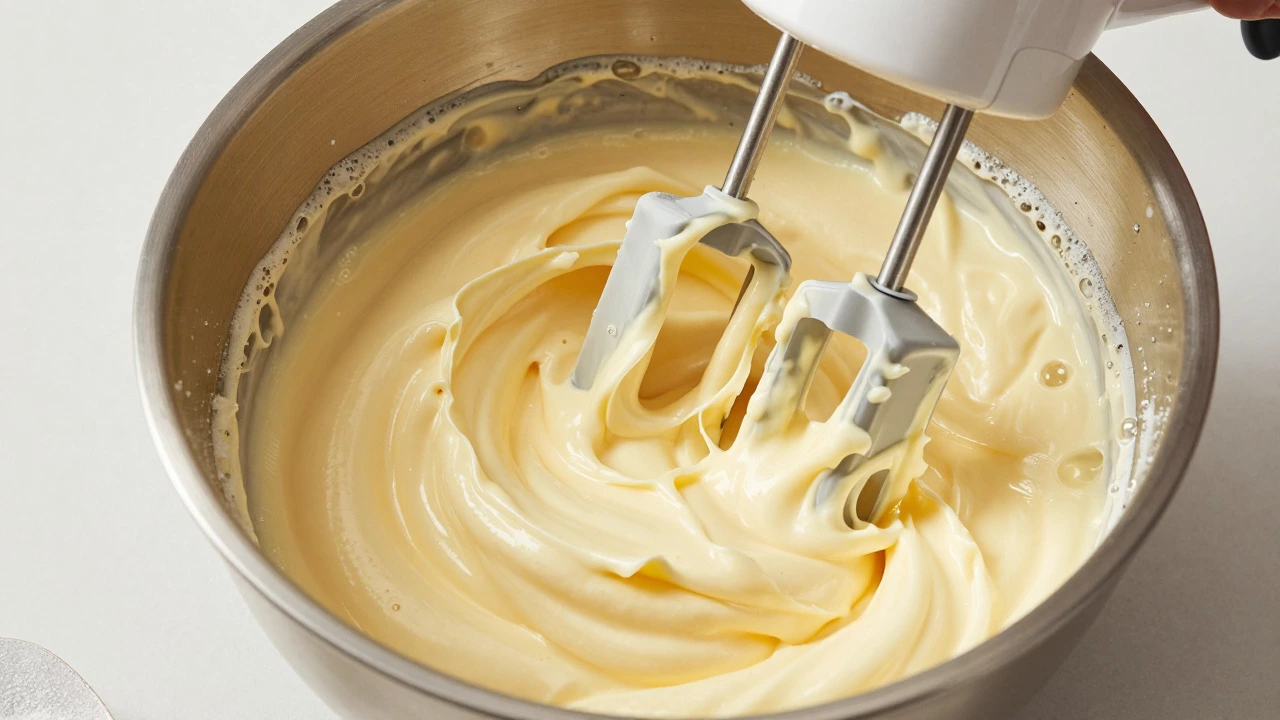
In a separate bowl, combine 1 cup of softened unsalted butter, ¾ cup of granulated white sugar, and ¾ cup of packed light brown sugar. Beat with an electric mixer on medium-high speed for about three to four minutes. You are looking for a pale yellow color and a fluffy, almost mousse-like texture. This step traps air bubbles in the fat, which expand during baking to give the cookie lift.
3. Add Eggs and Vanilla
Add two large eggs, one at a time, beating well after each addition. Then, stir in 2 teaspoons of pure vanilla extract. Scrape down the sides of the bowl with your spatula to ensure everything is fully mixed. The dough should look smooth and glossy.
4. Combine Wet and Dry
Reduce the mixer speed to low. Gradually pour the flour mixture into the butter mixture. Mix only until the flour disappears. Stop immediately. Overmixing here is the number one cause of tough cookies. The dough should hold together when pressed but still look slightly shaggy.
5. Fold in Chocolate
Using your spatula, fold in 2 cups of semi-sweet chocolate chips. Folding, rather than stirring, keeps the chunks intact and distributes them evenly without developing extra gluten.
6. Portion and Bake
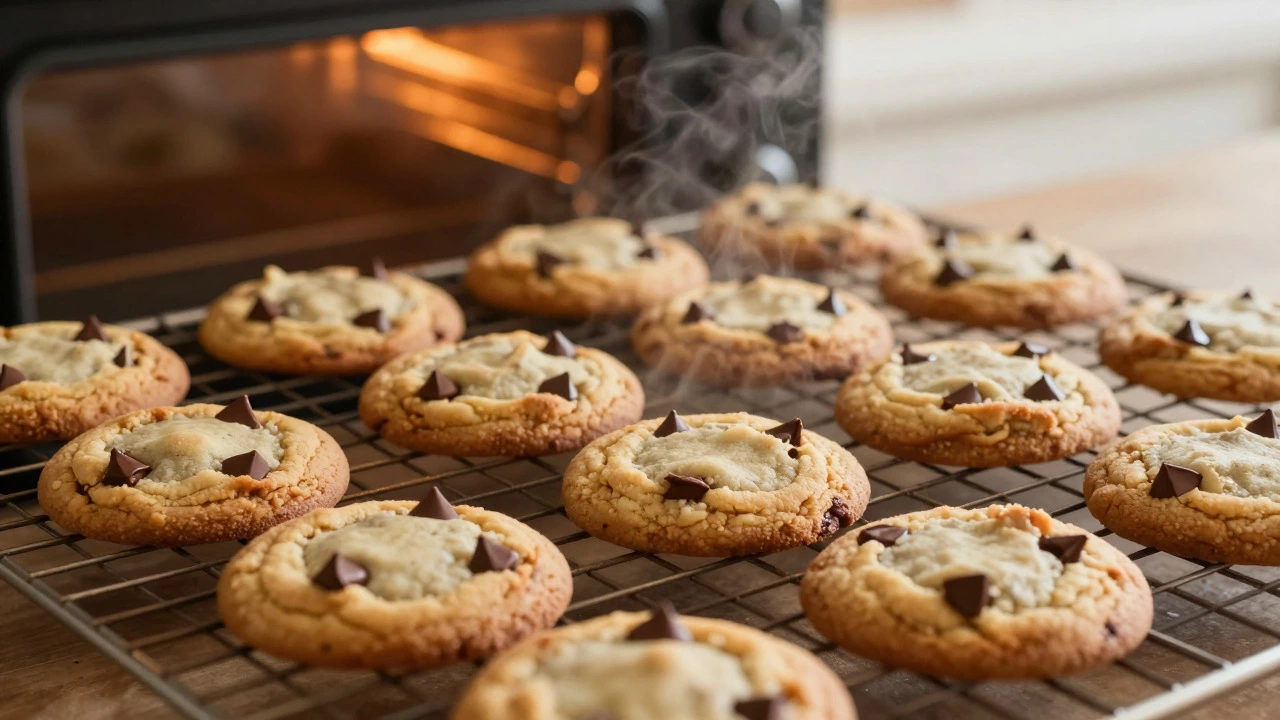
Preheat your oven to 375°F (190°C). Line a baking sheet with parchment paper. Use a cookie scoop or a tablespoon to portion out balls of dough. Place them about 2 inches apart on the tray, leaving room for spreading. Bake for 9 to 11 minutes. The edges should be golden brown, but the centers will still look slightly underdone. This is normal. They finish cooking on the hot pan after removal.
7. Cool Properly
Remove the tray from the oven. Let the cookies sit on the hot sheet for five minutes. This allows them to set. After five minutes, transfer them to a wire cooling rack to cool completely. If you move them too soon, they will slide off the parchment and break.
Common Mistakes and How to Fix Them
Even experienced bakers face issues. Here are the most frequent problems beginners encounter and how to solve them.
| Problem | Likely Cause | Solution |
|---|---|---|
| Flat, thin cookies | Butter was too warm; too much liquid; old baking soda | Chill dough for 30 mins; check expiration dates; use cooler butter |
| Tough, cake-like texture | Overmixed dough; too much flour | Measure flour by weight; stop mixing as soon as combined |
| Raw center, burnt edges | Oven temperature inaccurate; wrong rack position | Use oven thermometer; rotate pan halfway through baking |
| Dry, crumbly cookies | Too much white sugar; overbaked | Increase brown sugar ratio; remove from oven earlier |
Storage and Shelf Life
Fresh cookies are best eaten within 24 hours, but they can last longer if stored correctly. Wrap cooled cookies tightly in plastic wrap or place them in an airtight container. To extend freshness, insert a piece of bread into the container. The cookies will absorb moisture from the bread, keeping them soft for up to five days. Once the bread goes stale, replace it. If you plan to freeze cookies, wrap individual cookies in plastic wrap and place them in a freezer-safe bag. They keep for up to three months. You can eat them straight from the freezer, or let them thaw at room temperature for ten minutes. Freezing dough is also an option. Roll the dough into a log, slice it, and freeze the slices. When you crave cookies, bake them directly from frozen, adding two to three minutes to the baking time.
Variations to Try Next
Once you master the basic chocolate chip cookie, you can experiment with variations. Oatmeal raisin cookies require adding 1 cup of rolled oats and swapping some chocolate for raisins. Peanut butter cookies involve replacing half the butter with creamy peanut butter and reducing the flour slightly. Sugar cookies use only white sugar and lemon zest for a bright, crisp flavor. Each variation teaches you something new about how ingredients interact. Start simple, master the basics, and then explore these creative paths.
Frequently Asked Questions
Why do my cookies spread too much in the oven?
This usually happens because the butter was too warm when you started mixing. Melted butter spreads rapidly before the structure sets. Ensure your butter is cool and firm. Another cause is using too much liquid or old baking soda, which loses its leavening power. Chilling the dough for 30 minutes before baking also helps prevent excessive spreading.
Can I use margarine instead of butter?
Yes, but the result will differ. Margarine has a higher water content than butter, which can lead to thinner, flatter cookies with less rich flavor. If you use margarine, stick to a tub variety rather than sticks, and expect a slightly greasier texture. Butter remains the gold standard for flavor and texture.
How do I measure flour accurately?
The spoon-and-level method is recommended. Spoon the flour into the measuring cup until it mounds above the rim, then level it off with the back of a knife. Do not scoop directly from the bag, as this packs the flour and adds too much weight. A digital kitchen scale is even more accurate; 1 cup of all-purpose flour weighs approximately 120 to 125 grams.
Should I chill cookie dough before baking?
Chilling is optional but highly recommended for beginners. It allows the flour to hydrate fully, resulting in a thicker, chewier cookie. It also solidifies the butter, preventing excessive spread. If you chill the dough, increase the baking time by 1 to 2 minutes. If you skip chilling, ensure your butter is very cold to compensate.
What is the best way to store leftover cookies?
Store cookies in an airtight container at room temperature. To keep them soft, add a slice of bread to the container. The cookies will absorb moisture from the bread. Replace the bread every day or two. For longer storage, freeze cookies individually wrapped in plastic for up to three months.
Popular Posts
Meringue vs Pavlova: Key Differences and Baking Tips
Apr, 27 2026