Baked Cheesecake: Recipes, Tricks, and How‑to Guides
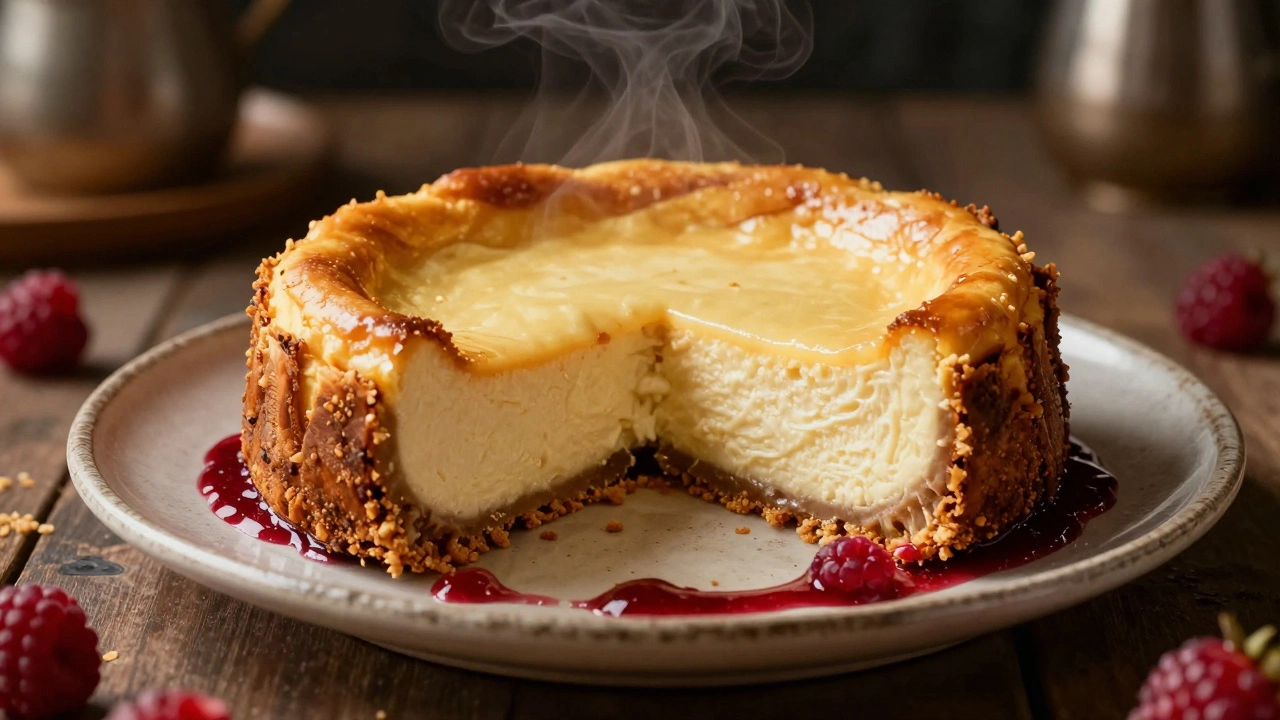
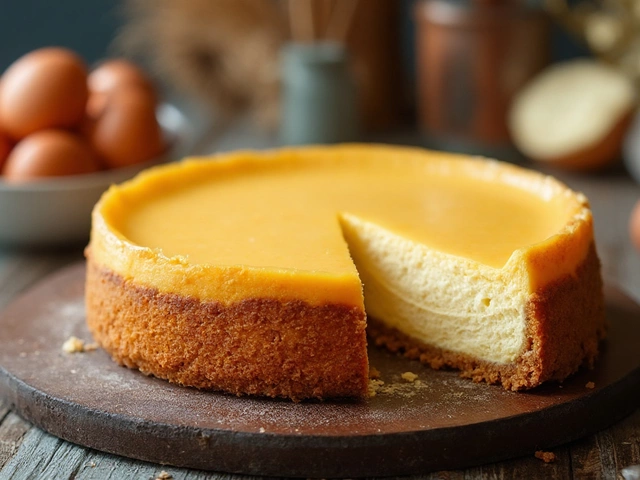
If you love that rich, velvety bite of a cheesecake, you’ve probably tried a no‑bake version at some point. But there’s nothing quite like a classic baked cheesecake with a golden crust and a silky interior. In this guide we’ll walk through the basics, share proven tricks, and show you how to customize the dessert without the stress.
1. Getting the Crust Right
The foundation of any great baked cheesecake is the crust. Most bakers start with crushed biscuits, graham crackers, or digestive biscuits mixed with melted butter. Press the mixture firmly into the bottom of a springform pan, then bake it for 8‑10 minutes at 160°C (320°F). A quick bake dries out the crust a bit, preventing it from getting soggy when the filling is poured in.
2. Baking & Finishing Tips
One common fear is cracks on the surface. The secret is a low, steady oven temperature and a water bath. Place the filled pan in a larger roasting tray, pour hot water halfway up the side of the springform pan, and bake at 150°C (300°F). The steam creates a gentle, even heat that keeps the top smooth. When the center is just set – it should still wobble a little – turn off the oven, crack the door, and let the cheesecake cool inside. This gradual cooling stops sudden temperature changes that cause cracks.
If you don’t have a water bath, you can still succeed by covering the top loosely with foil after the first 30 minutes of baking. This traps moisture and reduces the crust’s exposure to direct heat.
For a denser texture, add an extra egg or two to the filling. To keep it lighter, beat the cream cheese and sugar just until smooth, then fold in a handful of whipped cream at the end. Both methods are safe and give you control over the final mouthfeel.
Egg‑free cheesecake lovers can swap out the eggs for a mix of cornstarch and soy milk (1 tbsp cornstarch + 2 tbsp soy milk per egg). The mixture sets nicely and still delivers that creamy bite. Our readers often ask, “What happens if I skip the egg?” – the answer is you’ll get a slightly softer set, but the flavor stays on point.
Flavor variations are easy. Swirl in fruit purees, caramel, or chocolate chips before baking, or drizzle a glaze on top after it cools. A classic strawberry topping or a simple dusting of cocoa powder works wonders for presentation.
When it comes to storage, wrap the cooled cheesecake tightly in plastic wrap and keep it in the fridge. It will stay fresh for up to five days, and the flavors actually improve after a night. If you need to freeze, slice first, wrap each piece, and freeze for up to two months. Thaw in the fridge before serving.
Now you have a solid toolbox for mastering baked cheesecake. Pick a crust, set up a gentle bake, experiment with eggs or their alternatives, and finish with a topping you love. Happy baking, and enjoy that perfect slice you’ve worked so hard to create!
What Is the Difference Between a Baked Cheesecake and a Continental Cheesecake?
Learn the key differences between baked and continental cheesecakes-texture, ingredients, and when to use each. No oven? Try continental. Want rich and dense? Go baked.
View More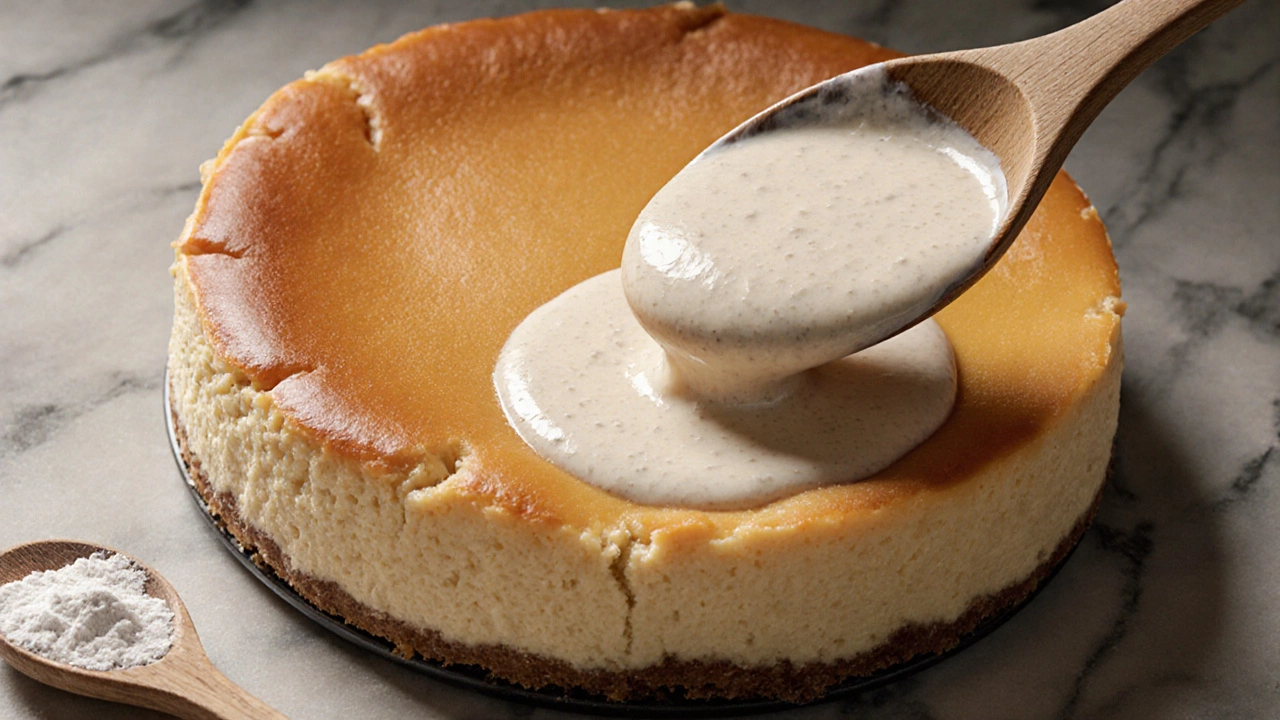
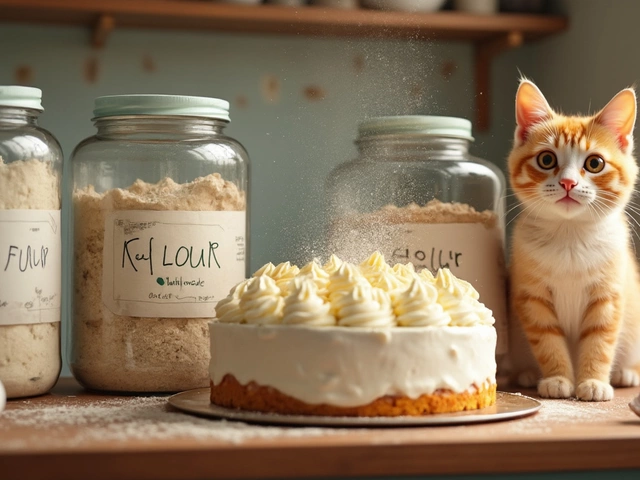
Why Do People Add Flour to Cheesecake? The Real Reason Behind the Ingredient
Flour in cheesecake isn't for flavor-it's for structure. Learn why a small amount prevents cracks, sinking, and messy slices, and how to use it right for perfect baked cheesecake every time.
View More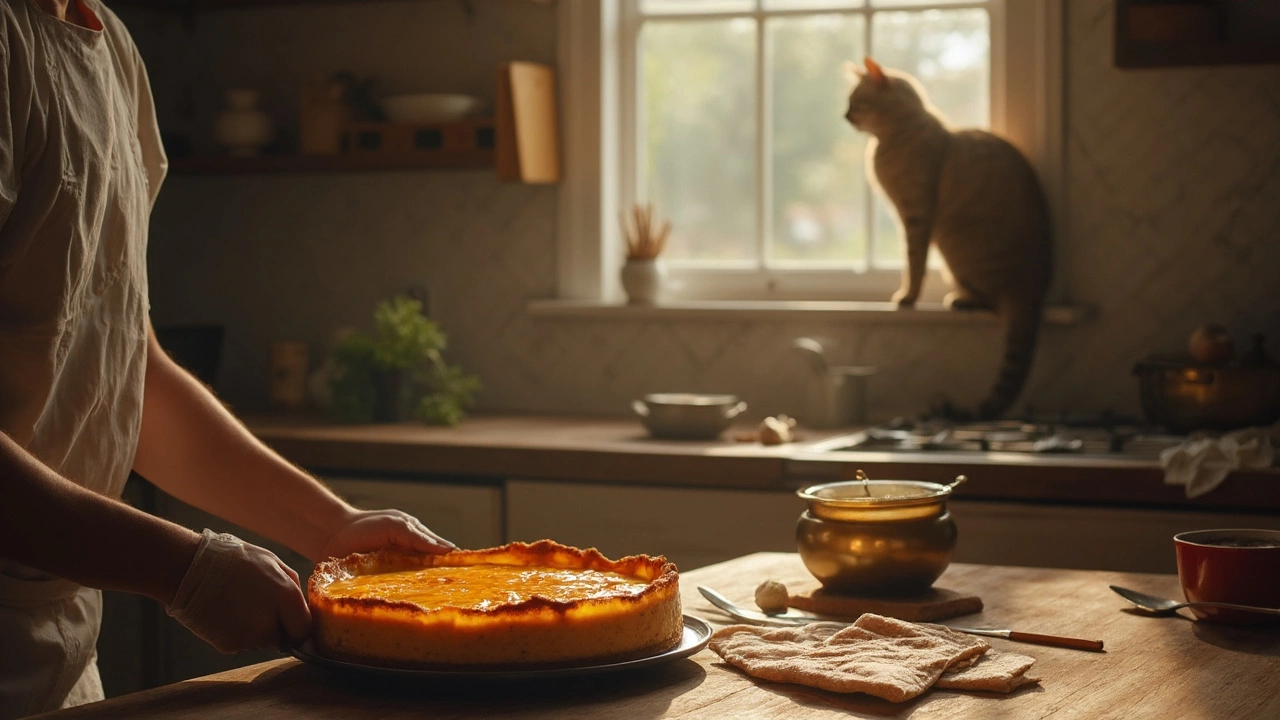
Baked vs. No-Bake Cheesecake: Which is Truly Better?
Choosing between baked and no-bake cheesecake? Both have their own charm. Baked cheesecake offers a rich, creamy texture, while no-bake versions are lighter and simpler to make. Dive into the differences, pros, and cons of each type, so you can pick the perfect cheesecake for your next dessert craving.
View MorePopular Posts
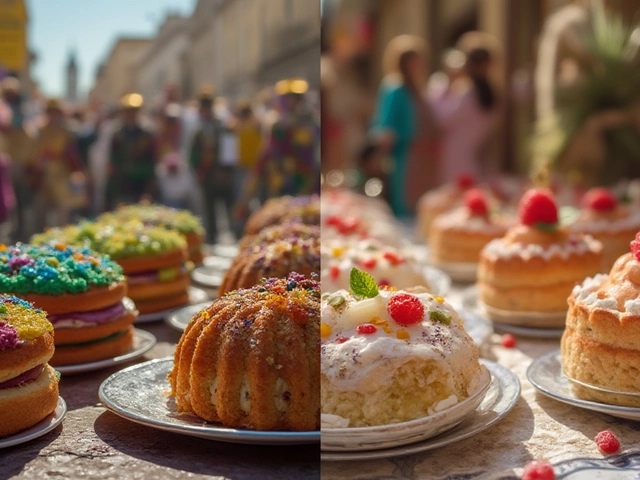
King Cake vs Queen Cake: What’s the Real Difference?
Jul, 22 2025


Gluten-Free Flour: What to Use for Cakes
Jun, 15 2025