Cookie Types: Your Quick Guide to Classic, Chewy and Creative Cookies
If you’ve ever wondered why some cookies snap while others melt in your mouth, the answer lies in the type of cookie you’re making. Knowing the basic categories helps you pick the right recipe, avoid common blunders, and end up with a batch that tastes exactly how you want it.
Common Cookie Categories
1. Crisp/Drop Cookies. These are the classic thin, crunchy cookies you find at the grocery store. They usually have a higher butter-to-flour ratio and bake at a slightly higher temperature. Think sugar cookies, shortbread, and gingersnaps.
2. Chewy/Biscuit‑Style Cookies. Soft, slightly gooey centers come from more liquid and a lower baking temperature. Chocolate chip, oatmeal, and peanut butter cookies fall here. The secret is a bit of extra brown sugar and not over‑mixing the dough.
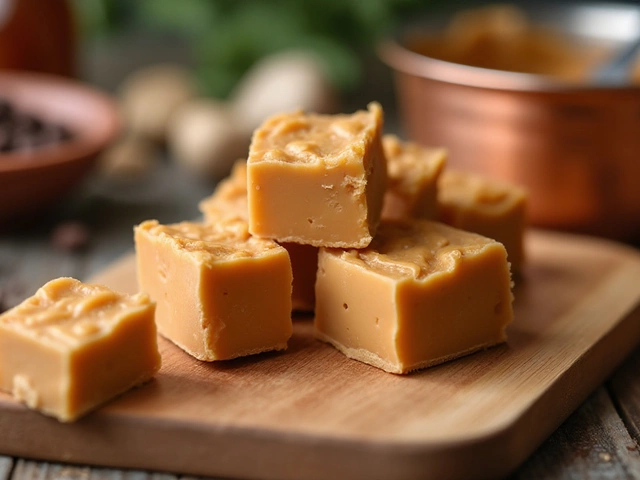
3. Bar Cookies. Cut after baking, these are thick, dense, and often have a fudgy or cakey texture. Brownies, blondies, and lemon bars belong to this group. They need a sturdy pan and a longer bake time.
4. Rolled Cookies. These are rolled thin, cut with cookie cutters, and bake quickly. Sugar cookies and festive cut‑outs are classic examples. Keep the dough chill and roll on a lightly floured surface for clean shapes.
5. Sandwich Cookies. Two thin cookies with a filling in between. The cookies themselves are usually crisp, while the filling can be creamy, crunchy, or fruity. Oreo‑style or jam‑filled varieties fit this mold.
Baking Tips for Each Type
For crisp cookies, spread the dough thinly and bake at 375°F (190°C) for a short time. This lets the edges dry out fast, giving that snap you love. If you end up with soft biscuits, lower the oven temperature a few degrees and bake a minute longer.
Chewy cookies benefit from a slightly lower temperature, around 350°F (175°C). Use a mix of white and brown sugar; the molasses in brown sugar keeps the interior moist. When the edges look set but the center is still soft, pull them out—carryover heat will finish the bake.
Bar cookies need a uniformly greased pan so they release cleanly. Let the pan cool on a rack before cutting; this prevents crumbs from smearing. For extra fudginess, melt the chocolate or butter before mixing it into the batter.
Rolled cookies should be chilled for at least 30 minutes. This firms up the butter, reduces spreading, and helps the cutter move smoothly. Dust the rolling surface with just enough flour to stop sticking, but not so much that it dries the dough.
Sandwich cookies require the two sides to be the same thickness. Use a ruler or a cookie press with a guide. When adding the filling, don’t over‑fill—just a thin line works best, and you can spread it evenly with a small knife.
Across all types, a few universal rules apply. Always pre‑heat the oven, measure ingredients by weight if you can, and keep an eye on the first batch. That first tray tells you if your oven runs hot or cool, letting you adjust the next round.
Got a favorite flavor? Swap in extracts, zest, or spices to make each type your own. A pinch of sea salt on top of a caramel bar cookie can turn a simple bite into a wow moment.
Now that you know the main cookie types and how to handle each, you can pick the right recipe without guessing. Grab a batch, follow the tips, and enjoy fresh, perfectly styled cookies every time.

Six Basic Cookies Every Baker Should Know
Curious about the classic cookies that everyone should know how to make? This article breaks down the six cookie types at the heart of homemade baking, with handy tips for each. You'll learn what sets each cookie apart and how to get the best results every time. Whether you're new to baking or want to master the basics, these cookies cover everything from chewy to crispy. Unlock your cookie confidence here.
View MorePopular Posts

What's Italy's Most Famous Dessert?
Apr, 11 2025