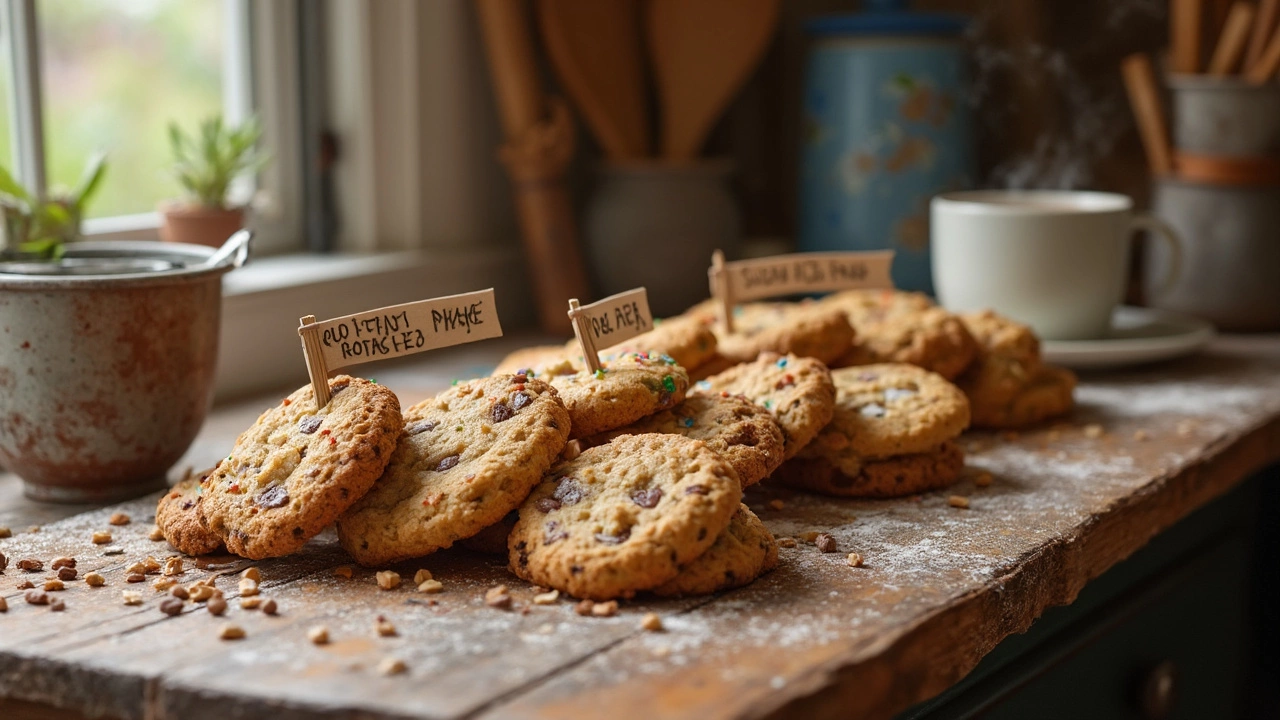
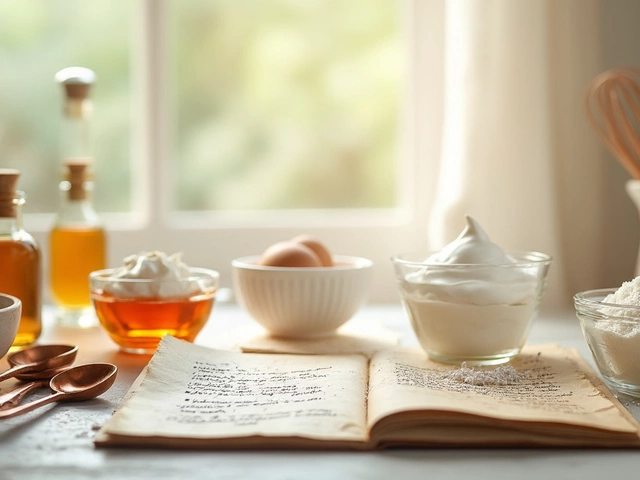
Most people don’t realize how much cookie know-how starts with just six basic types. Forget getting stuck with just chocolate chip or plain sugar—there’s a whole system to it. Each basic cookie starts with a simple dough, but the way you handle and bake it totally changes the end result. That’s why every beginner (and honestly, even the pros) should nail these six types. It’s like knowing the six main pasta shapes—suddenly every recipe makes sense.
You’ll spot drop cookies at any bake sale. They’re the lump-and-bake crowd-pleasers, super forgiving if you’re not into perfect shapes. Then bars are just as easy, with the dough pressed in a pan and sliced after baking. If you get a kick out of cookie cutters, rolled cookies are your playground with sharp edges and fun shapes. Refrigerator cookies are the hack for busy weeks—stash a log of dough in the fridge, slice, and bake when you’re ready. Pressed cookies get their signature look from a cookie press, making them all fancy with zero effort. Last up, molded cookies—think those thumbprint or peanut butter cookies where you literally use your hands to shape them.
Getting a grip on these six gives you options for every mood, every party, and every last-minute treat you forgot about. Once you know which is which, you’ll never stare blankly at a recipe again.
- Drop Cookies: The Everyday Classic
- Bar Cookies: The Fuss-Free Favorite
- Rolled Cookies: Shapes and Fun
- Refrigerator Cookies: Slice and Bake Simplicity
- Pressed Cookies: Pretty and Delicate
- Molded Cookies: Hands-On Baking
Drop Cookies: The Everyday Classic
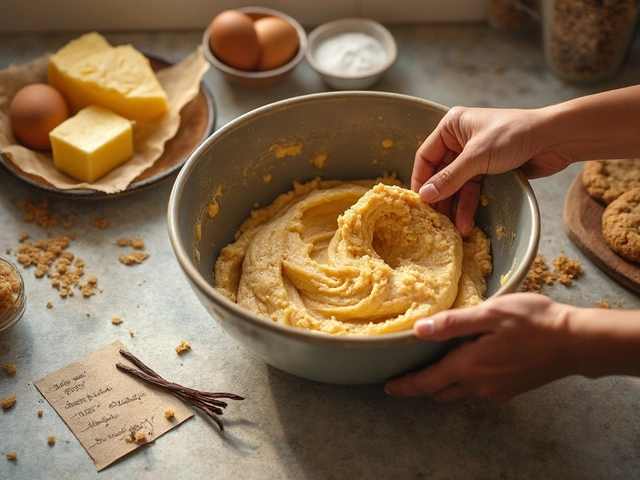
If you’ve ever made chocolate chip cookies, you’ve already made drop cookies without even thinking about it. This is the most common type in the basic cookies world. The idea is simple: you scoop the dough right onto the baking sheet, no rolling or shaping needed. That’s why they’re the go-to for anyone who wants fresh cookies fast.
Drop cookies get their texture from a batter that’s not too stiff or too runny. It should be thick enough to hold its shape but loose enough to drop off a spoon or scoop. That’s why you should never skip chilling the dough if the recipe tells you to—otherwise, you’ll end up with cookies that spread too thin or bake unevenly.
Chocolate chip, oatmeal raisin, snickerdoodles, and peanut butter are all famous drop cookies. These recipes usually come together in under 20 minutes, and you don’t need any special gear besides a mixing bowl and baking tray. If you want evenly sized cookies (hello, Instagram-worthy trays), a cookie scoop is a cheap game-changer. Just scoop, drop, and bake.
- Mix wet and dry ingredients separately first—keeps things light and even.
- Line your baking sheet with parchment paper for easy cleanup.
- Leave space between each dough mound. These cookies love to spread.
- Rotate the tray halfway through baking, especially if your oven has hot spots.
Wondering how drop cookies stack up compared to other types? Here’s a look at how they measure up on speed, skill, and flexibility:
| Feature | Drop Cookies | Bar Cookies | Rolled Cookies |
|---|---|---|---|
| Prep Time | 15-20 min | 10-15 min | 30+ min |
| Difficulty | Beginner | Beginner | Intermediate |
| Custom Flavors | Easy add-ins | Limited | Unlimited shapes |
| Equipment | Scoop or spoon | Baking pan | Rolling pin, cutters |
Tip: Don’t overbake! Drop cookies will look a little soft in the center when you pull them out—they’ll finish firming up as they cool. Trust the process and you’ll get chewy, bakery-style cookies every time.
Bar Cookies: The Fuss-Free Favorite
Bar cookies really are the lazy baker’s best friend. While classic cookies need to be scooped or shaped, bar cookies come together right in the baking pan. You just spread the dough, bake, then slice—no rolling, no chilling, no fussing with batches. It’s the shortcut that still gives you chewy, gooey, or crunchy edges depending how you like them.
Things like brownies, blondies, and lemon bars are actually all bar cookies. If you’ve made those before, congrats, you already know this style. Some recipes layer different batters or add toppings like jam or nuts before baking, but the basic technique is always about pressing or pouring the dough into a pan.
Here’s what really helps:
- Line your pan with parchment paper so the cookies lift out easily—no scraping, no mess.
- Don’t overbake. Bar cookies keep baking after you pull them out, so take them out when the center is just barely set.
- Use a plastic knife (or run a regular knife under hot water) for cleaner slices.
If you want to get creative, bar cookies fit just about any flavor combo. Try swirling in peanut butter, sprinkling on coconut, or even topping with your favorite cereal for crunch.
For anyone new to homemade cookies, bar cookies are the way to build confidence. You’re pretty much guaranteed something tasty, even if you’re still getting used to your oven.
And in case you’re wondering, basic cookies just don’t get more crowd-pleasing than a tray of thick, chewy brownies or gooey seven-layer bars.
Rolled Cookies: Shapes and Fun
If you’ve ever made sugar cookies for the holidays, you’ve made rolled cookies—those ones where you roll out dough and use cookie cutters for perfect shapes. This type is behind all those classic cut-outs, from gingerbread men to stars and hearts. Want crisp edges and a smooth surface? Rolled dough is the answer. That’s why bakeries use rolled cookie techniques for their best-decorated treats.
Here’s what matters: the dough has to be firm enough to hold its shape but not so stiff that it crumbles when you roll. Most recipes chill the dough first for at least an hour. Trust me—if you skip this, the dough sticks everywhere and you end up with blobs instead of unicorns or trees.
Getting the dough just right means more than cutting out cool shapes. Rolled cookies offer tons of decorating potential with icing, sprinkles, or even edible markers. Working with kids? Hand them some cookie cutters and it’ll keep them busy for an hour.
- Best-known examples: classic sugar cookies, gingerbread cookies, linzer cookies.
- Roll out the dough evenly—aim for 1/4 inch thick for a mix of crisp and soft.
- Dip cookie cutters in flour to stop sticking.
- Work on a cool surface (like a marble counter) to keep dough easy to handle.
Here are a few quick stats about rolled cookies compared to other basic cookies:
| Cookie Type | Preparation Time | Chilling Needed? | Average Yield (per batch) |
|---|---|---|---|
| Rolled | 1-2 hours | Yes | 24-40 |
| Drop | 30 min | No | 30-36 |
| Bar | 40-50 min | No | 20-24 |
Rolled cookie dough can freeze for months, which is awesome for prepping ahead of parties. Just wrap it tight, thaw in the fridge, and get back to rolling and cutting whenever you want. If you want your cookies softer, bake them for less time and pull them out when the edges are just starting to turn golden—not brown.
Refrigerator Cookies: Slice and Bake Simplicity
If you want homemade cookies with hardly any mess or stress, refrigerator cookies are your best bet. You just make a log of dough, chill it, then slice and bake whenever that cookie craving hits. That’s why these are also called slice-and-bake cookies. Bakers have relied on them for decades—especially during the holidays or when you want cookies on standby without all the fuss.
Here’s what makes basic cookies like these standout: after mixing the dough, you roll it into a log shape, usually 1.5-2 inches thick. Wrap it up tight in plastic wrap (parchment works too), then stick it in the fridge. Some folks even stash these logs in the freezer so they have ready-to-bake cookies for weeks. When you’re ready, just slice off rounds about 1/4-inch thick and load them on a baking sheet—simple as that.
The chill time isn’t just for convenience. It’s actually what helps refrigerator cookies bake up with neat edges and a perfect texture every time. Chilled dough keeps the cookies from spreading too much in the oven, so you get those classic round shapes and crisp edges. That’s great for shortbread, pinwheel cookies, or icebox chocolate chip cookies. Another cool thing—this method works with all sorts of flavors. Add-ins like nuts, dried fruit, or chocolate chips mix right into the base dough, so you can experiment without changing up your technique.
- Keep the dough log nice and even for uniform slices—an empty paper towel tube works as a mold for shaping.
- Make sure the dough is chilled at least 2-3 hours, but overnight is even better for perfect slices.
- Use a sharp, thin knife for clean cuts. If the dough gets too soft, just pop it back in the fridge for a few minutes.
One more pro tip: label your dough with the date and flavor before chilling or freezing. When you’re ready to bake, you’ll always know what you’re slicing up. That’s the kind of trick even serious bakers use.
Pressed Cookies: Pretty and Delicate
If you want cookies that instantly look impressive, pressed cookies are the answer. These treats start with a soft dough that goes straight into a cookie press. The dough gets squeezed out through shaped disks—think stars, shells, or flowers—right onto your baking sheet. Seriously, you don't need artistic skills; the press does all the work. Spritz cookies are by far the most famous pressed cookies, but you can play around with all sorts of flavors.
What makes pressed cookies stand out? The texture is tender, with light crisp edges. Getting the dough right is key: it has to be soft enough to glide through the press, but not sticky. If it’s too stiff, you'll get sore hands; if it's too sticky, it’ll be a mess. According to the folks at King Arthur Baking, “The dough should feel like Play-Doh, holding its shape but pressing easily through the press.”
“Pressed cookies are all about simple ingredients and show-stopping shapes—perfect for filling a holiday cookie box or just making a Tuesday more special.” — Sally McKenney, Sally’s Baking Addiction
Getting the dough just right matters even more when you want your cookies to look good and bake evenly. Here’s a little cheat sheet if you’re new to cookie presses:
- Use an ungreased, cool baking sheet. Grease makes the dough slip, and warm pans melt your designs.
- Don’t chill the dough first, unless the recipe says so. It needs to be soft for the press.
- If you want to add sprinkles, do it before baking—they’ll stay put better.
- Wipe your cookie press clean between batches if dough starts to stick.
Want a quick overview of pressed cookie facts?
| Fact | Detail |
|---|---|
| Main Ingredients | Butter, sugar, egg, vanilla, flour |
| Best Press Temp | Room temperature dough |
| Common Shape | Star, flower, tree |
| Typical Bake Time | 6–10 minutes at 350°F (175°C) |
If you’ve never tried them, start with spritz cookies. They’re simple, buttery, and you can decorate them any way you want. Mastering pressed cookies bumps up your homemade cookies game with barely any extra effort.
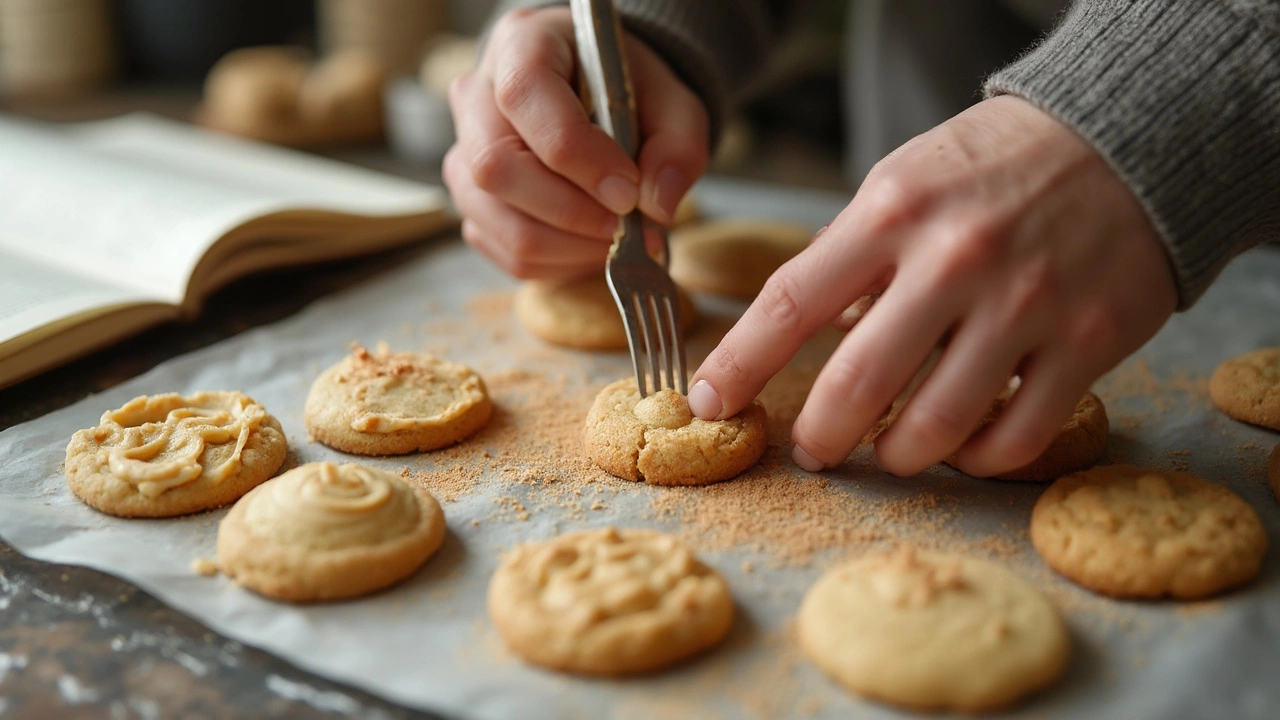
Molded Cookies: Hands-On Baking
Molded cookies put you right in the center of the action—think rolling dough balls for snickerdoodles or pressing your thumb into peanut butter dough for that classic jam thumbprint. If you like getting involved and don’t mind a little mess, molded cookies are your best friend. No fancy tools here, just your hands and a few basic tricks.
Probably the best part about making molded cookies is the flexibility. You can make big or small cookies, add a filling, or roll them in sugar before baking. This is how those old-school peanut butter cookies get those criss-cross fork marks, or biscotti gets its shape before the first bake. You shape each cookie individually, so they’re a great starter project for baking with kids.
Some of the most famous homemade cookies are molded types. Here are a few favorites you’ve probably tried (or should):
- Snickerdoodles: Rolled in cinnamon sugar before baking.
- Peanut Butter Cookies: Classic with fork-tine patterns, or filled with a kiss chocolate.
- Thumbprints: Small balls of dough with a dip in the middle, filled with jam or chocolate.
- Tea Cookies (Russian Tea Cakes/Mexican Wedding Cookies): Rolled into balls, sometimes finished with powdered sugar after baking.
Molded cookie doughs are usually a bit drier and easier to handle. If your dough is sticky, just chill it in the fridge for 30 minutes. There’s no need to get finicky about exact sizes, but if you want them to bake evenly, try to keep the dough balls close in size (a small ice cream scoop is handy for this).
Here’s a basic breakdown of the process:
- Make your dough (try not to over-mix).
- Chill it if it’s soft or sticky.
- Use your hands to roll dough into balls, 1 to 1.5 inches wide usually works.
- Roll in sugar, nuts, or whatever the recipe says.
- If they need it, press or shape them (like with a fork or thumb).
- Bake till lightly golden. Don’t overbake—molded cookies dry out fast.
Want to know what’s popular right now? Here’s a quick look at what folks are searching for on basic cookies in 2025 based on recent data:
| Cookie Type | Monthly Searches (US) | Most Common Add-ons |
|---|---|---|
| Snickerdoodle | 49,500 | Cinnamon sugar, cream of tartar |
| Peanut Butter Cookie | 60,500 | Chocolate kisses, crunchy peanut butter |
| Thumbprint Cookie | 22,100 | Jam, chocolate ganache |
| Russian Tea Cake | 14,800 | Powdered sugar, chopped pecans |
One quick tip: if your cookies aren’t holding their shape, the butter probably got too soft or warm. Don’t panic, just pop the tray in the fridge for a few minutes before baking. Molded cookies are low-stress, super flexible, and always a hit in cookie jars or lunchboxes.
Popular Posts


How Many Flavors of Macarons Are There?
Apr, 10 2025