Fudge Stirring Tips: How to Get Perfect Texture Every Time
When you’re making fudge, a dense, rich chocolate confection that relies on precise temperature and agitation to set properly. Also known as chocolate fudge, it’s not just about melting chocolate—it’s about controlling how sugar crystals form as it cools. Get the stirring wrong, and your fudge turns grainy, crumbly, or worse—stuck to the pan. Get it right, and you get that melt-in-your-mouth smoothness everyone loves.
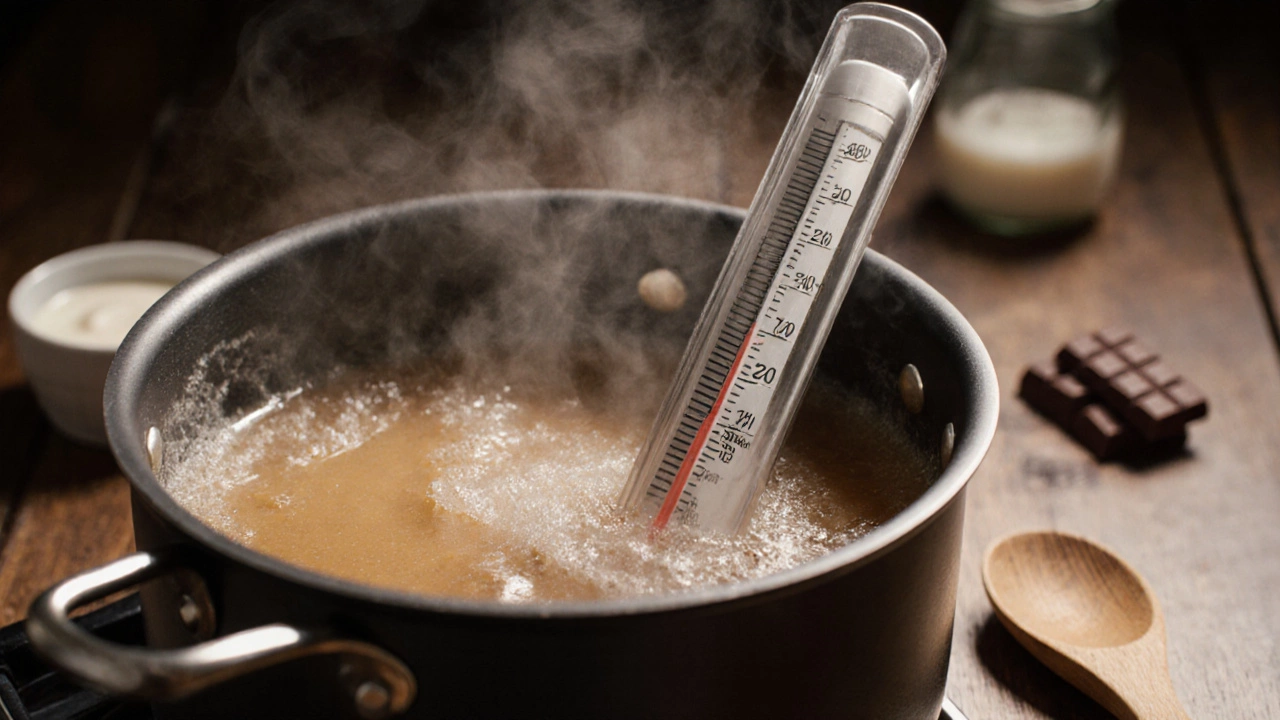
The key isn’t how hard or fast you stir—it’s when you stir. Most recipes tell you to stir after the mixture cools, but that’s where people mess up. Stir too early, while it’s still hot, and you trigger sugar crystals to form everywhere at once. That’s why your fudge ends up sandy instead of silky. Wait too long, and it starts to set before you can spread it. The sweet spot? Let it cool to about 110°F—warm but not hot—then start stirring slowly and steadily. You don’t need a mixer. A wooden spoon works fine. Just keep going until it thickens and loses its shine. That’s when you know it’s ready to pour.
And don’t forget the tools. A heavy-bottomed saucepan is non-negotiable. Thin pans heat unevenly, and hot spots cause sugar to burn or crystallize early. A candy thermometer isn’t optional either. Guessing the temperature? That’s how you end up with fudge that won’t set or turns rock hard. Also, don’t scrape the sides of the pan while boiling. Those bits of sugar can fall in and act as seed crystals. If you see sugar sticking up, brush them down with a wet pastry brush before the mixture boils. It’s a small step, but it makes a huge difference.
People think fudge is all about chocolate quality, but honestly? It’s more about stirring. You can use cheap chocolate and still make great fudge if you stir at the right time. On the flip side, even the best cocoa powder won’t save you if you stir it while it’s still bubbling. That’s why so many homemade fudge recipes fail—people follow the ingredient list but skip the technique.
There’s also a quiet trick: adding a splash of vanilla after the fudge cools. Skip it, and your fudge tastes flat. Add it too early, and the alcohol evaporates, taking the flavor with it. Wait until you’re done stirring, then stir it in gently. Same goes for nuts or marshmallows—fold them in at the end, not the beginning. You want them to stay distinct, not sink into the mix.
If you’ve ever made fudge that turned out gritty, you’re not alone. Most of us have. But once you understand that stirring isn’t a step—it’s a timing game—it stops being frustrating and starts being fun. You’ll start noticing how the texture changes as you stir. The gloss fades. The mixture thickens. It pulls away from the sides of the bowl. Those are your cues. No recipe needed.
And if you’re wondering why some fudge stays soft while others harden like candy? That’s not about the sugar amount—it’s about how long you boiled it. Too long, and water evaporates too much. Too short, and it won’t set. But none of that matters if you stir at the wrong moment. The boiling is just prep. The stirring is the magic.
Below, you’ll find real fixes from real bakers who’ve been there—brownies that turned hard, fudge that skipped vanilla, and cheesecakes that cracked. But here? We’re talking about the one thing you can control with your own hands: how you stir. And once you get that right, everything else falls into place.
How Often Should I Stir Fudge? The Right Way to Stir Fudge for Perfect Texture
Learn the exact moment to stir fudge for smooth, creamy results-no more grainy batches. Discover why timing matters more than frequency in fudge-making.
View MorePopular Posts

4 Handy Tips for Perfect Homemade Cookies
Feb, 10 2025