Stir Fudge Like a Pro – Simple Tips for Perfectly Creamy Fudge
Got a pot of fudge that’s turning grainy or too hard? Most of the trouble comes from how you stir it. A few small changes in your stirring routine can turn a failed batch into a silky, melt‑in‑your‑mouth treat. Below you’ll find the exact steps I use every time I make fudge, plus the tools and tricks that keep the texture smooth.
Why Stirring Matters
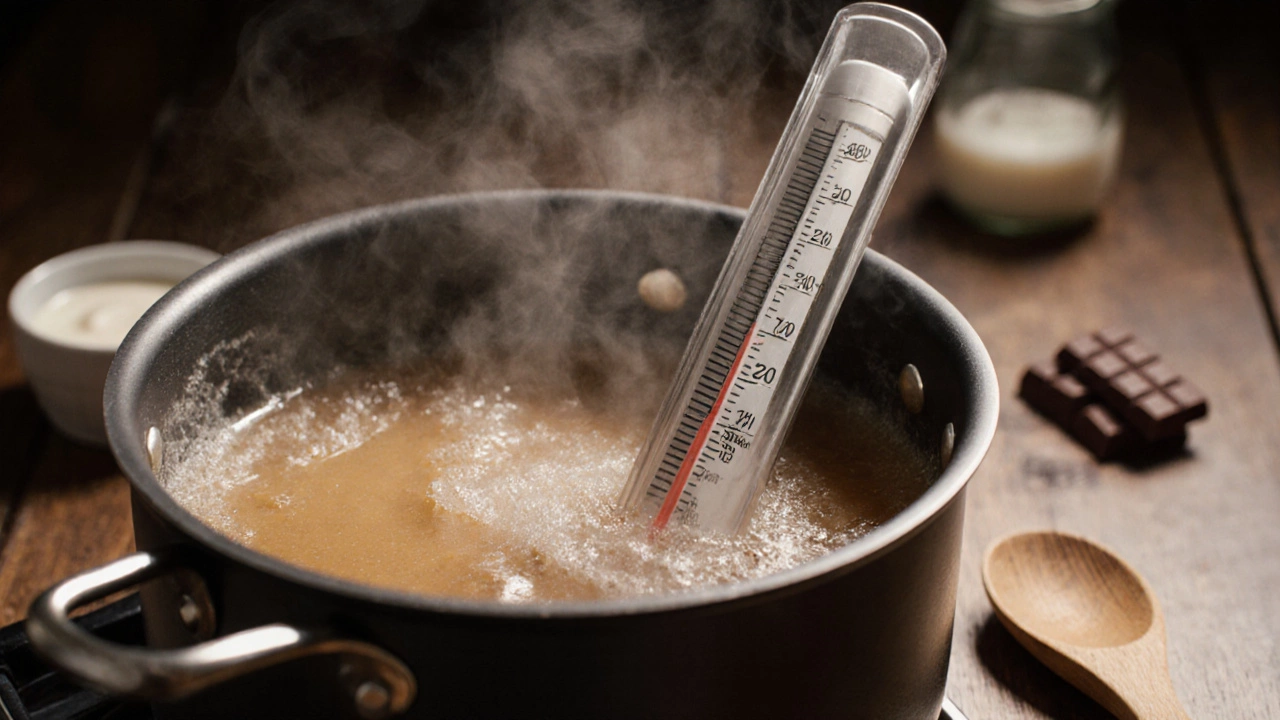
When fudge hits the soft‑ball stage (around 235‑240°F or 112‑115°C), the sugar crystals start to form. If you stir too early, the crystals get a chance to grow and you end up with a grainy bite. If you stir too late, the mixture can set before the crystals are small enough, making it hard and crumbly. The sweet spot is a short, steady stir right after you pull the pot off the heat and let it cool for a minute or two. This timing lets the sugar finish its work while the crystals stay tiny.
Altitude also plays a role. Higher elevations mean lower boiling points, so the soft‑ball temperature drops a few degrees. A quick check with a candy thermometer saves you from over‑cooking. And remember, the type of pan matters – a heavy‑bottomed stainless steel pan distributes heat evenly, reducing hot spots that can scorch the fudge.
Step‑by‑Step Stirring Guide
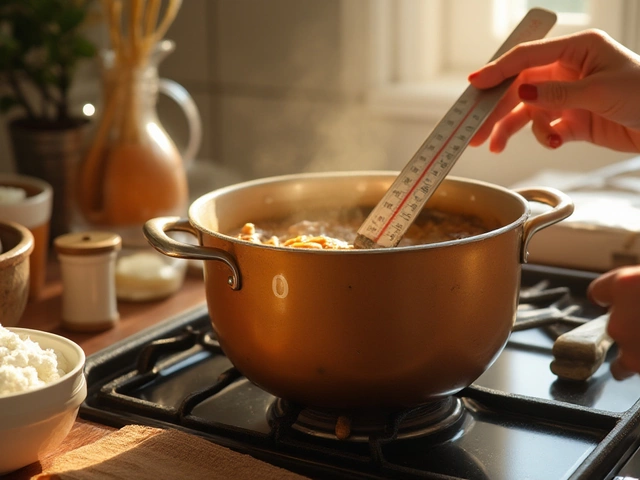
1. Gather your tools. You only need a sturdy wooden spoon or heat‑proof silicone spatula, a wide‑bottomed pan, and a candy thermometer. Having everything ready means you won’t be scrambling mid‑stir.
2. Heat the mixture. Combine sugar, butter, milk, and any flavorings. Stir constantly while heating to avoid a skin forming on top. As soon as the thermometer reads 235°F (112°C), turn off the burner.
3. Cool briefly. Let the pot sit for about 60 seconds. This short rest drops the temperature just enough that the sugar won’t snap back into big crystals when you start moving it.
4. Start stirring. Use a slow, circular motion. The goal isn’t to whip air into the fudge, but to keep the liquid moving just enough to break up any forming crystals. You’ll notice the mixture thickening after about 30‑45 seconds – that’s a good sign.
5. Watch the texture. When the fudge starts to lose its liquid shine and looks more like a thick custard, stop stirring. Over‑stirring at this point can introduce unwanted grains.
6. Add the final touches. Drop in vanilla, nuts, or chocolate chips now. They’ll melt into the warm fudge without affecting the crystal size.
7. Pour and set. Quickly transfer the fudge into a greased pan. Let it cool at room temperature; refrigerating too early can cause cracks.
That’s the whole process. It only takes a few minutes, but it makes a huge difference in the final bite.
If you ever end up with crumbly fudge, don’t panic. You can rescue it by gently reheating the batch to the soft‑ball stage again, then repeating the short‑stir method. It’s like giving the fudge a second chance.
Try these steps next time you’re in the kitchen. You’ll notice the texture become smoother, the flavor richer, and the whole experience less stressful. Happy stirring!
How Often Should I Stir Fudge? The Right Way to Stir Fudge for Perfect Texture
Learn the exact moment to stir fudge for smooth, creamy results-no more grainy batches. Discover why timing matters more than frequency in fudge-making.
View More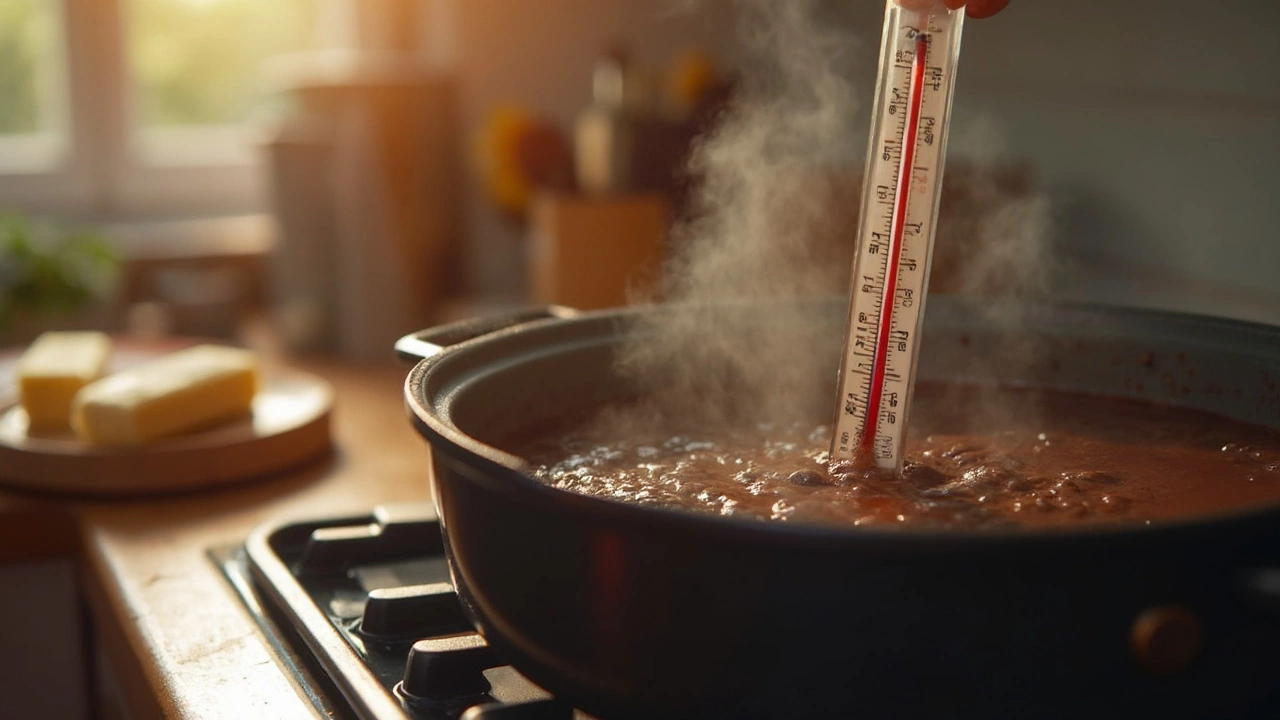
Should I Stir Fudge While Boiling?
Discover the secrets to perfectly boiled fudge by understanding when and how to stir it. This article unravels the science behind fudge making, offering practical tips to achieve that smooth, creamy texture. Explore common mistakes to avoid and learn about the importance of patience and precision in this sweet journey. Perfect for both novice and seasoned candy makers, this guide keeps it real and relatable.
View MorePopular Posts
Discovering the Best Cheese for Perfect Tiramisu
Jan, 7 2025

Discover the Most Beautiful Cake Recipes
Feb, 22 2025