Fudge Ratio Calculator & Texture Forecast
Temperature Diagnostic
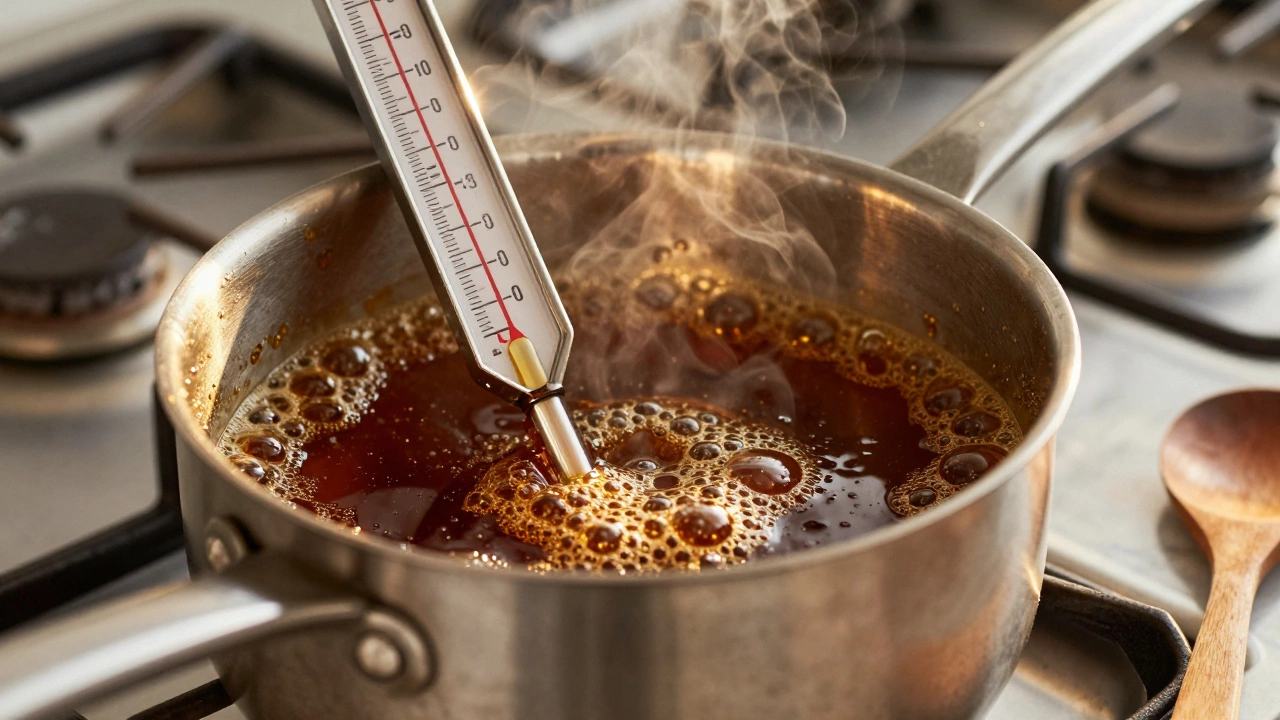
Check your current cooking temperature against the "Soft Ball" window (234-240°F).
Batch Size Calculator
Shopping List
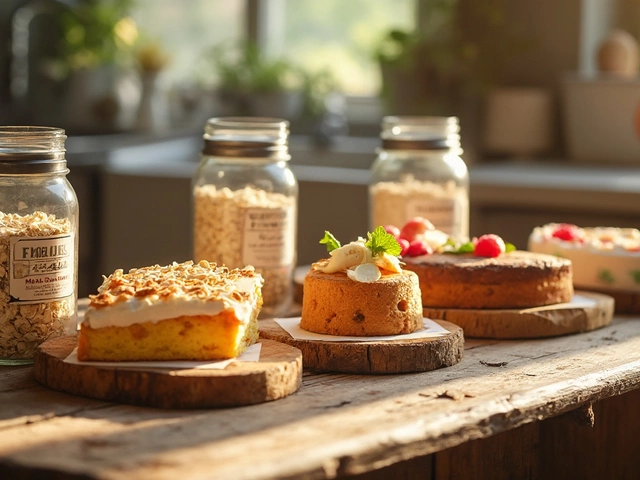
The Truth About the World's Best Fudge
You've likely seen those glossy photos of shiny, perfectly cut squares labelled as the "best fudge in the world." But here's the hard truth: there is no single global champion sitting on a podium. The concept of the absolute best Fudge is a creamy confection made by beating butter, sugar, and cream together, defined by its texture rather than a specific brand. The real question isn't which shop sells it, but what makes fudge truly exceptional. Whether you are standing in a queue in London or cooking in your kitchen in Brighton, understanding the mechanics of perfection is what separates a mediocre slab from a masterpiece.
The Science Behind the Perfect Bite
If you want to understand why some fudge tastes like heaven and others taste like wet cardboard, you have to talk about chemistry. Specifically, Sugar Crystallization controls the process where sugar molecules form tiny structures that affect texture. Good fudge relies on controlled crystallisation. You want thousands of microscopic crystals to form, creating that smooth, dense mouthfeel. Bad fudge happens when those crystals grow too large, resulting in a grainy mess.
This process depends heavily on temperature. When you cook the sugar mixture, you are driving off moisture. If you pull it too early, the water content remains high, and the confection stays runny or sticky. Pull it too late, and you cross into hard crack stage, which gives you brittle brittles instead of soft fudge. The goal is the Soft Ball stage, generally between 234°F and 240°F (112°C to 116°C).
Many home cooks skip the thermometer because they trust their eyes, but visual cues lie. A bubble size might look right while the temperature is still short. Investing in a reliable tool changes everything.
| Stage Name | Temperature Range | Result if Used for Fudge |
|---|---|---|
| Soft Ball | 234°F - 240°F (112°C-116°C) | Ideal texture for classic fudge |
| Hard Ball | 250°F - 268°F (121°C-131°C) | Tends to be too hard/crunchy |
| Soft Crack | 270°F - 290°F (132°C-143°C) | Brittle and hard, not suitable |
Ingredient Quality Defines the Outcome
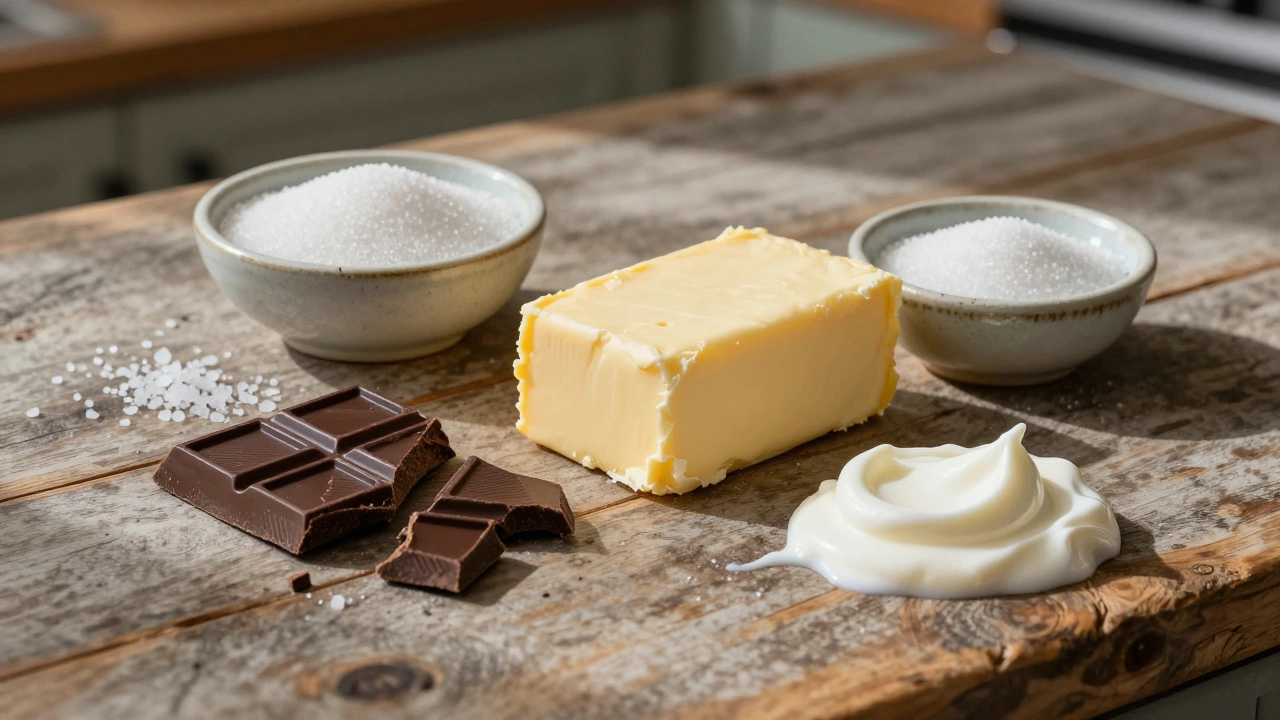
You cannot cheat the basics. The most common mistake people make is buying cheap alternatives to save money on a small margin. Using low-quality fats ruins the flavour profile immediately. For a superior result, you need unsalted butter with a high fat percentage, ideally 82% or above.
Butter acts as the carrier for fat that coats the tongue and melts smoothly. Cheap margarine contains vegetable oils and water additives that separate during the cooling phase, leaving pockets of oil on your teeth. Furthermore, using full-fat cream adds stability. Skim milk lacks the proteins needed to emulsify properly, leading to a greasy separation. The ratio is critical: usually, one pound of sugar requires one cup of cream or condensed milk.
Chocolate selection is equally vital. Using standard chocolate buttons meant for melting can work, but they lack complexity. High cocoa solid content brings a deeper bitterness that balances the extreme sweetness of the sugar base.
Comparing Traditional vs. Modern Methods
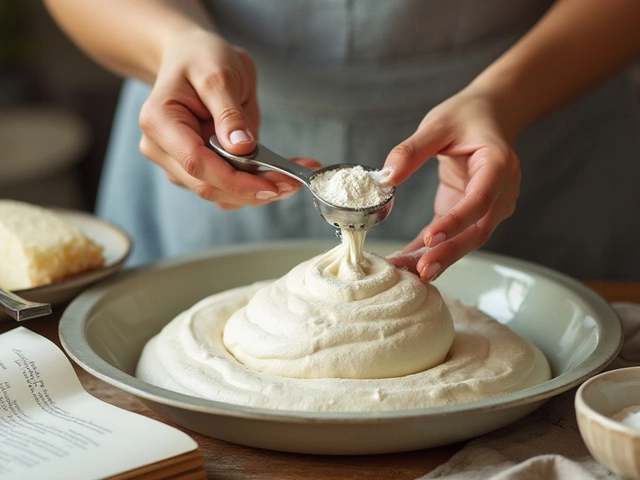
There are two main camps in the kitchen: the traditionalists who boil sugar on the stove and the modern crowd who prefers shortcuts. Both yield different results. The traditional method involves boiling syrup in a heavy-bottomed saucepan until it hits temperature, then beating it vigorously as it cools. This builds the crystal structure manually.
The modern approach often skips the raw sugar phase entirely by using Condensed Milk as the base. Sweetened milk thickened with sugar, used for easier textures. Because the sugar is pre-dissolved and the acidity is managed differently, you don't need a thermometer. You simply simmer the condensed milk with chocolate and butter until it bubbles, then freeze.
- Traditional Boil: Requires constant attention, yields firm squares, lasts longer in storage.
- Cheeky Shortcuts: Uses microwave or double boiler, yields softer truffle-like texture, faster but less shelf-stable.
- Stove Top Simmer: Middle ground, consistent heat distribution, easier to manage than boiling.
Flavor Profiles That Stand the Test of Time
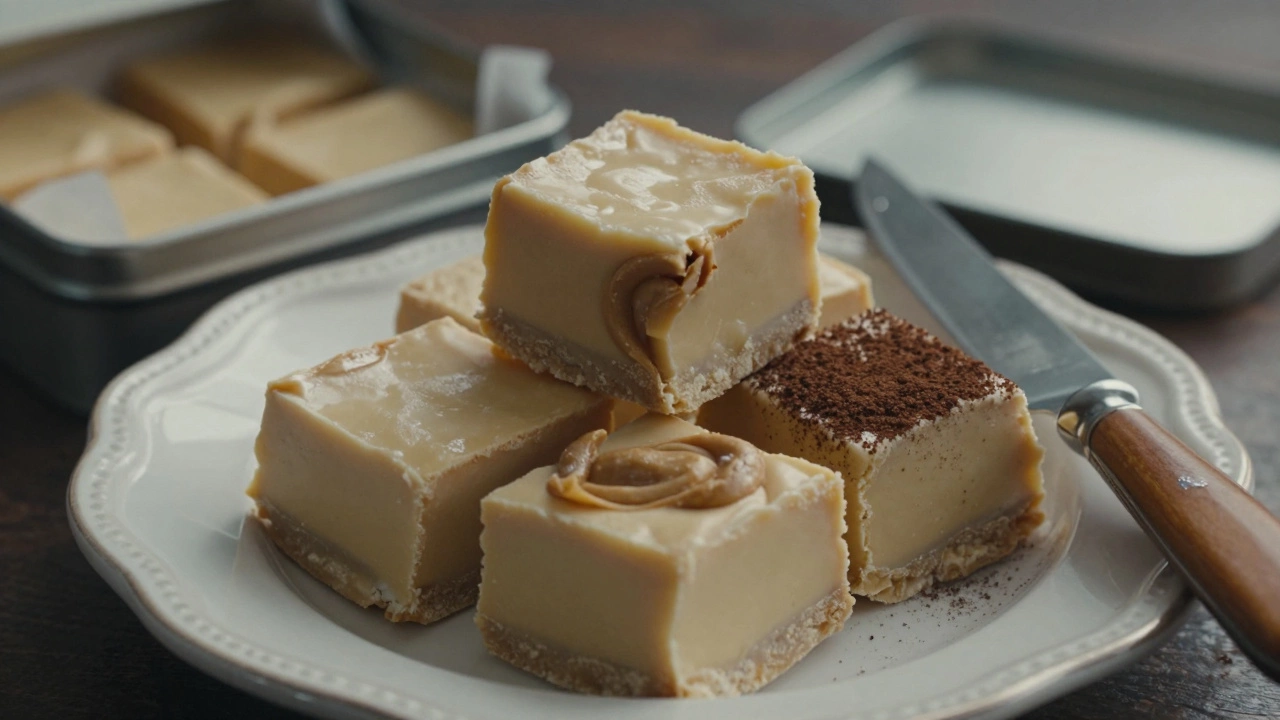
While classic vanilla bean fudge remains the king of the castle, modern palates crave variation. Plain milk chocolate is safe, but it rarely creates excitement. Salt transforms everything. A sprinkle of Maldon sea salt over the finishing square creates a contrast that heightens the sweetness without making it cloying.
Another underrated hero is espresso powder. Adding just half a teaspoon of fine coffee granules cuts through the dairy heaviness and amplifies the depth of the cocoa notes. You won't necessarily taste strong coffee, but the fudge will feel richer. Peanut butter swirls offer a salty crunch that contrasts well with the smooth interior.
If you are looking to impress guests at a dinner party, dark chocolate with orange zest is a sophisticated twist. The citrus oils interact beautifully with the tannins in the cacao. Just ensure you remove the white pith, which imparts bitterness.
Homemade Versus Shop-Bought Reality Check
Can you beat the store-bought version? Yes, absolutely, provided you master the technique. Shop-bought Premium Confectionery often uses additives to extend shelf life and improve texture. They frequently contain emulsifiers like soy lecithin and stabilisers such as carrageenan. These agents prevent the fat from blooming and keep the texture uniform for months. However, they often dull the fresh butter taste.
Homemade versions lack these preservatives, so they taste fresher and cleaner. They also allow you to control the sweetness level precisely. Many commercial products are overly sugary to maximize profit margins, whereas home cooks can adjust ratios to suit personal taste.
However, convenience plays a role. If you do not have time to monitor a pot of sugar for twenty minutes, a high-end artisan bar is worth the price. Look for shops that disclose ingredients clearly. If you see 'natural flavours' without specifics, walk away.
Common Pitfalls and How to Fix Them
Even experienced cooks encounter issues. Grainy texture is the number one complaint. This usually means the mixture cooled down too fast or wasn't beaten enough. To fix this, try reheating the mixture gently to dissolve the crystals, then bring it back to the target temperature. Stir consistently during the cooling phase. Do not stop until it loses its gloss and turns matte.
Greed leads to cracked surfaces when cutting. Always wait until the confection is completely cool before slicing. Warm fudge smears; cold fudge snaps cleanly. Use a knife dipped in hot water and wiped dry for clean cuts. Another issue is sweating, where oil weeps out of the surface. This happens in humid conditions. Store your finished pieces in an airtight container away from moisture sources.
Storage and Shelf Life Expectations
Properly stored fudge can last up to three weeks in the fridge. Wrap individual squares in wax paper and place them in an airtight tin. Plastic wrap directly touching the surface can cause condensation inside the wrapping, promoting mold growth over time. Freezing is an excellent option for long-term keeping. Just thaw them slowly in the fridge to prevent condensation damage.
Room temperature storage works for up to a week if the weather is dry. Humidity is the enemy. If you live in a coastal town like Brighton, air conditioning or dehumidifiers help maintain quality during the summer months.
Why did my fudge turn out grainy?
Graininess occurs when sugar crystals grow too large. This usually happens if you stir the mixture before it reaches the correct temperature or let it cool too quickly without sufficient agitation to break down crystals.
What temperature is best for fudge?
The ideal temperature range is the soft-ball stage, which is between 234°F and 240°F (112°C to 116°C). Below this, it will be too soft; above this, it becomes too hard.
Can I use powdered sugar instead of granulated?
Not recommended for traditional stovetop methods because it prevents proper dissolution. Powdered sugar is better suited for microwave recipes where the goal is immediate melting.
How long does homemade fudge last?
Homemade fudge lasts approximately two weeks in an airtight container at room temperature, or up to three weeks in the refrigerator.
Is it okay to add alcohol to fudge?
Yes, spirits like Baileys or Grand Marnier can be added during the cooling phase. Alcohol evaporates slightly during cooking but leaves a distinct flavour profile.