Crispy Snack Optimizer
Check your current method against professional standards to find out why your snacks might be losing their crunch.
Key Takeaways for Maximum Crunch
- Fry at a consistent 350°F (175°C) to seal the crust instantly.
- Never crowd the pan; too many snacks drop the oil temperature.
- Use a wire rack for draining, not paper towels.
- Avoid airtight containers until the snacks are completely cold.
- Double-coat your dough for an extra armor of crispiness.
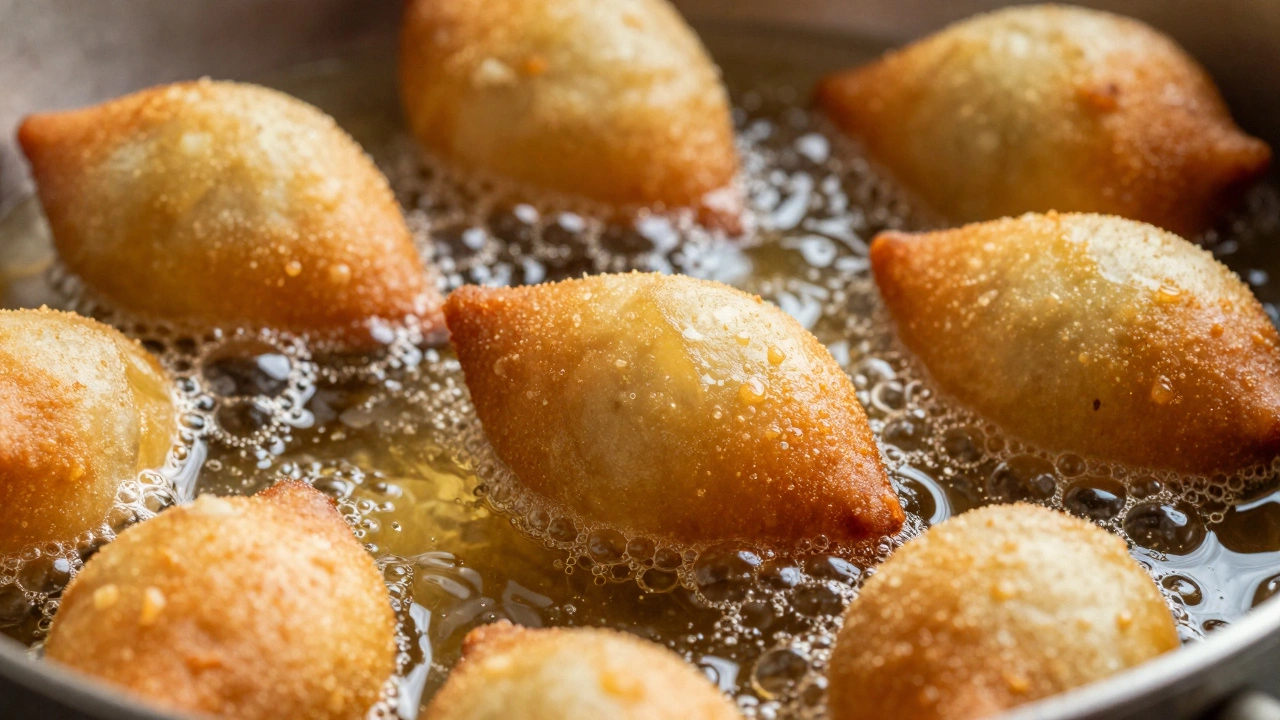
The Secret to the Perfect First Fry
The most common mistake is throwing snacks into oil that is too cold. If the oil isn't hot enough, the dough absorbs the fat instead of searing. This creates a porous crust that lets moisture leak out from the inside. You need the oil to be around 350°F (175°C). When the dough hits that heat, it creates an immediate steam barrier that pushes moisture inward and locks the outside in a crisp shell.
If you don't have a thermometer, use the wooden spoon trick. Dip the handle of a wooden spoon into the oil; if steady bubbles dance around the wood, you are close. But for professional results, a digital probe is a lifesaver. If you notice the oil temperature dropping significantly when you add the Salgados, you are adding too many at once. This effectively boils your food in oil rather than frying it, which is a one-way ticket to Soggytown.
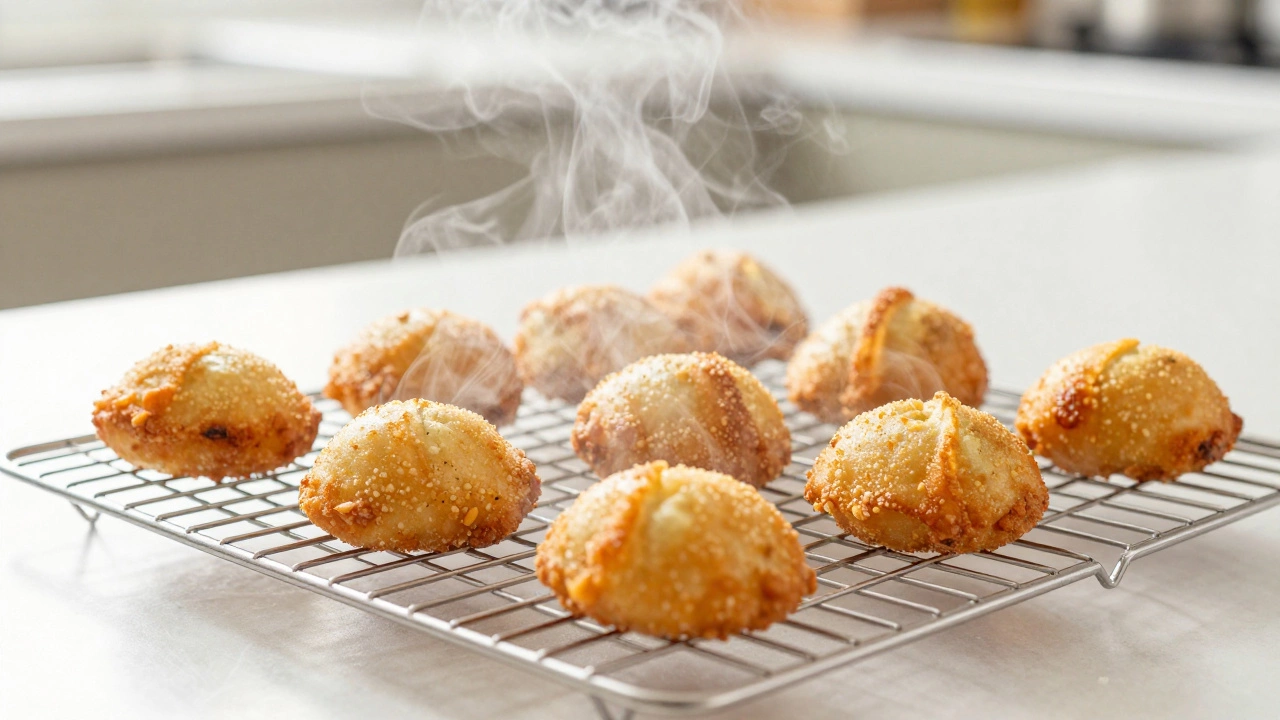
Why Your Draining Method Matters
Most people reach for a plate lined with paper towels. While this feels intuitive, it's actually a trap. When you place a hot, fried snack on a flat surface, the bottom of the snack traps steam. That steam has nowhere to go, so it goes right back into the crust, making the base mushy while the top stays crisp. It's like putting your snacks in a tiny, greasy sauna.
Instead, use a wire cooling rack. This allows air to circulate around the entire snack-top, bottom, and sides. By letting the steam escape into the open air, you ensure the crust stays dry. If you are catering an event, don't stack them in a bowl. Line them up on a tray with space between them. The moment you stack hot snacks, the weight and the residual heat create a moisture pocket that ruins the texture.
| Method | Air Circulation | Moisture Retention | Result |
|---|---|---|---|
| Paper Towels | Poor | High (at bottom) | Soggy base, greasy feel |
| Wire Rack | Excellent | Low | Uniformly crispy |
| Metal Tray (Stacked) | Very Poor | Very High | Soft, steamed texture |
The Science of the Double Coat
If you are making snacks with high-moisture fillings-like creamy chicken or melted cheese-you need an extra layer of protection. A single layer of dough often isn't enough to hold back the steam. This is where the double-breading technique comes in. First, dip the snack in a light batter or flour, then roll it in Panko breadcrumbs or fine cornmeal.
Panko is especially effective because the flakes are larger and airier than traditional breadcrumbs, creating more surface area for the oil to crisp up. This creates a structural "armor" that keeps the interior moisture trapped. If you use a cornstarch-based batter, you'll notice a glass-like crunch that lasts much longer than wheat flour. Cornstarch inhibits gluten formation, which prevents the crust from becoming chewy or soft over time.
Storage and Reheating Without the Mush
The biggest mistake people make is putting warm snacks into a plastic container. The heat creates condensation, and those tiny water droplets land right on your crispy crust. Wait until the snacks are completely room temperature before storing them. If you are prepping for later, freeze them raw and fry them directly from the freezer. This prevents the dough from over-hydrating during a slow thaw in the fridge.
When it comes to reheating, throw the microwave in the trash. Microwaves vibrate water molecules, which essentially steams the snack from the inside out, turning your crispy treat into a rubbery mess. Use an Air Fryer or a conventional oven. A quick 5-minute blast at 375°F (190°C) will evaporate any surface moisture and bring back that original crunch without adding more oil.
Avoiding Common Frying Pitfalls
Are you using the right oil? Not all fats are created equal. For high-heat frying, you need an oil with a high smoke point. Canola oil or peanut oil are great choices. If you use butter or extra virgin olive oil, they will burn before the snack is cooked, leaving a bitter taste and a greasy film that makes the crust feel heavy rather than light.
Another trick is to avoid over-filling. If your filling is too watery or contains too much sauce, it will leak through the dough during frying. This creates holes in your crust where steam can escape and oil can enter, leading to a snack that is oily on the inside and soggy on the outside. Ensure your fillings are thick and chilled before you start shaping your snacks.
Can I freeze snacks before frying?
Yes, and it is actually recommended. Freezing them raw prevents the dough from absorbing too much moisture from the filling. Just fry them directly from the freezer; you may need to add a minute or two to the cooking time to ensure the center is hot.
Why does my snack get soft after 30 minutes?
This is usually due to "moisture migration." The hot interior continues to release steam, which moves toward the cooler exterior. If the crust isn't sealed perfectly or if the snacks are kept in a closed space, this steam settles into the crust and softens it.
Does the type of flour affect the crunch?
Absolutely. Using a mix of all-purpose flour and cornstarch creates a crispier, more durable shell. Cornstarch reduces the protein content, which prevents the crust from becoming tough or bread-like.
Should I salt the snacks immediately after frying?
Salt immediately while the surface is still oily. This helps the salt stick, but more importantly, salt can actually draw moisture out of the air if left too long, so don't salt them hours before serving.
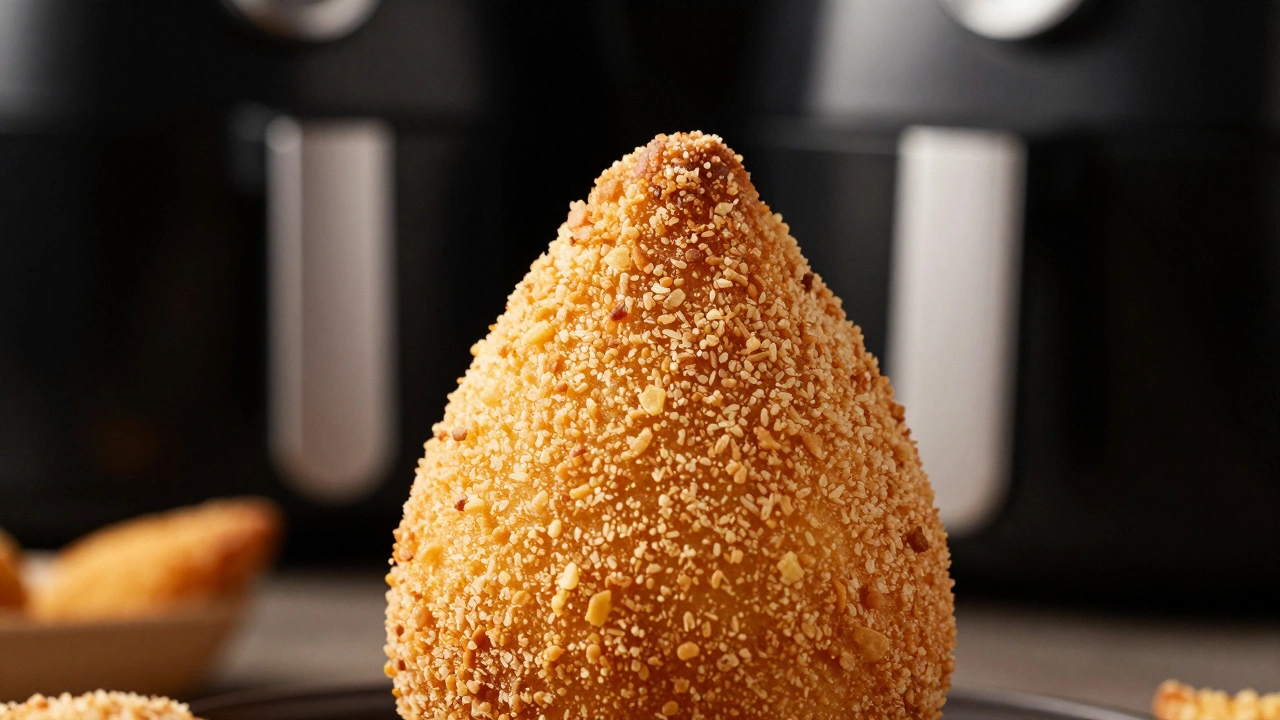
Is an air fryer as good as deep frying?
It's healthier and can keep things crispy, but it doesn't provide the same instant seal as a vat of hot oil. If using an air fryer, lightly spray the snacks with oil first to help the heat transfer and create that golden brown crust.
Next Steps for Better Results
If you've followed these steps and still struggle, try analyzing your filling. If you're using a cream-based filling, try reducing it further on the stove until it is almost a paste. The drier the interior, the less chance there is for the crust to murch. Next, experiment with different breading agents like crushed cornflakes or toasted breadcrumbs to see which texture you prefer. Finally, always remember: heat is your friend, and moisture is the enemy of the crunch.
Popular Posts
What Does the Name Brownie Mean?
Feb, 15 2026

Macaron Price Guide 2025: How Much Do They Cost?
Oct, 15 2025

Funeral Cake: Why That Name Sticks Around
Jun, 13 2025