Crispy Meringue: How to Get Perfectly Light and Crunchy Tops Every Time
Ever wonder why some meringues stay soft while others snap like a chip? The secret is mostly about technique, not magic. Below you’ll find the basics that turn a fluffy cloud into a crunchy crown you can break with a spoon.
Why Meringue Gets Soft and How to Fix It
Soft spots usually come from too much moisture. Using fresh egg whites, not older ones, keeps extra water out. Also, the type of sugar matters – superfine or caster sugar dissolves completely, leaving a smooth texture that dries out nicely.
Another common mistake is under‑whipping. If the peaks are soft and glossy, the proteins haven’t fully formed a stable network, so the meringue will collapse during baking. Whip until you get firm, glossy peaks that stand up when you lift the whisk.
Temperature is another big factor. A low oven (around 250°F/120°C) dries the meringue slowly, giving it that crisp outside and soft inside. Crank up the heat and you’ll end up with a burnt exterior and a soggy center.
Step‑by‑Step to a Crispy Meringue
1. Prep your bowl – Make sure it’s clean and completely dry. Any grease will stop the egg whites from whipping properly.
2. Separate the eggs – Separate the whites from the yolks while the eggs are cold. Any yolk in the whites will ruin the foam.
3. Add a pinch of cream of tartar – This acid stabilizes the foam and helps keep the meringue from weeping.
4. Whisk to soft peaks – Start on low speed, then increase to medium‑high. When the mixture looks foamy, you’ve hit soft peaks.
5. Gradually add sugar – Sprinkle the caster sugar in a thin stream while continuing to whisk. Wait until the mixture becomes thick, glossy, and stiff.
6. Shape or pipe – Use a spoon or piping bag to place the meringue on a parchment‑lined tray. Keep shapes uniform for even drying.
7. Bake low and slow – Put the tray in a pre‑heated oven at 250°F (120°C). Bake for about 1½‑2 hours, then turn the oven off and let the meringues sit inside as they cool. This slow cooling prevents cracks.
8. Store properly – Once cooled, keep them in an airtight container with a paper towel at the bottom. This absorbs any stray moisture and keeps them crunchy for days.
Want to add flavor? A dash of vanilla, almond extract, or a sprinkle of cocoa powder can be folded in right before baking. Just remember that extra wet ingredients can add moisture, so keep them minimal.
By following these steps you’ll get meringues that crack under your fork but melt in your mouth. Experiment with sizes – big pavlovas need a longer bake, while tiny cookies finish quicker. The more you practice, the easier it gets to tell when the meringue is ready just by looking and feeling.
Now that you know the basics, grab a bowl, some eggs, and start whipping. Crispy meringue isn’t a myth – it’s a matter of a few simple tricks.

Why Won't My Pavlova Go Crispy? Simple Fixes for a Common Issue
Struggling to achieve the perfect crispy shell on your pavlova? Discover the reasons behind a soggy meringue and learn simple tweaks to ensure your pavlova turns out just right. From beating the egg whites to the right baking techniques, this guide tackles common pitfalls and offers practical tips to elevate your dessert game. Whether you're a novice baker or seasoned pro, prevent disappointment with these handy insights.
View MorePopular Posts
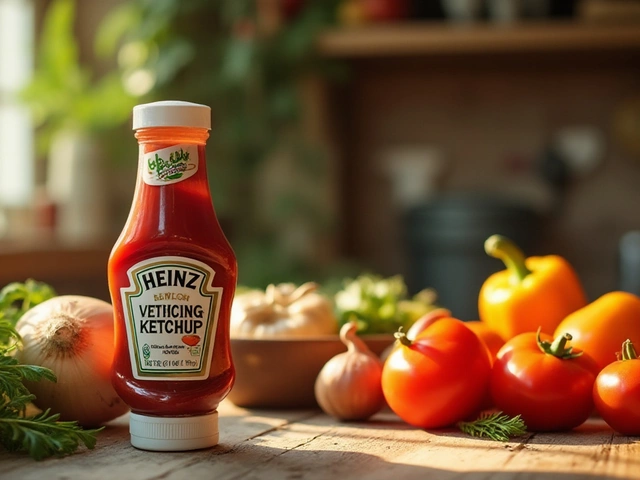
Is Heinz Ketchup Suitable for Vegans?
Oct, 22 2024