Making Fudge: Simple Steps for Creamy, Smooth Treats
Fudge can seem tricky, but with the right basics you’ll get that melt‑in‑your‑mouth texture every time. Grab a heavy pot, a candy thermometer, and follow these steps – no fancy equipment needed.
All you really need is a sturdy saucepan, a wooden spoon, a flat pan for setting, and something to grease the pan. A silicone spatula works fine for stirring, but a sturdy wooden spoon lets you feel the change in texture as you beat the fudge.
Get the Temperature Right
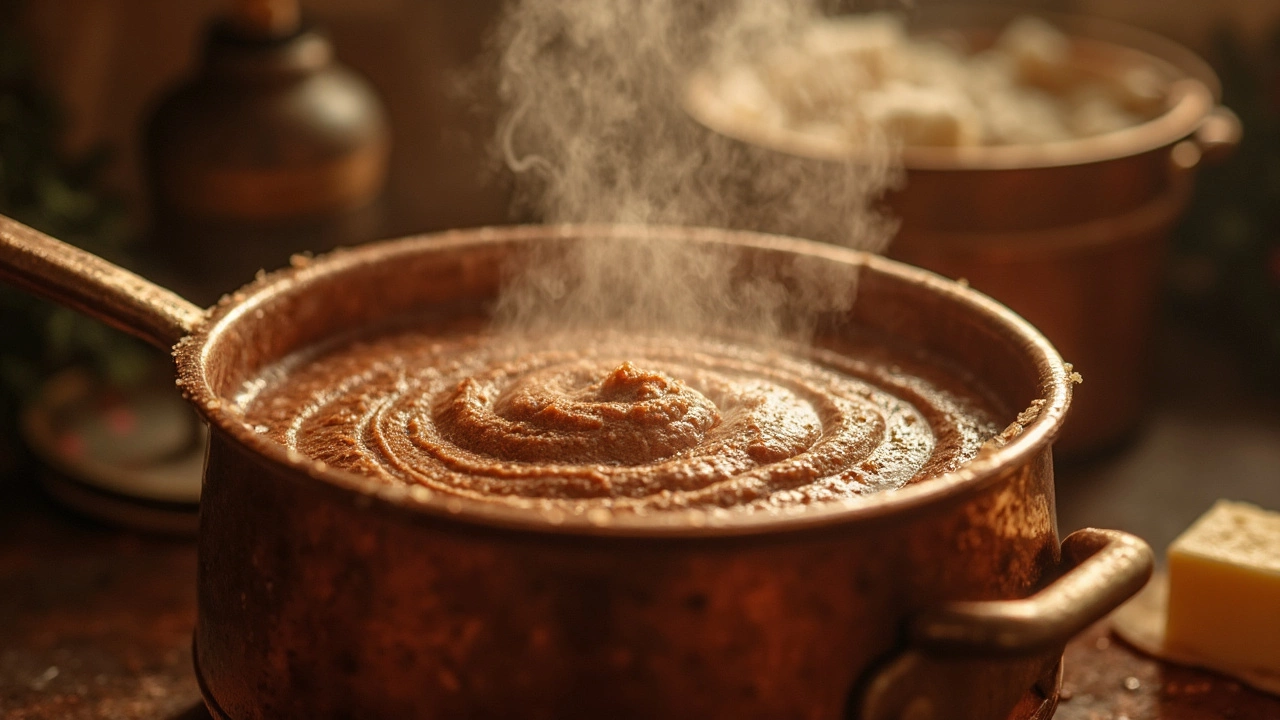
The secret is hitting the soft‑ball stage, which sits between 235°F and 240°F (112‑115°C). Heat the sugar, butter, and milk slowly, stirring until everything dissolves. Once you see steam, attach the thermometer and watch the dial. When it reaches the soft‑ball range, remove the pot right away – waiting a few seconds longer can turn your fudge grainy.
If you’re at altitude, add about 5°F to the target temperature because water boils faster up high. This small tweak keeps the texture consistent whether you’re in the Rockies or sea level.
Cool, Beat, and Finish
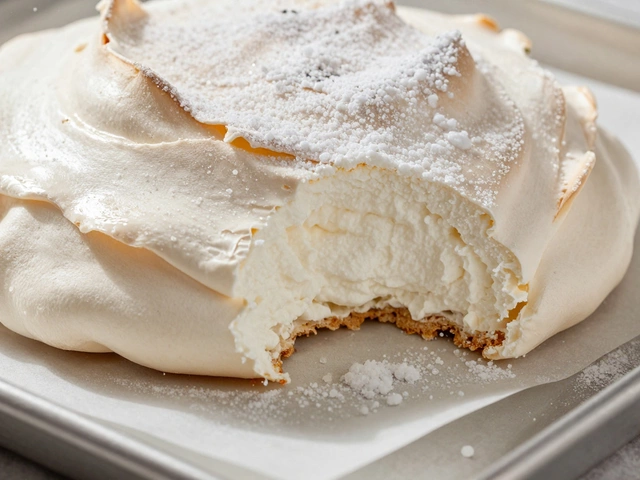
Let the cooked mixture sit undisturbed until it cools to about 110°F (43°C). This cooling period lets the crystals form correctly. Then, beat the fudge with a wooden spoon or electric mixer for 2‑3 minutes until it thickens and loses its shine. Once it’s thick, stir in vanilla, nuts, or chocolate chips, then spread it into the greased pan.
While the fudge sets, keep an eye on common mistakes. Over‑mixing after it has set or skipping the cooling step leads to a dry, crumbly bite. If your fudge ends up grainy, you’ve probably boiled it too long. A quick fix is to add a splash of milk, re‑heat to the soft‑ball stage, and re‑beat.
Flavor ideas are endless. Add a pinch of sea salt for a sweet‑salty twist, swirl in caramel, or mix in espresso powder for a coffee kick. Peanut butter, maple syrup, or crushed peppermint add a festive spin without extra hassle.
When it’s time to serve, slice with a warm knife for clean cuts. Store the fudge in an airtight container at room temperature for up to a week, or refrigerate for a month. It also freezes well – just thaw at room temperature before serving.
For beginners, the biggest tip is to trust the thermometer and the cooling time. Don’t rush the beat; the right thickness signals it’s ready to pour. With a little practice, you’ll get smooth, creamy fudge every time, whether you’re making a batch for a party or just a quick sweet fix.
What Makes Fudge Good? Easy Tips for Homemade Perfection
Curious why some fudge turns out dreamy while other batches feel gritty or dry? This article breaks down the magic behind good fudge, from the science of sugar crystals to tricks for the perfect texture and flavor. You'll find honest, practical tips, interesting facts, and everything you need to level up your homemade fudge. Whether you're a first-timer or an old pro, these insights make every batch a little sweeter. Get ready to satisfy your sweet tooth with fudge that actually melts in your mouth.
View More
Mastering the Art of Fudge: Perfect Timing and Techniques
Discover the secrets to knowing when your fudge is perfectly done with our comprehensive guide. Understand the science behind fudge-making and learn tips to achieve that perfect texture. Explore various methods for testing fudge readiness and avoid common pitfalls. Become a fudge-making expert and delight your family and friends with your confectionery creations.
View More
Mastering Fudge: Why Rainy Days Can Ruin Your Recipe
Fudge making can be tricky, especially on a rainy day. Moist air affects the sugar crystallization process causing fudge to be grainy and less smooth. Learn how humidity impacts fudge making and find tips to perfect your recipe regardless of the weather. Discover the science behind fudge-making and the best conditions for a creamy result.
View More