Fudge is that dessert everyone adores but nobody really trusts themselves to make at home. Sounds familiar, right? You melt, stir, and cross your fingers—but somehow end up with sad, grainy sugar bricks half the time. The truth is, there’s a bit of candy science playing tricks behind the scenes. The good news? With a few crystal-clear rules and a little patience, anyone can turn out flawless fudge—every single batch.
Why Is Fudge Tricky? The Role of Sugar and Science
If you’ve ever wondered why some fudge is so smooth and some is a crunchy mess, it all comes down to sugar crystals. Fudge sits on that thin line between creamy and crumbly, and it’s all about managing sugar’s behavior as it cooks. When you’re making fudge, you start by dissolving sugar into a mixture of milk, cream, or condensed milk and some butter. Get the sugar to melt and mingle—this is easy, but from here, tiny missteps can make or break your batch. The first huge rule: sugar must fully dissolve. Any stray crystals sticking to the side of your pan can cause the whole thing to go grainy once it cools. One tip that seasoned candy makers swear by is brushing down the sides of the saucepan with a wet pastry brush while you cook, so sugar doesn’t sneak up the edges and crystalize later.
The next big stage is boiling. Here’s the shocker: you need to boil your fudge mixture to exactly the right temperature, which is called the "soft ball stage." It’s around 234°F to 237°F (112°C to 114°C), and a candy thermometer is honestly your new best friend. Go too cool? Your fudge won’t set and just stays gloopy. Go past that point? Now you’re crunching on sugar rocks. According to the National Confectioners Association, the margin for error is less than five degrees, so the thermometer isn’t optional guesswork.
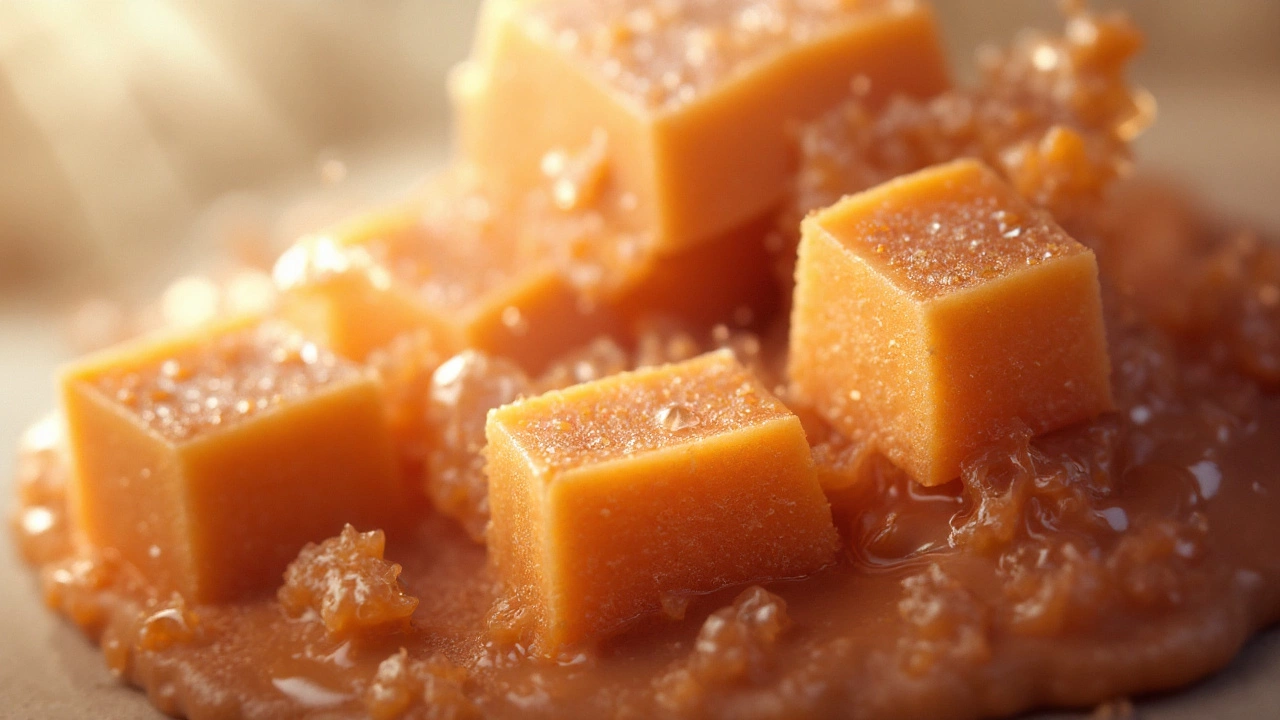
Another twist: as that hot, sugary mixture cools, the timing for stirring is crucial. If you stir it too soon, or too vigorously, tiny sugar crystals form quickly and clump. But if you wait for the mixture to drop to about 110°F (43°C), then beat it until it loses its gloss, you force those crystals to arrange themselves in a way that makes fudge creamy instead of crumbly. The patience at this point is tough—you want to fiddle, don’t you? But seriously, let it cool, ignore it, then stir with intention. That’s how you get that smooth texture that can slice into perfect squares.
A few surprising facts for the fudge-fascinated: according to the Smithsonian, fudge was a happy accident. A batch of caramel was "fudged" (messed up) in the late 1800s, and the soft, sweet result caught on. By the early 20th century, fudge shops lined resort towns across America, each guarding their own “secret” recipe. But here’s the thing—every fudge, whether from Mackinac Island or your grandmother’s kitchen, is wrestling with the same sugar science. The real secret that sets store-bought apart? Most big names use vacuum cookers to evaporate water fast, but you can get just as close at home with close attention and the right moves detailed below.
| Fudge Stage | Temperature (°F) | Texture | How Long to Boil |
|---|---|---|---|
| Thread | 230 - 234 | Too soft, won’t set | too short |
| Soft Ball (key to good fudge) | 234 - 237 | Creamy, smooth | correct |
| Firm Ball | 245 - 250 | Dry, crumbly | too long |
So, if fudge dreams have turned nightmare on your stove, it’s not you—it truly is about timing and a bit of candy nerd know-how.
Techniques and Troubleshooting: Avoiding Grainy, Rocky, or Gooey Fudge
You know that hopeful moment where you pour your fudge mixture into a greased pan, set it on the counter, let it cool, and then cut in—only for it to crumble or ooze apart? The things that go wrong fall into a handful of frustrating but fixable traps. First, let’s run through common mistakes, then talk about easy solutions.
Mistake number one: not dissolving all the sugar. This one is super common. Even if the mix looks fine, undissolved crystals seeded at the pan’s edge will set off a chain reaction causing the whole fudge to crystallize too fast. Prevention is easy: use a heavy saucepan, heat slowly, and brush the sides down often.
Mistake number two: inaccurate temperature. Ever seen grandma test fudge by dropping a dab in cold water? That works, but it’s not as reliable as a thermometer—consider investing in a digital version for precision. Even top pastry chefs use thermometers because the window between creamy and crunchy is razor-thin. If you don’t hit soft ball stage, you’ll spoon thick syrup instead of slicing neat squares.
Then there’s stirring at the wrong time. Once the mixture hits soft ball stage and you take it off the heat, resist every urge to stir. It needs to cool, undisturbed, for an assigned period (usually until it’s barely warm to the touch but not cold). Only then should you get in there with a wooden spoon or your hand mixer, as this controls the size of the sugar crystals that form—big ones = gritty fudge, tiny ones = melt-in-your-mouth perfection.
Lots of home cooks also skip the importance of adding the right amount of fat. Butter or cream isn’t optional fluff—it coats sugar and slows down crystal growth. That’s why “low fat” versions straight up don’t taste the same and rarely set successfully. If using recipes with marshmallow crème or condensed milk, these work because they bring extra fat and built-in stabilizers, helping fudge keep its glossy smooth feel. The famous "Fantasy Fudge" that swept American kitchens in the 1960s uses marshmallow creme specifically to avoid all that stress over crystal formation.
Humidity messes with fudge, too. Making fudge on a damp or rainy day? It might not set. The extra water in the air sneaks into your batch. Professional candy makers check the weather! If it’s super humid, try running the air conditioner, or just plan for a drier day.
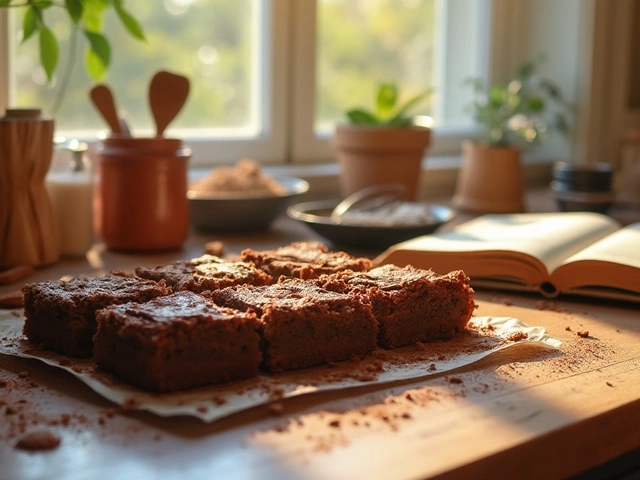
Too much fiddling at the end is a fudge killer, too. Pour the finished mixture into a lined pan and let it set somewhere cool and dry, completely undisturbed. Don’t poke it, don’t chill it too soon, don’t cut before it’s ready. Give it time to do its thing for that signature snap and creamy bite.
Here’s a list of tips to rescue (or revive) failed batches:
- If your fudge didn’t set, scrape it back into a pan, add a tablespoon of evaporated milk, heat gently, and bring back to soft ball stage before trying again.
- If it’s too hard or grainy, you can remelt with a splash of water and beat again at the right temperature.
- Chop too-crunchy fudge, blend with warm cream, and turn it into truffles—nobody will notice it was "broken."
- Store fudge in an airtight container with wax paper between layers to keep it from drying out.

Perfecting Your Fudge: Ingredients, Add-Ins, and Pro Tricks for Home Success
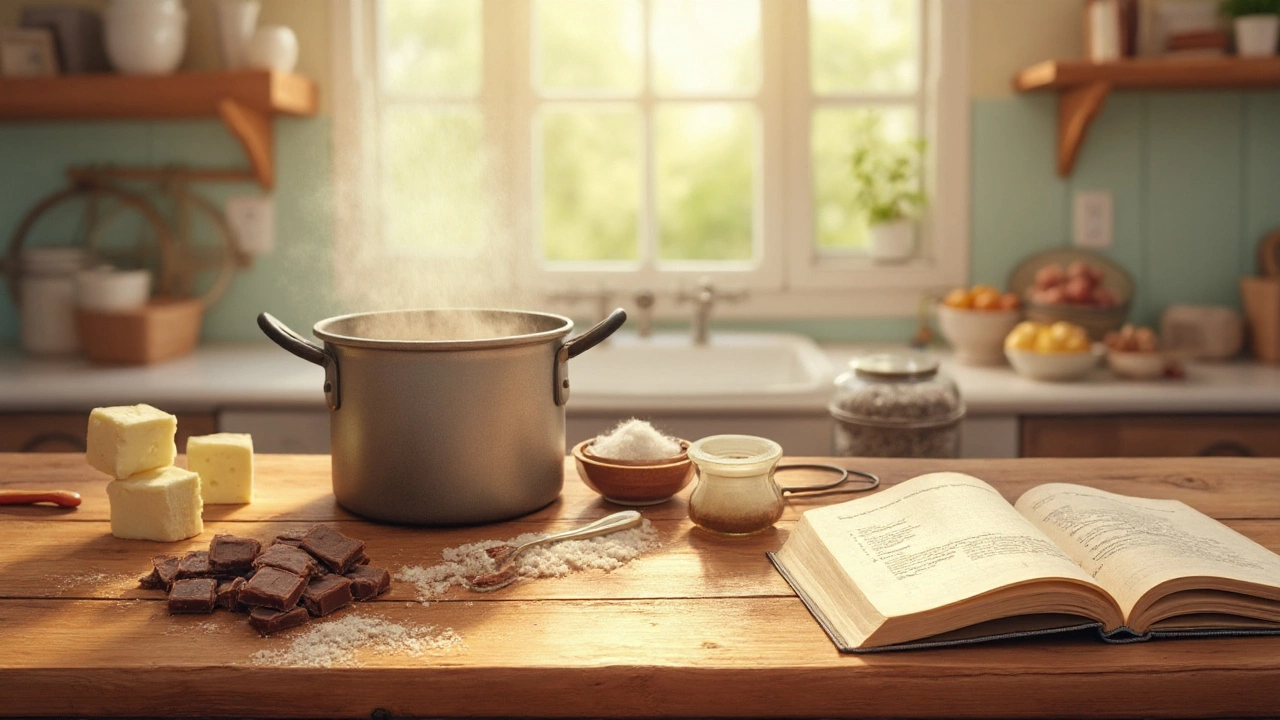
Start with the right ingredients, but don’t be afraid to get creative once you’ve mastered the basics. Classic fudge only needs sugar, milk or cream, butter, and a little flavoring (usually chocolate or vanilla). Premium versions swap half the sugar for brown sugar for a toffee vibe, add a spoon of honey or glucose syrup to fight crystallization, or sprinkle sea salt to balance sweetness.
If you want ultra-creamy texture, try using condensed milk. Borden Dairy popularized the famous recipe still printed on cans of Eagle Brand Sweetened Condensed Milk since 1940. This shortcut not only makes things foolproof, but gives you a rich, dense fudge without all the timing stress.
Add-ins turn simple fudge into something you’d pay top dollar for at a candy shop. Stir in toasted walnuts, roasted almonds, or pecans for crunch. Swirl peanut butter, dulce de leche, or fruit jams right before pouring into the pan for ribbons of flavor. Mini marshmallows tossed in at the last minute give that rocky road effect. For adults, a splash of bourbon or espresso can make things seriously irresistible.
Decorating fudge is a blast for kids or that Instagram picture you’re planning. Try a drizzle of white chocolate, a pinch of crushed biscotti, or even edible glitter to glam things up. Just remember: don’t add chunky ingredients while the mix is piping hot, or they’ll melt and ruin the texture. Wait until it’s slightly cooled but still pourable.
Storing fudge properly makes a difference, too. It keeps best wrapped snug, stored in a cool environment—not the fridge, which can make it sweat and become sticky. Homemade fudge can last about two weeks when kept airtight. For longer shelf life, freeze it—double wrap in cling film and pop in a sealed bag. When you thaw, do so slowly at room temp so you don't get condensation ruining the texture.
If you’re ready to give fudge another go, here’s a streamlined recipe designed for fudge rookies but with all the “secrets” included:
- 2 cups granulated sugar
- 2/3 cup whole milk
- 2 tbsp unsalted butter
- Pinch of salt
- 1 cup chocolate chips (optional, for chocolate fudge)
- 1 tsp vanilla extract
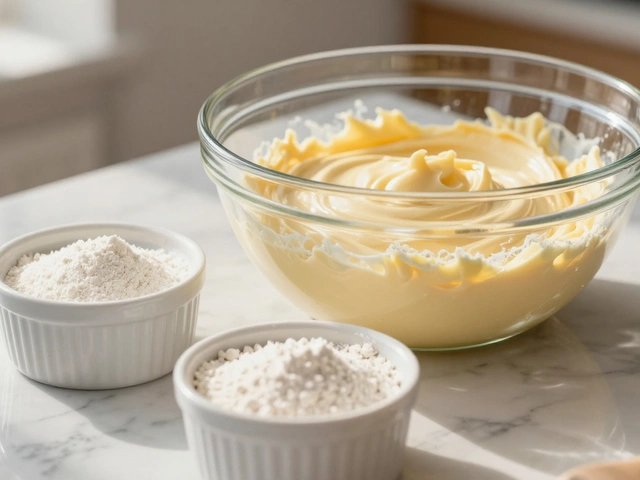
- Combine sugar, milk, butter, and salt in a heavy saucepan over medium heat. Stir slowly until sugar completely dissolves. Carefully brush the pan’s sides with water if you see sugar on them.
- Clip a candy thermometer to the side. Bring mixture to a gentle boil. Boil, undisturbed, until it hits 234°F to 237°F (soft ball stage), about 8-10 minutes.
- Remove from heat. Let sit without stirring until temperature drops to 110°F. Add chocolate and vanilla; beat vigorously until mixture thickens and loses its shine, 5-7 minutes. Pour into a lined pan and chill until set.
If you want fudge success every time, just remember: patience, precision, and don’t cut corners with equipment or ingredients. That dreamy, creamy bite is breaking down in science, not magic. Nothing tastes quite like fresh homemade fudge—and once you get the hang of it, you’ll be volunteering dessert for every party on purpose.
Popular Posts


Who Made the Best Tiramisu in the World?
Apr, 25 2025