
Brownie Sink Diagnostic Tool
Enter details about your last batch to diagnose the cause of the sink and get targeted solutions.
Diagnostic Results
Recommended Fixes
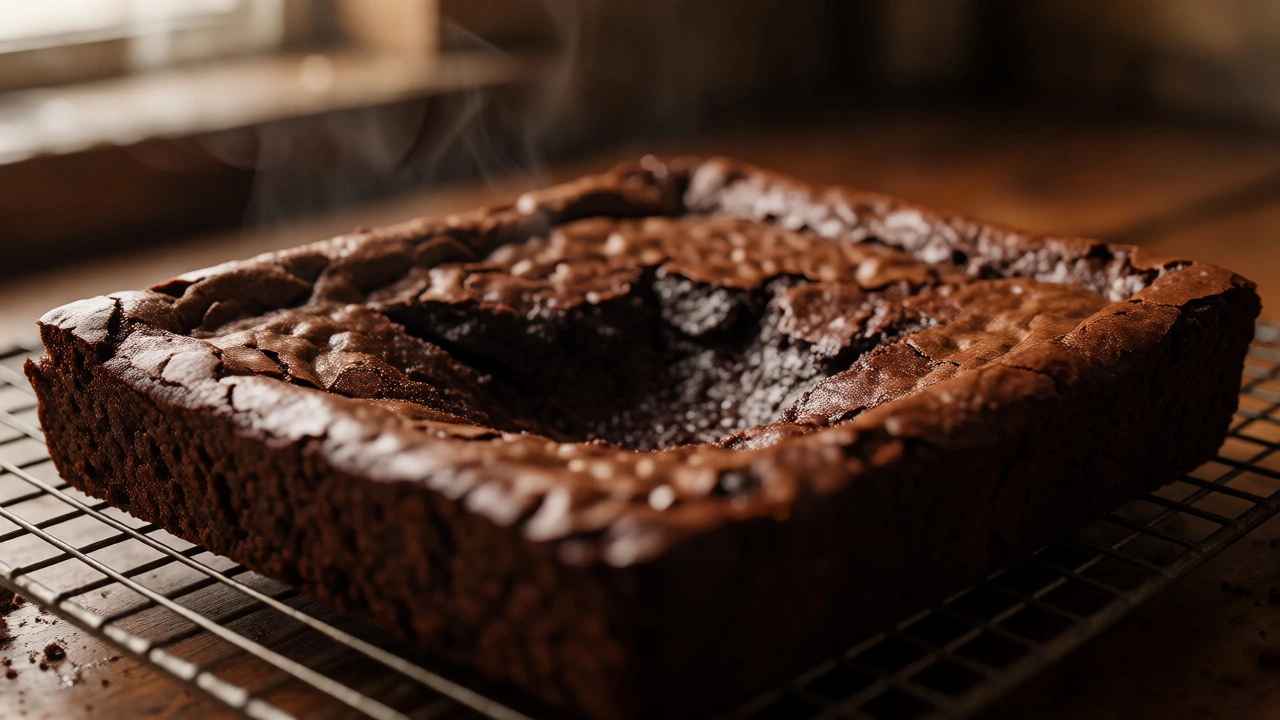
You pull a tray of brownies out of the oven, expecting that perfect, flat, fudgy top. Instead, you’re staring at a crater. The edges are baked solid, but the center has collapsed into a dense, undercooked pit. It’s frustrating, especially when you followed the recipe to the letter. But here is the truth: sunken brownies are rarely about bad luck. They are almost always about physics-specifically, how air bubbles expand and collapse during the baking process.
If you want dense, chewy squares instead of cake-like domes with dips, you need to stop treating brownies like cakes. Brownies rely on a different structural balance. This guide breaks down exactly why your batter fails, how to fix it based on your specific mistake, and what to do if you’ve already pulled them out too early.
The Science Behind the Sink
To fix the problem, you have to understand what causes it. In most baked goods, rising happens because gas bubbles (from steam, carbon dioxide, or chemical leaveners) get trapped in the batter. As the heat rises, these bubbles expand, pushing the structure upward. For the shape to hold, the proteins (gluten and egg coagulation) and starches must set before those bubbles pop or deflate.
A sunken middle means one of two things happened:
- The structure set too late: The center was still liquid while the edges hardened. When you removed the pan from the heat, the unsupported center collapsed under its own weight.
- The gas escaped too fast: You created too many large air bubbles during mixing. These bubbles rose quickly, hit the surface, and popped before the crust could form to trap them inside.
Unlike cakes, which aim for maximum rise, brownies often benefit from minimal rise. If you are aiming for "fudgy," you actually want less air incorporation than if you are aiming for "cakey." Knowing your target texture is the first step to preventing the sink.
Common Culprits: Why Your Batter Failed
Most sinking issues trace back to three main variables: mixing technique, ingredient ratios, and oven behavior. Let’s look at each one closely.
Overmixing After Adding Flour
This is the number one reason home bakers end up with dense, sunken centers. When you mix flour into wet ingredients, you activate gluten. A little gluten gives structure; too much makes the brownie tough and rubbery. But more importantly, vigorous whisking after adding flour incorporates massive amounts of air.
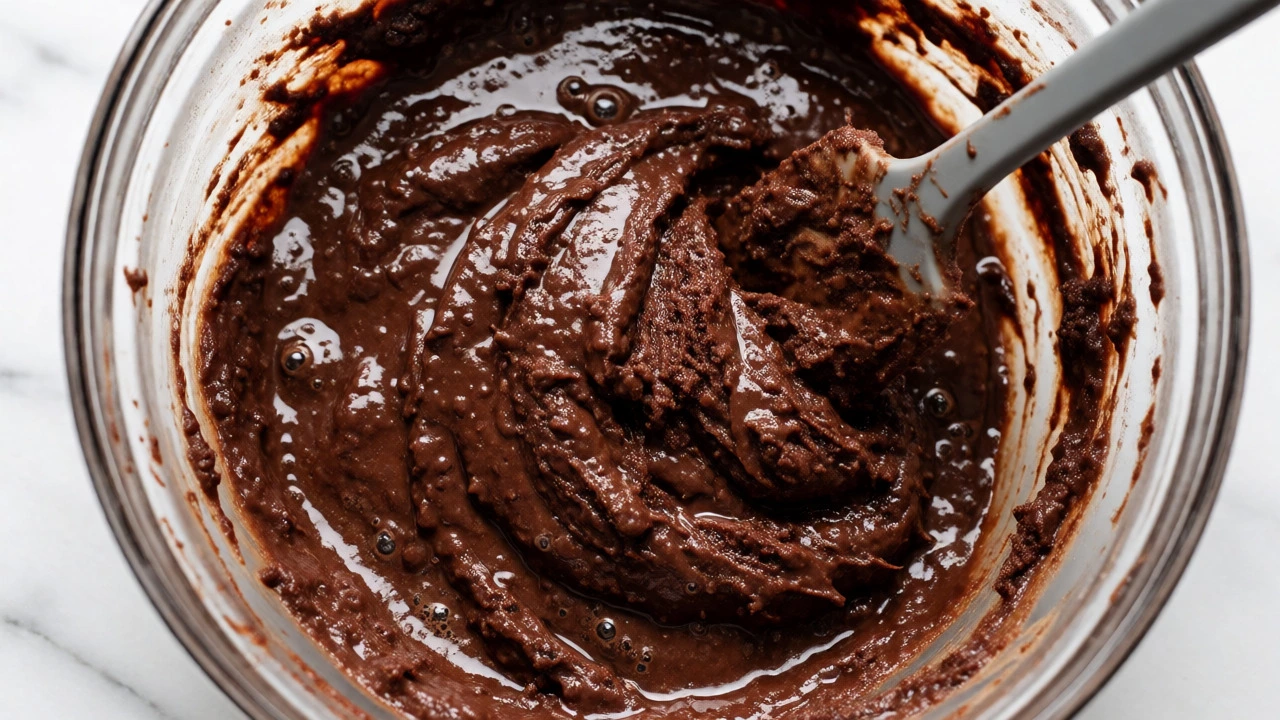
These large air bubbles are unstable. They rush to the surface during baking, burst, and leave behind a hollow structure that collapses. If you see a glossy, aerated batter, you’ve likely overmixed. Stop mixing as soon as no dry streaks of flour remain. Fold gently. It should look shaggy and thick, not smooth and fluffy.
Too Much Leavening Agent
Brownies don’t need much help rising. Many recipes call for baking powder or baking soda, but sometimes people double it, thinking "more lift equals better." In reality, excess leavening creates rapid expansion followed by rapid collapse. The structure can’t support the sudden volume increase.
Check your measuring spoons. Are they level? Did you accidentally use baking soda instead of powder? Baking soda is four times stronger than baking powder. If your recipe didn’t specify acid (like cocoa powder or yogurt), using baking soda alone might cause erratic rising. Stick to the measured amount. If your recipe calls for none, don’t add any.
Oven Temperature Fluctuations
Home ovens lie. The dial says 350°F (175°C), but the actual temperature might swing by 25 degrees every few minutes. If your oven runs hot, the outside sets instantly while the inside remains raw. This creates a rigid shell over a liquid core. When the core finally cooks, it expands, pushes against the rigid shell, and then shrinks as it cools, pulling the top down.
Conversely, if your oven runs cool, the brownies bake slowly. The fats melt and leak out before the structure sets, leading to a greasy, dense center that sinks. An oven thermometer is the cheapest tool that will save your baking. Place it on the rack where your brownies sit. Calibrate your settings accordingly.
Ingredient Ratios That Prevent Sinking
Sometimes the technique is perfect, but the math is off. Brownies exist on a spectrum between fudge and cake. Understanding where your recipe sits helps you predict potential issues.
| Style | Fat-to-Flour Ratio | Egg Count | Risk of Sinking | Fix |
|---|---|---|---|---|
| Fudgy | High (More butter/chocolate) | Low (2 eggs per cup flour) | Medium (Grease leakage) | Add 1 tbsp extra flour; ensure full cooling time. |
| Cakey | Balanced | High (3+ eggs per cup flour) | Low (Stable foam) | Mix until smooth; rely on egg whites for lift. |
| Chewy | Moderate | Moderate | High (Gluten development) | Use bread flour; avoid overmixing. |
If you are making fudgy brownies, remember that fat doesn’t evaporate like water does. Too much fat without enough structural protein (eggs/flour) leads to a heavy center that sinks as it cools. If your brownies feel oily to the touch after cooling, your ratio is off. Next time, reduce butter by 1 tablespoon or add an extra egg yolk for emulsification.
Step-by-Step Fixes for Perfect Tops
Ready to bake again? Follow this checklist to ensure your next batch stays flat and proud.
- Weigh your ingredients. Volume measurements (cups) are inaccurate. Scooping flour packs it down, giving you 20% more flour than intended. This throws off the hydration balance. Use a digital scale. Aim for precision.
- Melt chocolate and butter together. Do not beat cold butter with sugar unless the recipe specifically asks for creaming. For fudgy brownies, melted fat creates a denser, smoother crumb that holds its shape better.
- Add eggs one at a time. Beat thoroughly after each addition. This ensures even distribution of the emulsifiers in the yolks. However, once the flour goes in, switch to a spatula. No electric mixer.
- Pan selection matters. Dark metal pans absorb more heat, cooking the edges faster. Light aluminum pans reflect heat, cooking more evenly. Glass pans retain heat longer, risking over-baked edges. If you only have dark pans, lower your oven temperature by 25°F (15°C).
- Don’t open the door. Every time you peek, the temperature drops. This shock can cause premature collapsing. Trust your timer. Use the toothpick test only in the last 5 minutes.
Troubleshooting: What to Do If They Already Sank
So, the damage is done. Your brownies look like little bowls. Can you save them?
If the center is still gooey and undercooked, put them back in the oven for 5-10 minutes. Cover loosely with foil to prevent burning the edges. Check with a toothpick. It should come out with moist crumbs, not wet batter.
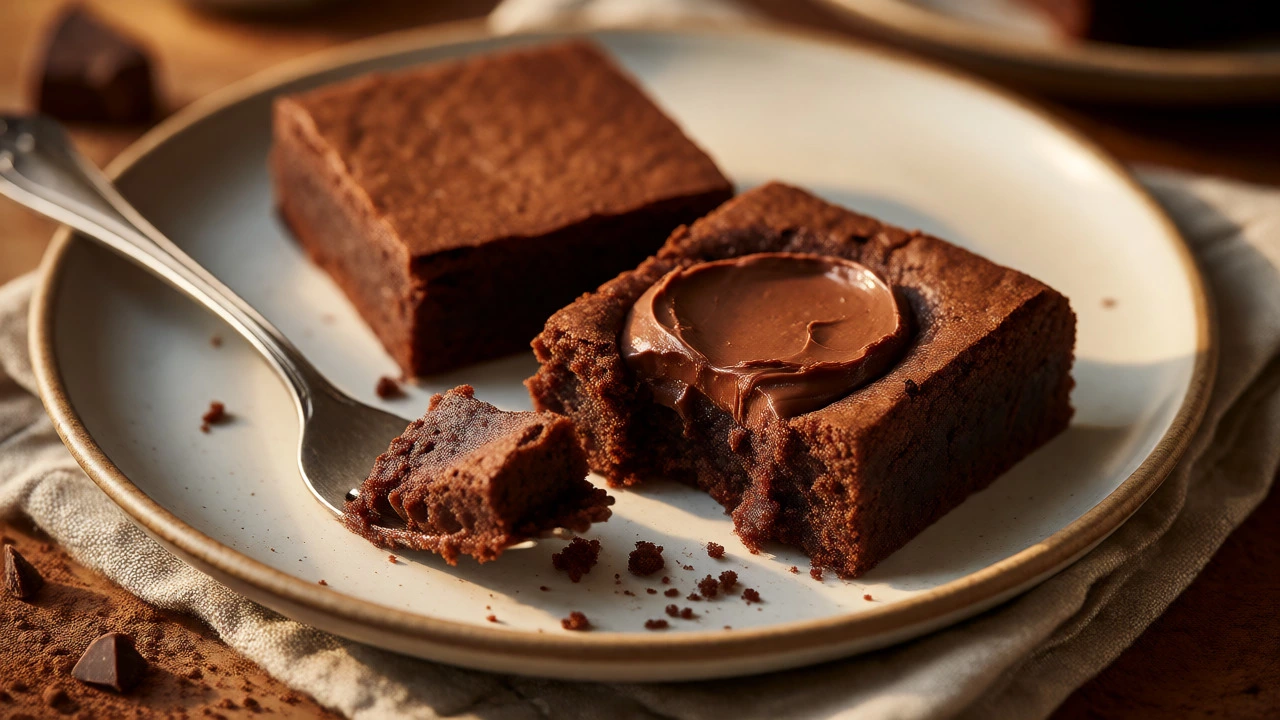
If they are fully cooked but sunken, accept the flaw. Sunken brownies are often the most delicious part. The dense center is intensely fudgy. Cut around the sunken area and serve those pieces as "brownie bites." Alternatively, frost them heavily. A thick layer of ganache or cream cheese frosting hides the dip and adds moisture to compensate for any dryness caused by uneven baking.
Another trick: cut them into smaller squares. Smaller portions make the height difference less noticeable visually. Serve them warm with ice cream. The contrast in textures distracts from the shape.
Pro Tips for Consistent Results
- Room temperature eggs: Cold eggs seize up when mixed with warm melted chocolate, causing the mixture to break. Let eggs sit out for 30 minutes before baking.
- Rest the batter: Let the mixed batter sit in the bowl for 10 minutes before pouring it into the pan. This allows the flour to hydrate fully, creating a more stable structure.
- Tap the pan: Once poured, lift the pan 2 inches and drop it on the counter. This releases large trapped air bubbles that would otherwise rise and pop.
- Cool completely: Brownies continue to set as they cool. Cutting them warm guarantees a messy, crumbling interior that looks sunken. Wait at least two hours.
Frequently Asked Questions
Why did my brownies sink in the middle even though I followed the recipe?
Recipes assume standard conditions. Your oven might run hot or cool, your flour might be packed differently, or your altitude might differ. High altitude requires adjustments to sugar and leavening. Always verify your oven temperature with a thermometer and weigh your flour rather than scooping it.
Does using glass pans cause sunken brownies?
Glass conducts heat differently than metal. It heats slower but retains heat longer. This can lead to over-baked edges and an under-baked center that sinks upon removal. If using glass, reduce the oven temperature by 25°F (approx 15°C) and check for doneness 5-10 minutes earlier than the recipe states.
Can I fix sunken brownies after they have cooled?
You cannot reshape them structurally once cooled. However, you can mask the issue. Pipe frosting into the depression, sprinkle with nuts or chocolate chips, or cut them into smaller, irregular shapes. The taste remains unaffected, so focus on presentation.
Is it better to whip eggs separately for brownies?
For cakey brownies, yes. Whipping egg whites separately and folding them in creates a stable foam that resists collapsing. For fudgy brownies, no. Whole eggs beaten directly into the batter provide density and richness without excessive air pockets that lead to sinking.
How do I know if my brownies are done?
Insert a toothpick into the center. It should come out with a few moist crumbs attached, not wet batter. If it comes out clean, you have likely overbaked them, which can also contribute to a dry, crumbly texture that mimics sinking due to shrinkage.
Popular Posts

Does Cheesecake Have Gluten?
Feb, 26 2025

Sinking Cake: Why it Happens and How to Fix It
May, 27 2025
What Does the Name Brownie Mean?
Feb, 15 2026