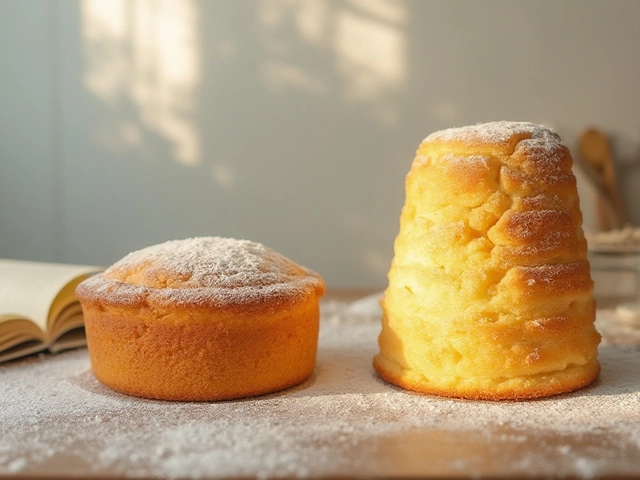
Fudge Texture Simulator
Adjust the sliders below to simulate how temperature and beating affect your fudge's final texture. The "Sweet Spot" is where creamy perfection lives!
Creamy & Smooth
Perfect microscopic crystals formed. Velvety mouthfeel.
You’ve probably had it before: you spend an hour stirring a pot of chocolate and sugar, let it cool, cut it into neat squares, and take a bite. Instead of that creamy, melt-in-your-mouth experience, your teeth hit something gritty or waxy. It’s frustrating because fudge looks simple. Four ingredients, one pot, done. But fudge is actually a complex suspension of sugar crystals in a fat-and-moisture matrix. The difference between grainy disappointment and velvety perfection isn’t luck-it’s chemistry.
The secret to good fudge lies in controlling crystal size. You want millions of tiny crystals so small they don’t register on your tongue as "grain." If the crystals get too big, you get sand. If you don’t form enough crystals, you get syrup. If you overbeat it, you get dry crumbles. This guide breaks down exactly how to manipulate temperature, agitation, and ingredients to nail that perfect bite every time.
Understanding the Chemistry of Crystal Formation
To make great fudge, you have to think like a chemist for a second. When you boil sugar, water, and dairy together, you’re creating a supersaturated solution. As it cools, the sugar wants to come out of the solution and turn back into solid crystals. Your job is to force this process to happen slowly and evenly.
If you cool the mixture too fast without stirring, large crystals form randomly-this is rock candy territory. If you stir vigorously while it’s still hot, you introduce air and cause premature crystallization, leading to a rough texture. The sweet spot involves cooling the mixture to a specific temperature (usually around 110°F / 43°C) and then beating it just enough to create those microscopic crystals. This is why traditional recipes emphasize "beating until it loses its gloss." That loss of shine indicates the crystals are forming correctly.
The Two Main Paths: Traditional vs. Condensed Milk
There are two primary ways to make fudge, and the "secret" differs slightly for each. Choosing the right method depends on your skill level and desired outcome.
| Feature | Traditional Method | Condensed Milk Method |
|---|---|---|
| Key Ingredient | Granulated Sugar, Water, Corn Syrup | Sweetened Condensed Milk |
| Temperature Control | Critical (Soft Ball Stage) | Less Critical |
| Texture Potential | Very Creamy if done right; Gritty if wrong | Consistently Smooth |
| Difficulty Level | High | Low |
| Best For | Purists, Advanced Bakers | Beginners, Quick Fixes |
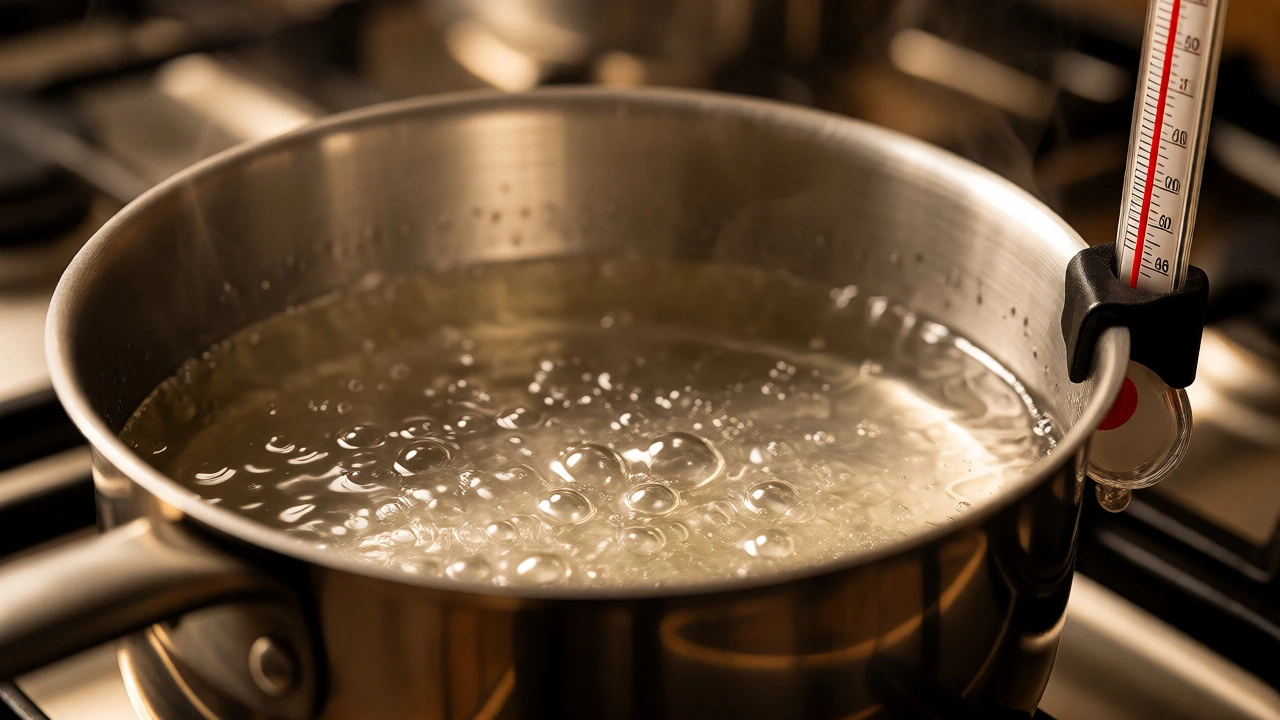
The traditional method relies on precise heating to the "soft ball" stage (234-240°F). Here, the secret is patience. You cannot rush the boiling phase, and you absolutely must not disturb the pot while it boils. Any agitation during boiling encourages large crystals to form prematurely.
The condensed milk method skips the risky sugar-boiling step. Because the milk is already cooked and thickened with sugar, you only need to melt it with chocolate and butter. The secret here isn't temperature precision but rather ingredient quality and mixing speed. Since there's less risk of crystallization failure, this method is forgiving, but it can taste overly sweet if you don't balance it with high-quality dark chocolate.
Why Temperature Matters More Than Time
Stop relying on clocks. Boiling times vary based on your stove’s BTU output, the width of your pan, and even humidity levels. Use a candy thermometer. It’s the single most important tool for traditional fudge. Without it, you’re guessing whether you’ve reached 235°F or 245°F. At 235°F, you get soft, creamy fudge. At 245°F, you get hard, brittle fudge. There is no middle ground.
Here’s a common pitfall: people calibrate their thermometers incorrectly. Before you start, check your thermometer in boiling water. It should read 212°F (100°C) at sea level. If it reads 210°F, subtract 2 degrees from your target temperature. This small adjustment saves batches.
The Role of Fat and Moisture
Fudge isn’t just sugar; it’s an emulsion. You need fat to coat the sugar crystals and prevent them from sticking together into clumps. Butter is the standard choice, but heavy cream adds richness and slows down crystallization, giving you a wider window to beat the fudge properly.
Using salted butter? Reduce added salt in the recipe. Salt enhances flavor, but too much makes the fudge taste savory rather than sweet. A general rule: use unsalted butter and add 1/4 teaspoon of fine sea salt per batch to pop the chocolate flavor.
Chocolate itself acts as both flavor and structure. Cocoa solids help stabilize the fudge, while cocoa butter contributes to the mouthfeel. If you use compound chocolate (which contains vegetable fats instead of cocoa butter), the fudge may set too firmly or develop a waxy coating on your lips. Stick to real couverture or baking chocolate with at least 30% cocoa butter content.
Avoiding Graininess: The Enemy of Creaminess
Graininess happens when sugar crystals grow larger than 20 microns. Your tongue can detect particles bigger than that. To keep crystals under control:
- Dissolve all sugar first: Ensure no undissolved granules remain before boiling starts. Stir gently until the mixture is clear.
- Add corn syrup or cream of tartar: In traditional recipes, these interfere with sucrose crystallization, forcing smaller crystals. Add 1 tablespoon of light corn syrup per cup of sugar.
- Don’t scrape the sides: During boiling, sugar crystals can form on the cooler sides of the pot. If you scrape them back into the boiling liquid, they act as seeds for large crystals. Wash them down with a wet pastry brush instead.
- Beat at the right temp: Let the mixture cool to 110°F before beating. Beating hot fudge introduces air bubbles and creates a fluffy, aerated texture rather than a dense, creamy one.
Troubleshooting Common Failures
Even with the best intentions, things go wrong. Here’s how to fix common issues:
- Too Soft/Won’t Set: You likely didn’t cook it long enough or didn’t reach the correct temperature. Reheat the fudge with a splash of milk and bring it back to the soft-ball stage. Alternatively, refrigerate it longer; some fudges firm up significantly after 4 hours in the fridge.
- Too Hard/Crumbly: You overcooked it or beat it too much. Overcooking evaporates too much moisture. Try adding a tablespoon of warm cream and gently reheating to soften it.
- Greasy Separation: The fat separated from the sugar. This often happens if the mixture was beaten too aggressively or if the chocolate seized. Melt it again gently and stir slowly.
Flavor Balancing: Beyond Chocolate
The secret to truly addictive fudge is contrast. Pure sweetness gets boring fast. Cut through the sugar with:
- Bitterness: Use 60-70% dark chocolate instead of semi-sweet chips.
- Acidity: A pinch of espresso powder deepens chocolate notes without making it taste like coffee. Lemon zest works wonders in white chocolate fudge.
- Texture:** Fold in nuts, pretzels, or sea salt flakes *after* beating, just before pouring into the pan. Adding them earlier causes uneven distribution and sinking.
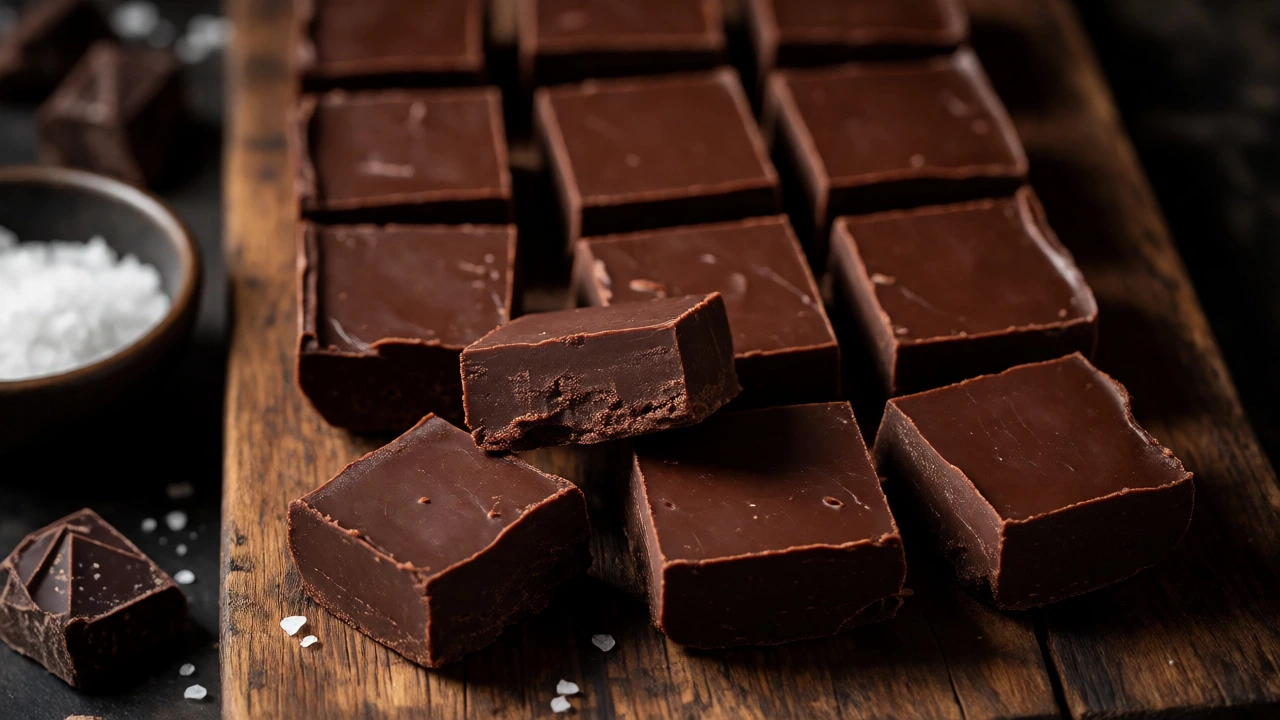
Remember, good fudge should break cleanly when bitten, not stretch like taffy. If it stretches, it’s under-cooked. If it shatters, it’s over-cooked. Aim for a clean snap with a slight give.
Why did my fudge turn out grainy?
Graininess occurs when sugar crystals grow too large. This usually happens if you stirred the mixture while it was boiling, introduced seed crystals from the sides of the pot, or cooled it too quickly without proper beating. Using corn syrup or cream of tartar helps prevent this by interfering with crystal formation.
Do I really need a candy thermometer?
For traditional fudge, yes. Guessing temperatures leads to inconsistent results. For condensed milk fudge, it’s less critical, but a thermometer still ensures you don’t scorch the milk or undercook the sugar, which affects setting.
How do I know when fudge is done beating?
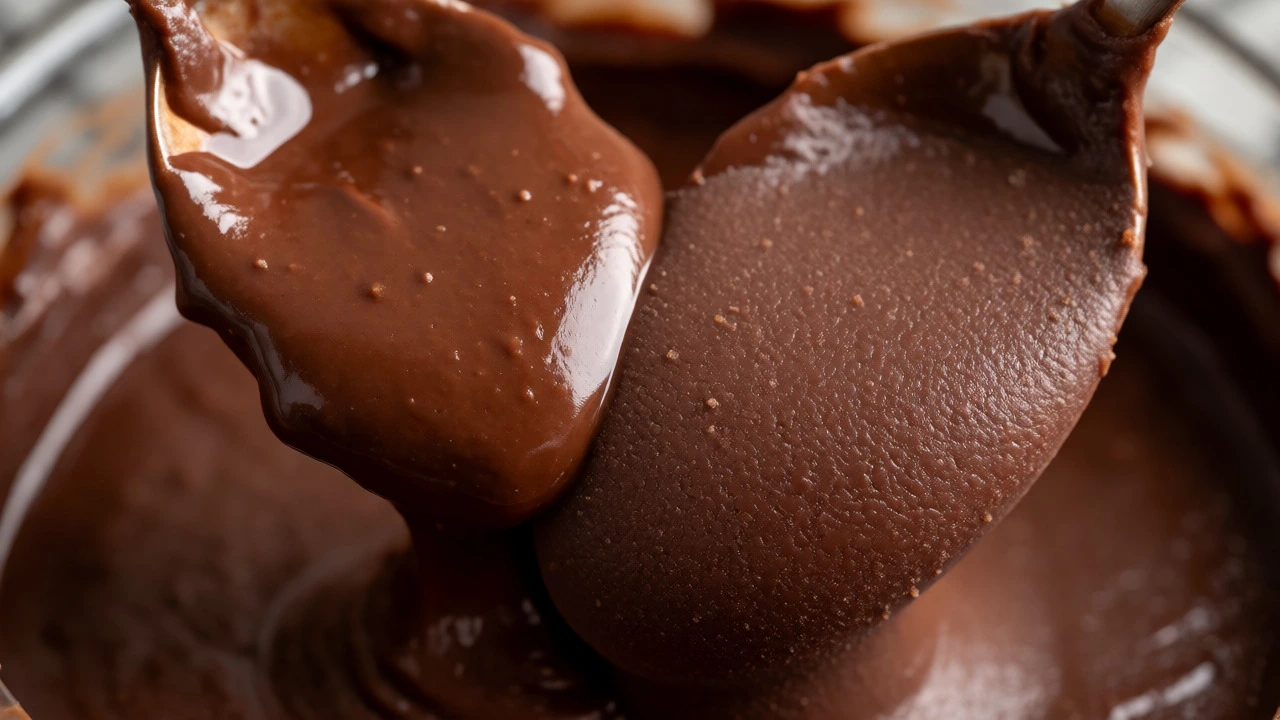
Watch the texture and color. Done fudge loses its shiny, glossy appearance and becomes matte and thick. It will also hold its shape briefly when lifted with a spoon. If it remains runny and shiny, keep beating.
Can I make fudge without cooking?
Yes, using the condensed milk method where you melt chocolate and mix it with sweetened condensed milk. However, true traditional fudge requires cooking to achieve the specific crystalline structure that gives it its signature texture. No-bake versions tend to be softer and more like truffles.
Why does my fudge stick to the knife when cutting?
This usually means the fudge hasn’t fully set. Wait longer for it to cool and harden at room temperature or in the refrigerator. For cleaner cuts, dip your knife in hot water and wipe it dry between slices.
Popular Posts

Why Is It Called Miserable Cake?
Apr, 11 2025